Ceiling & Flooring
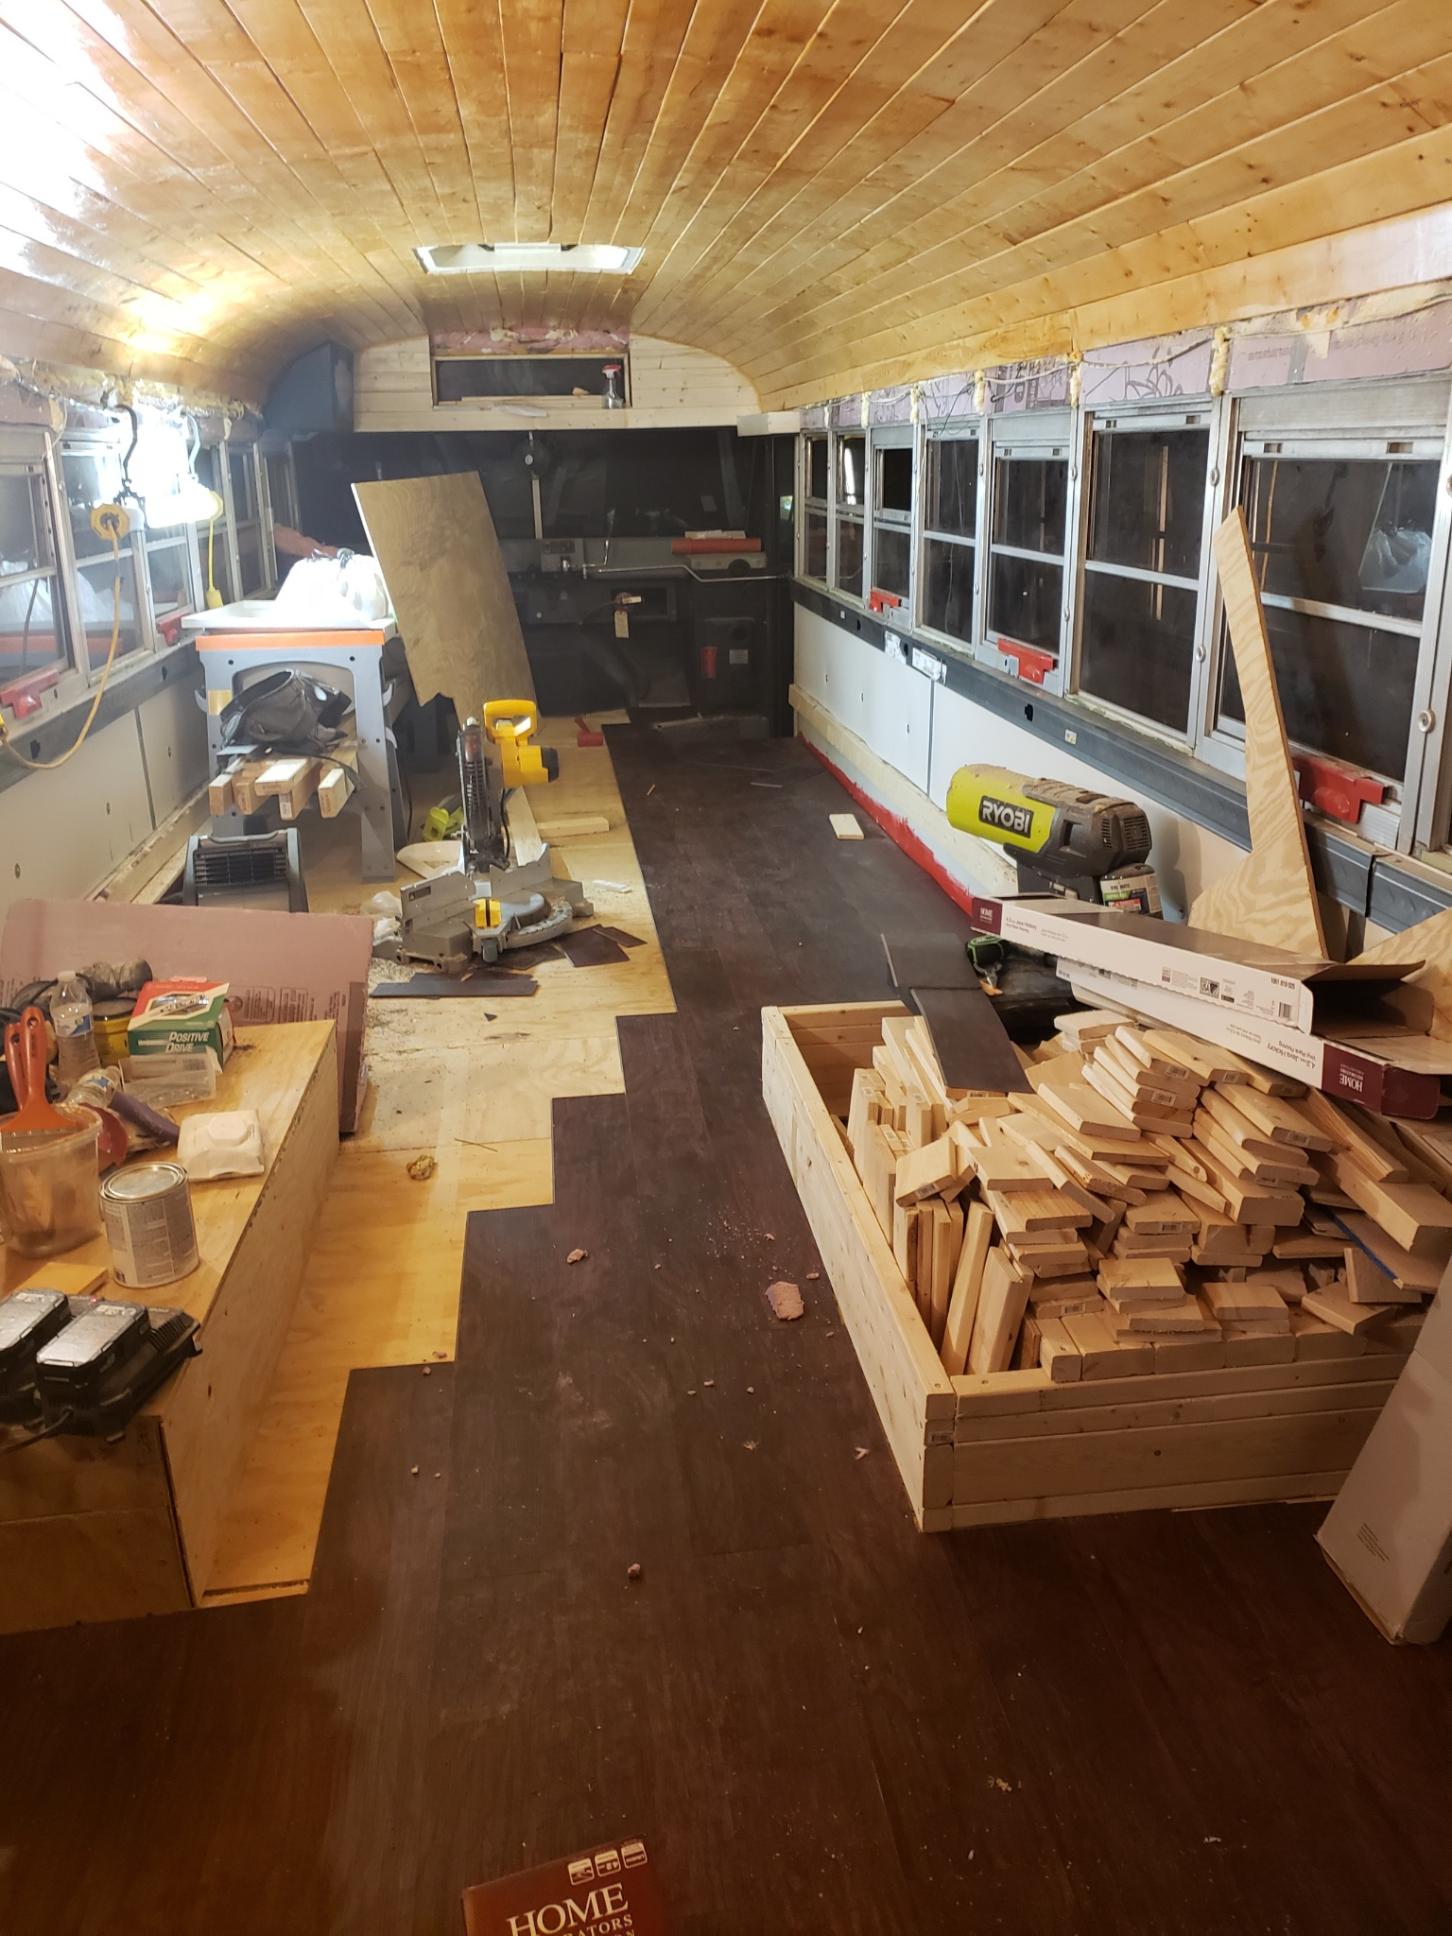
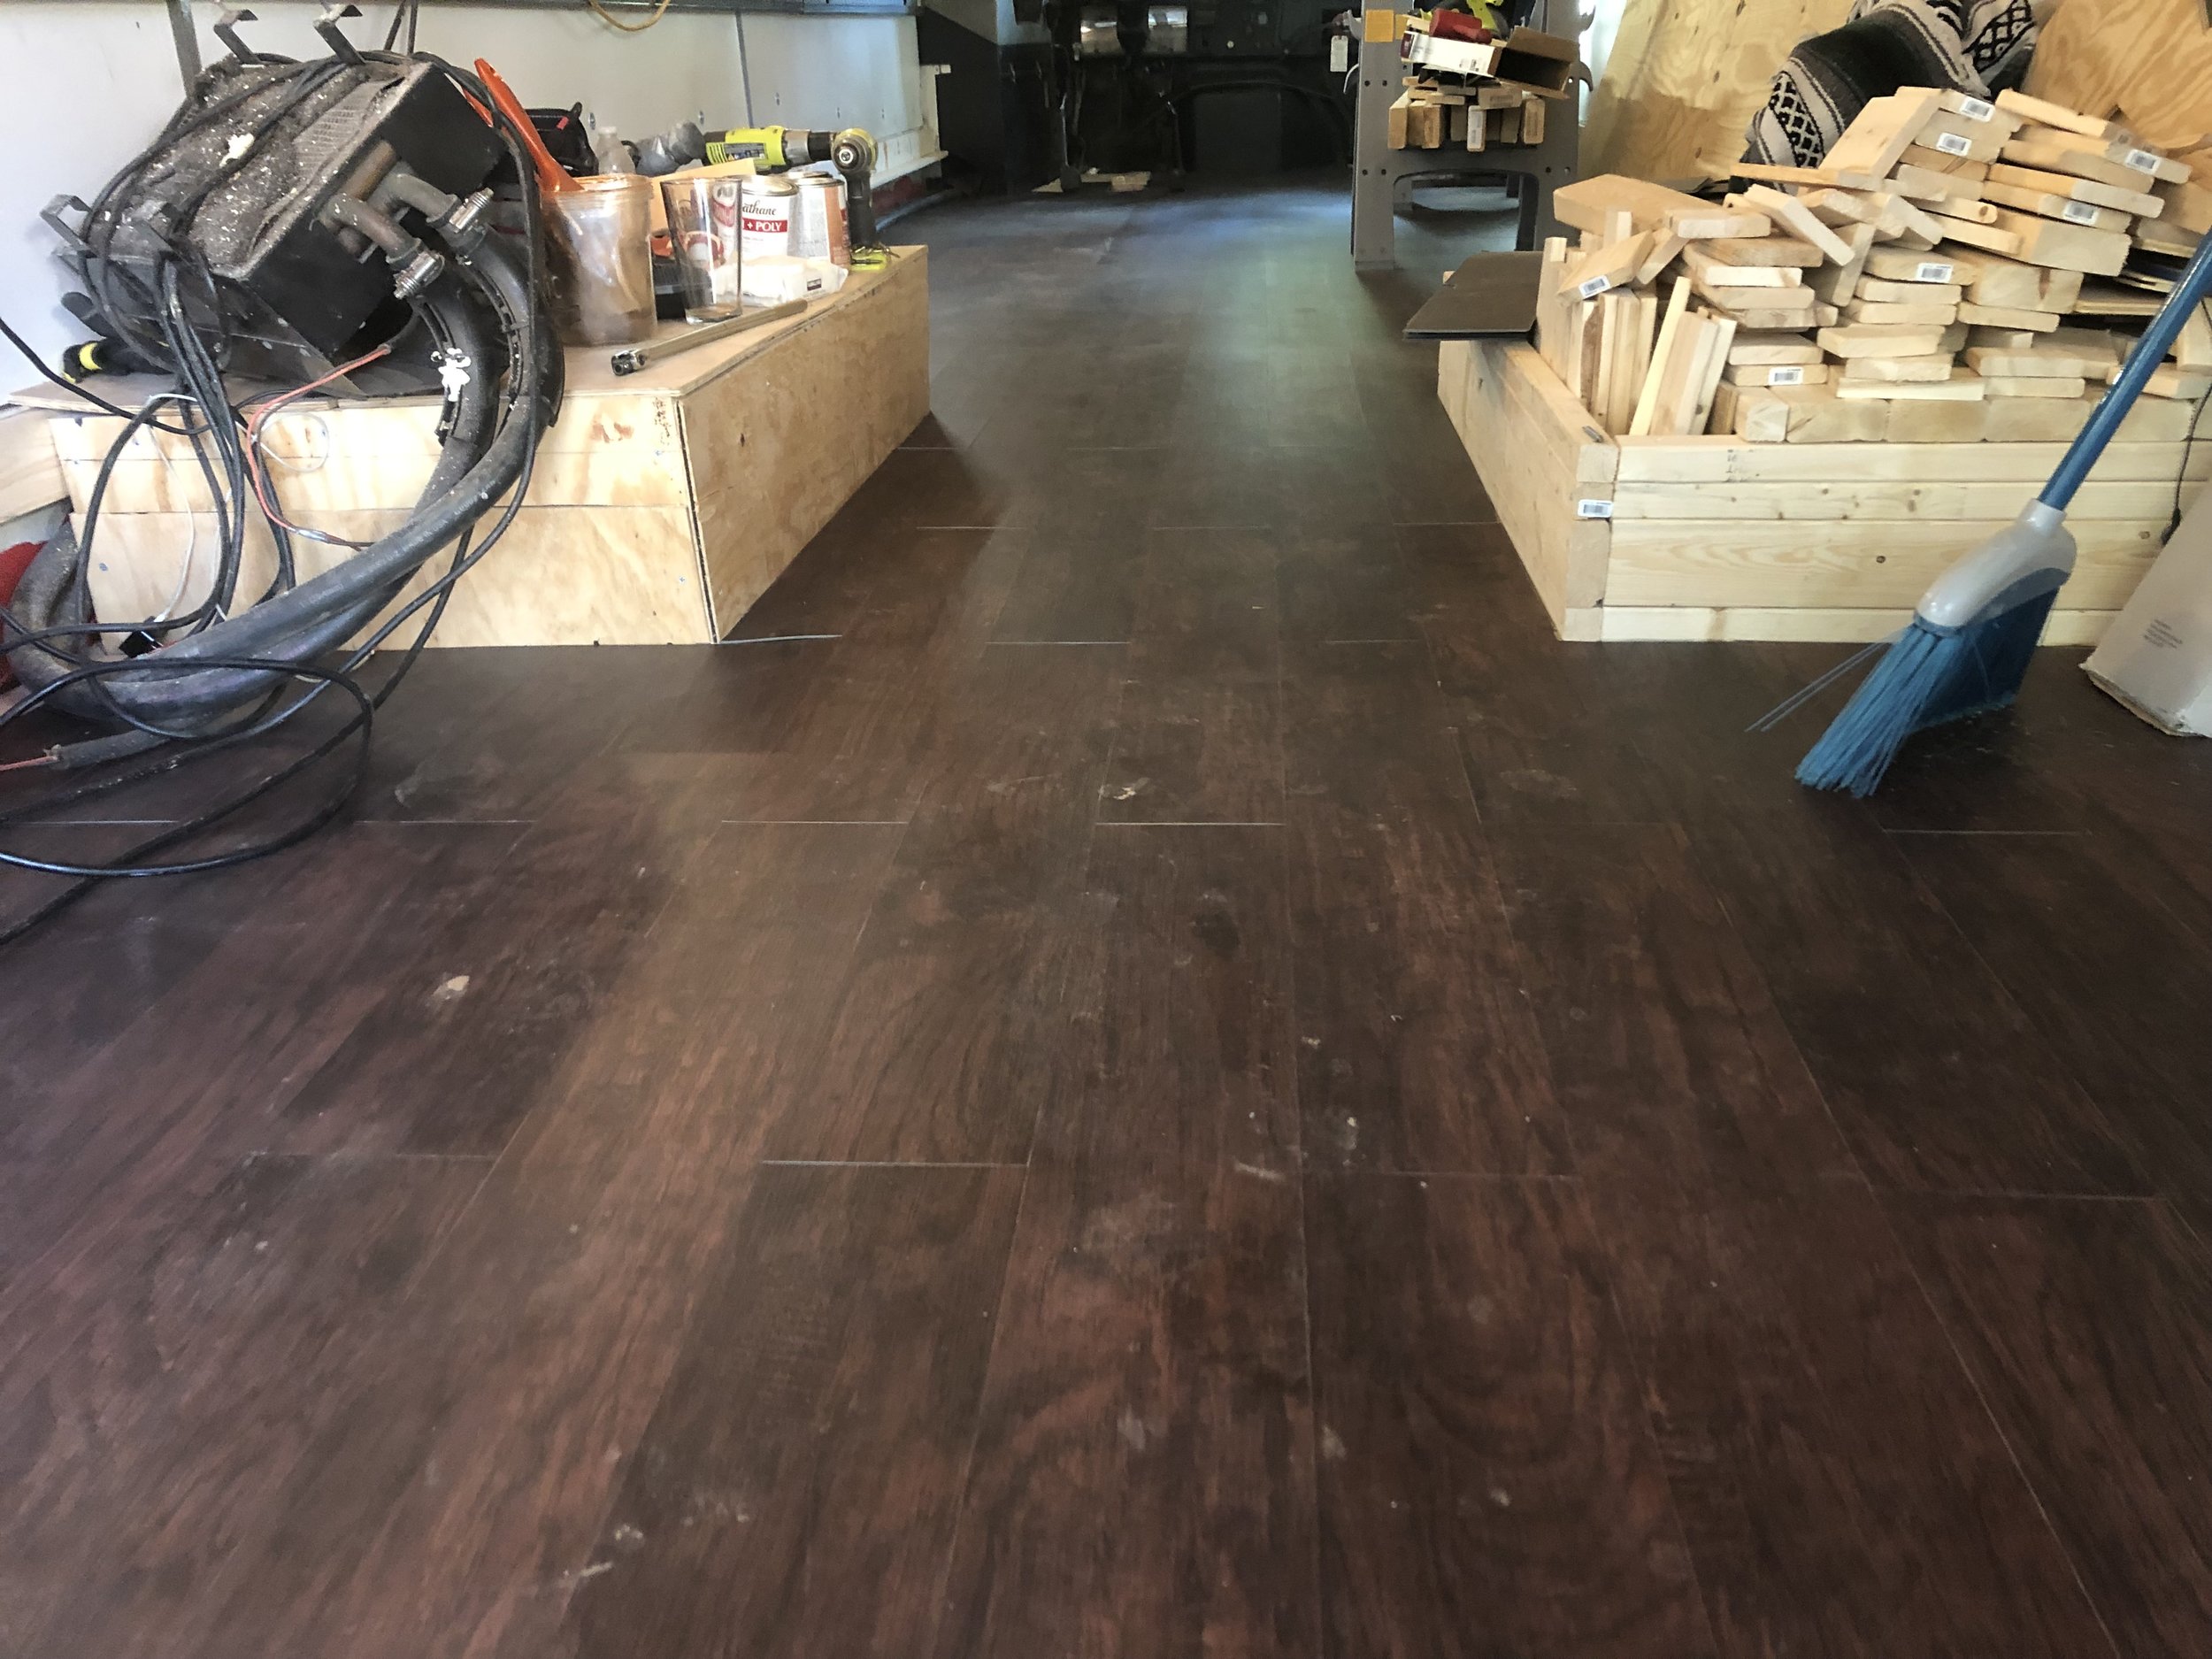
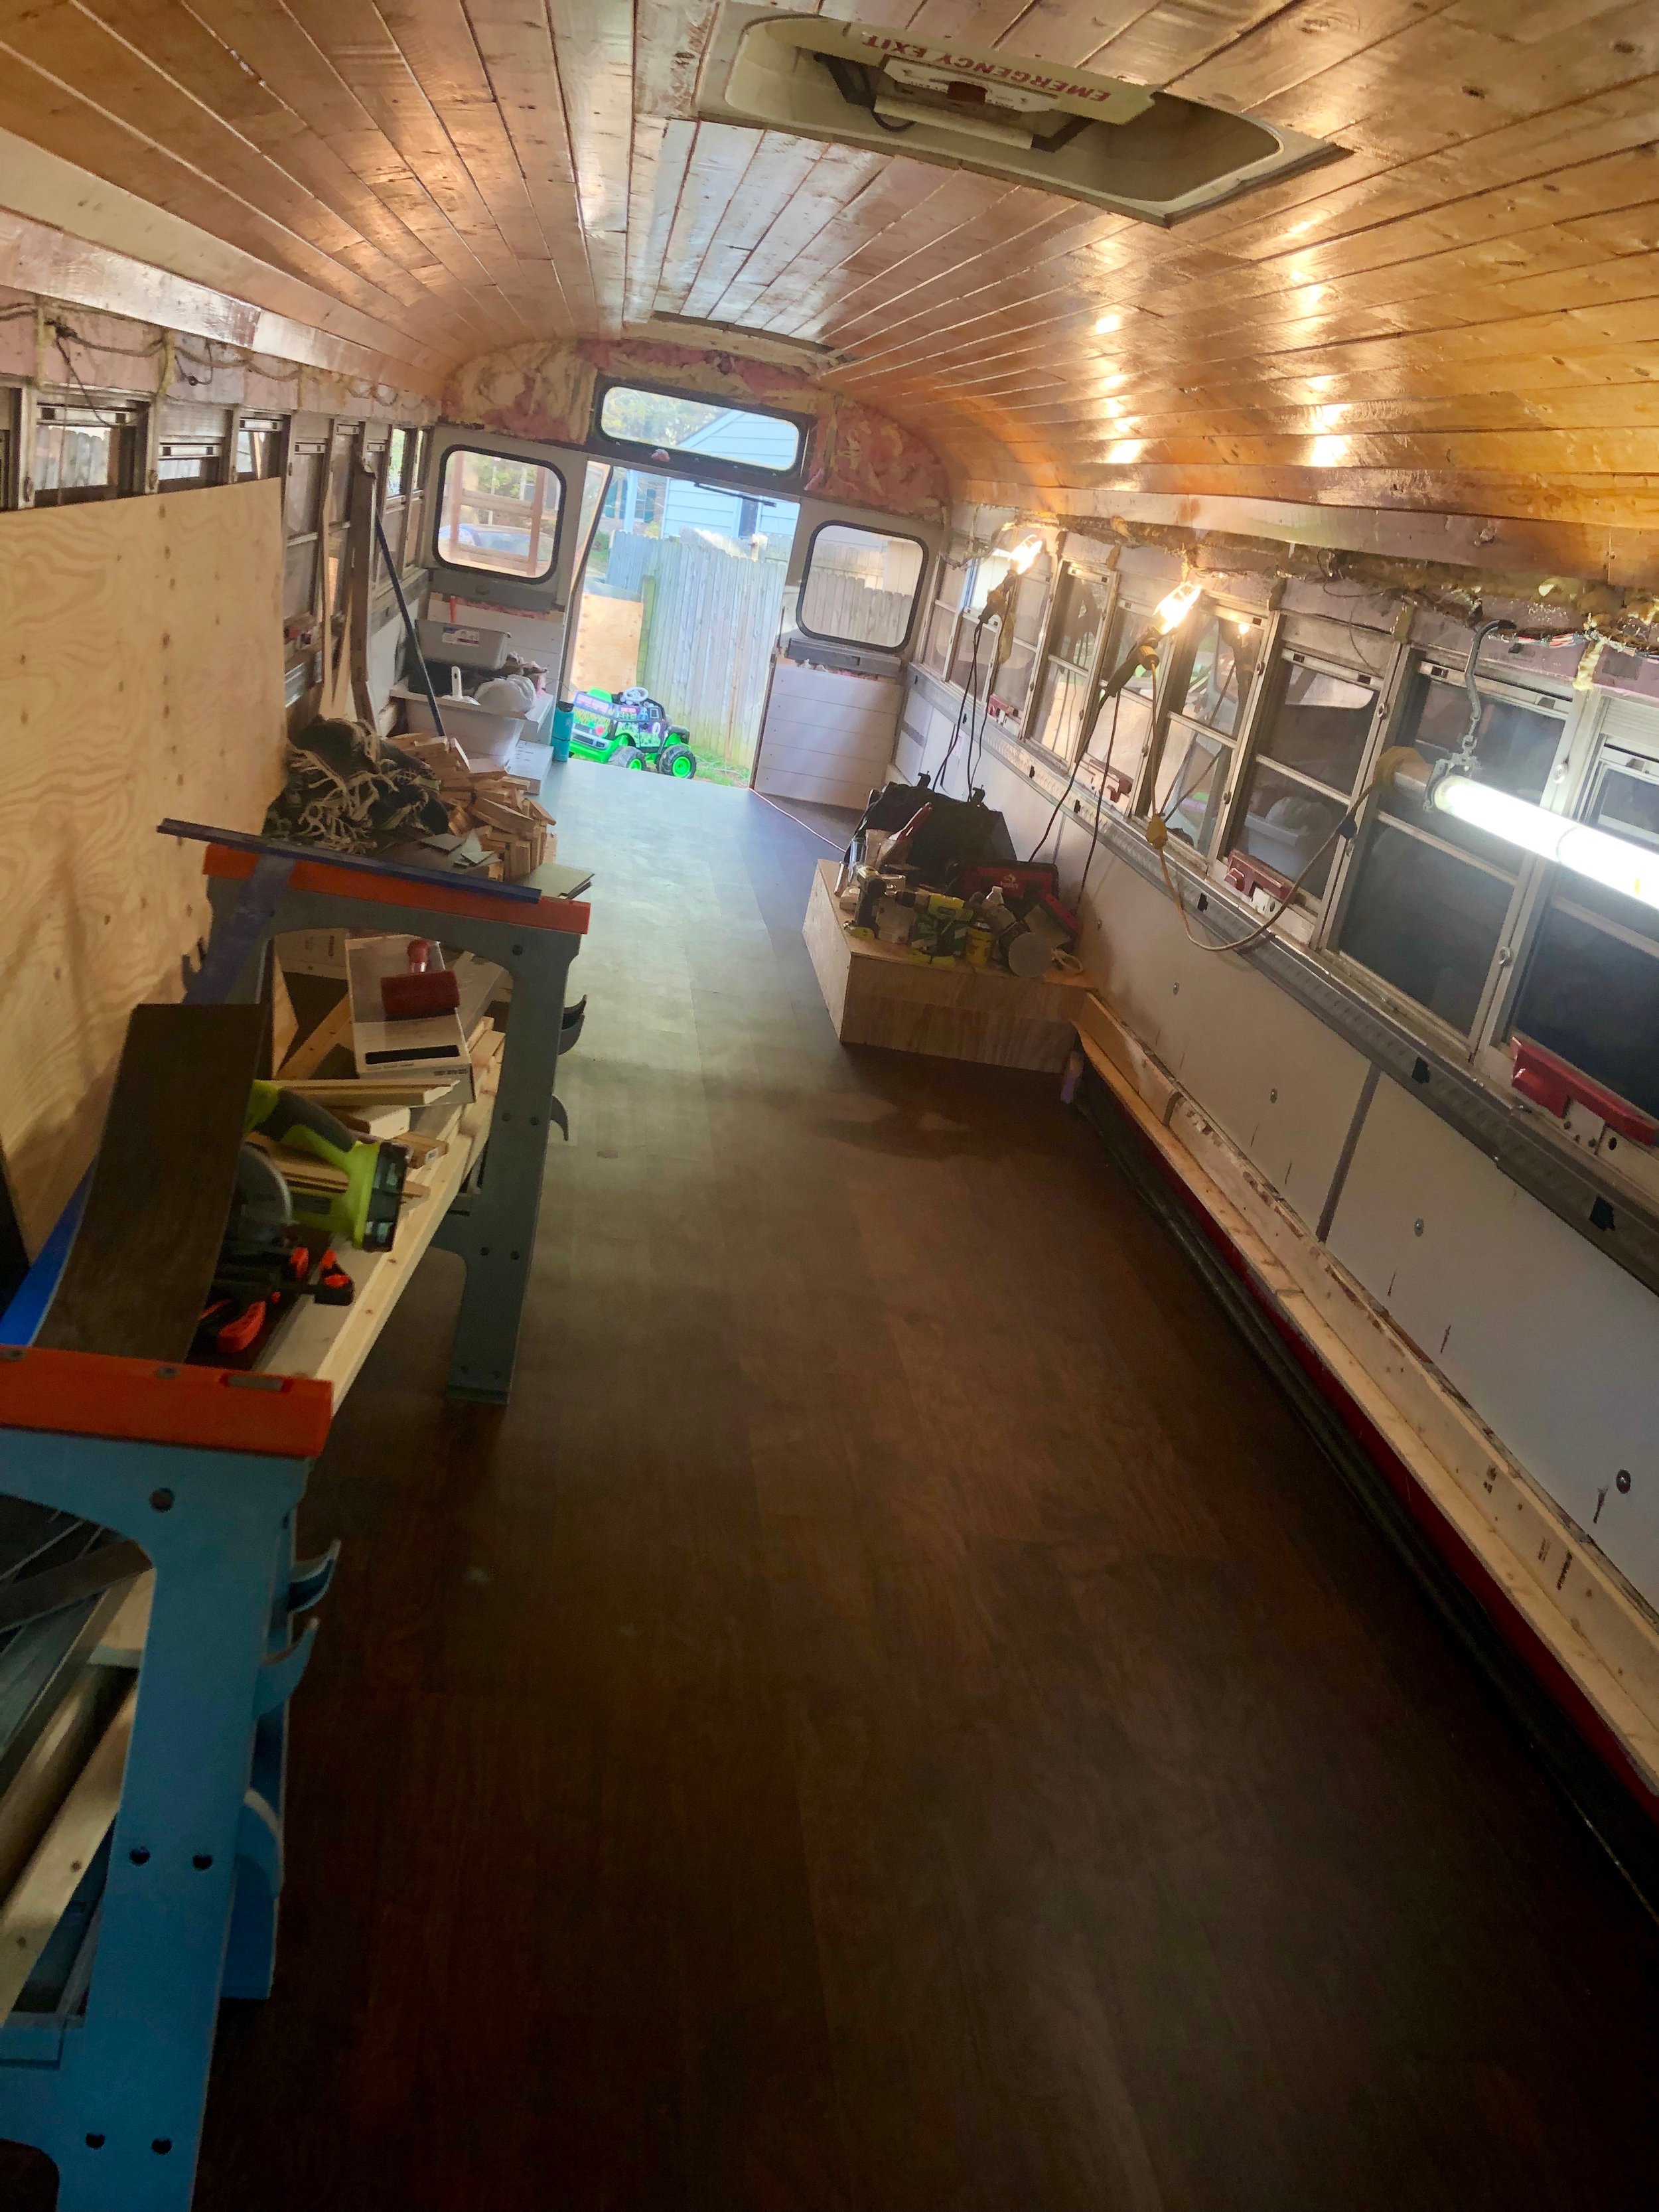
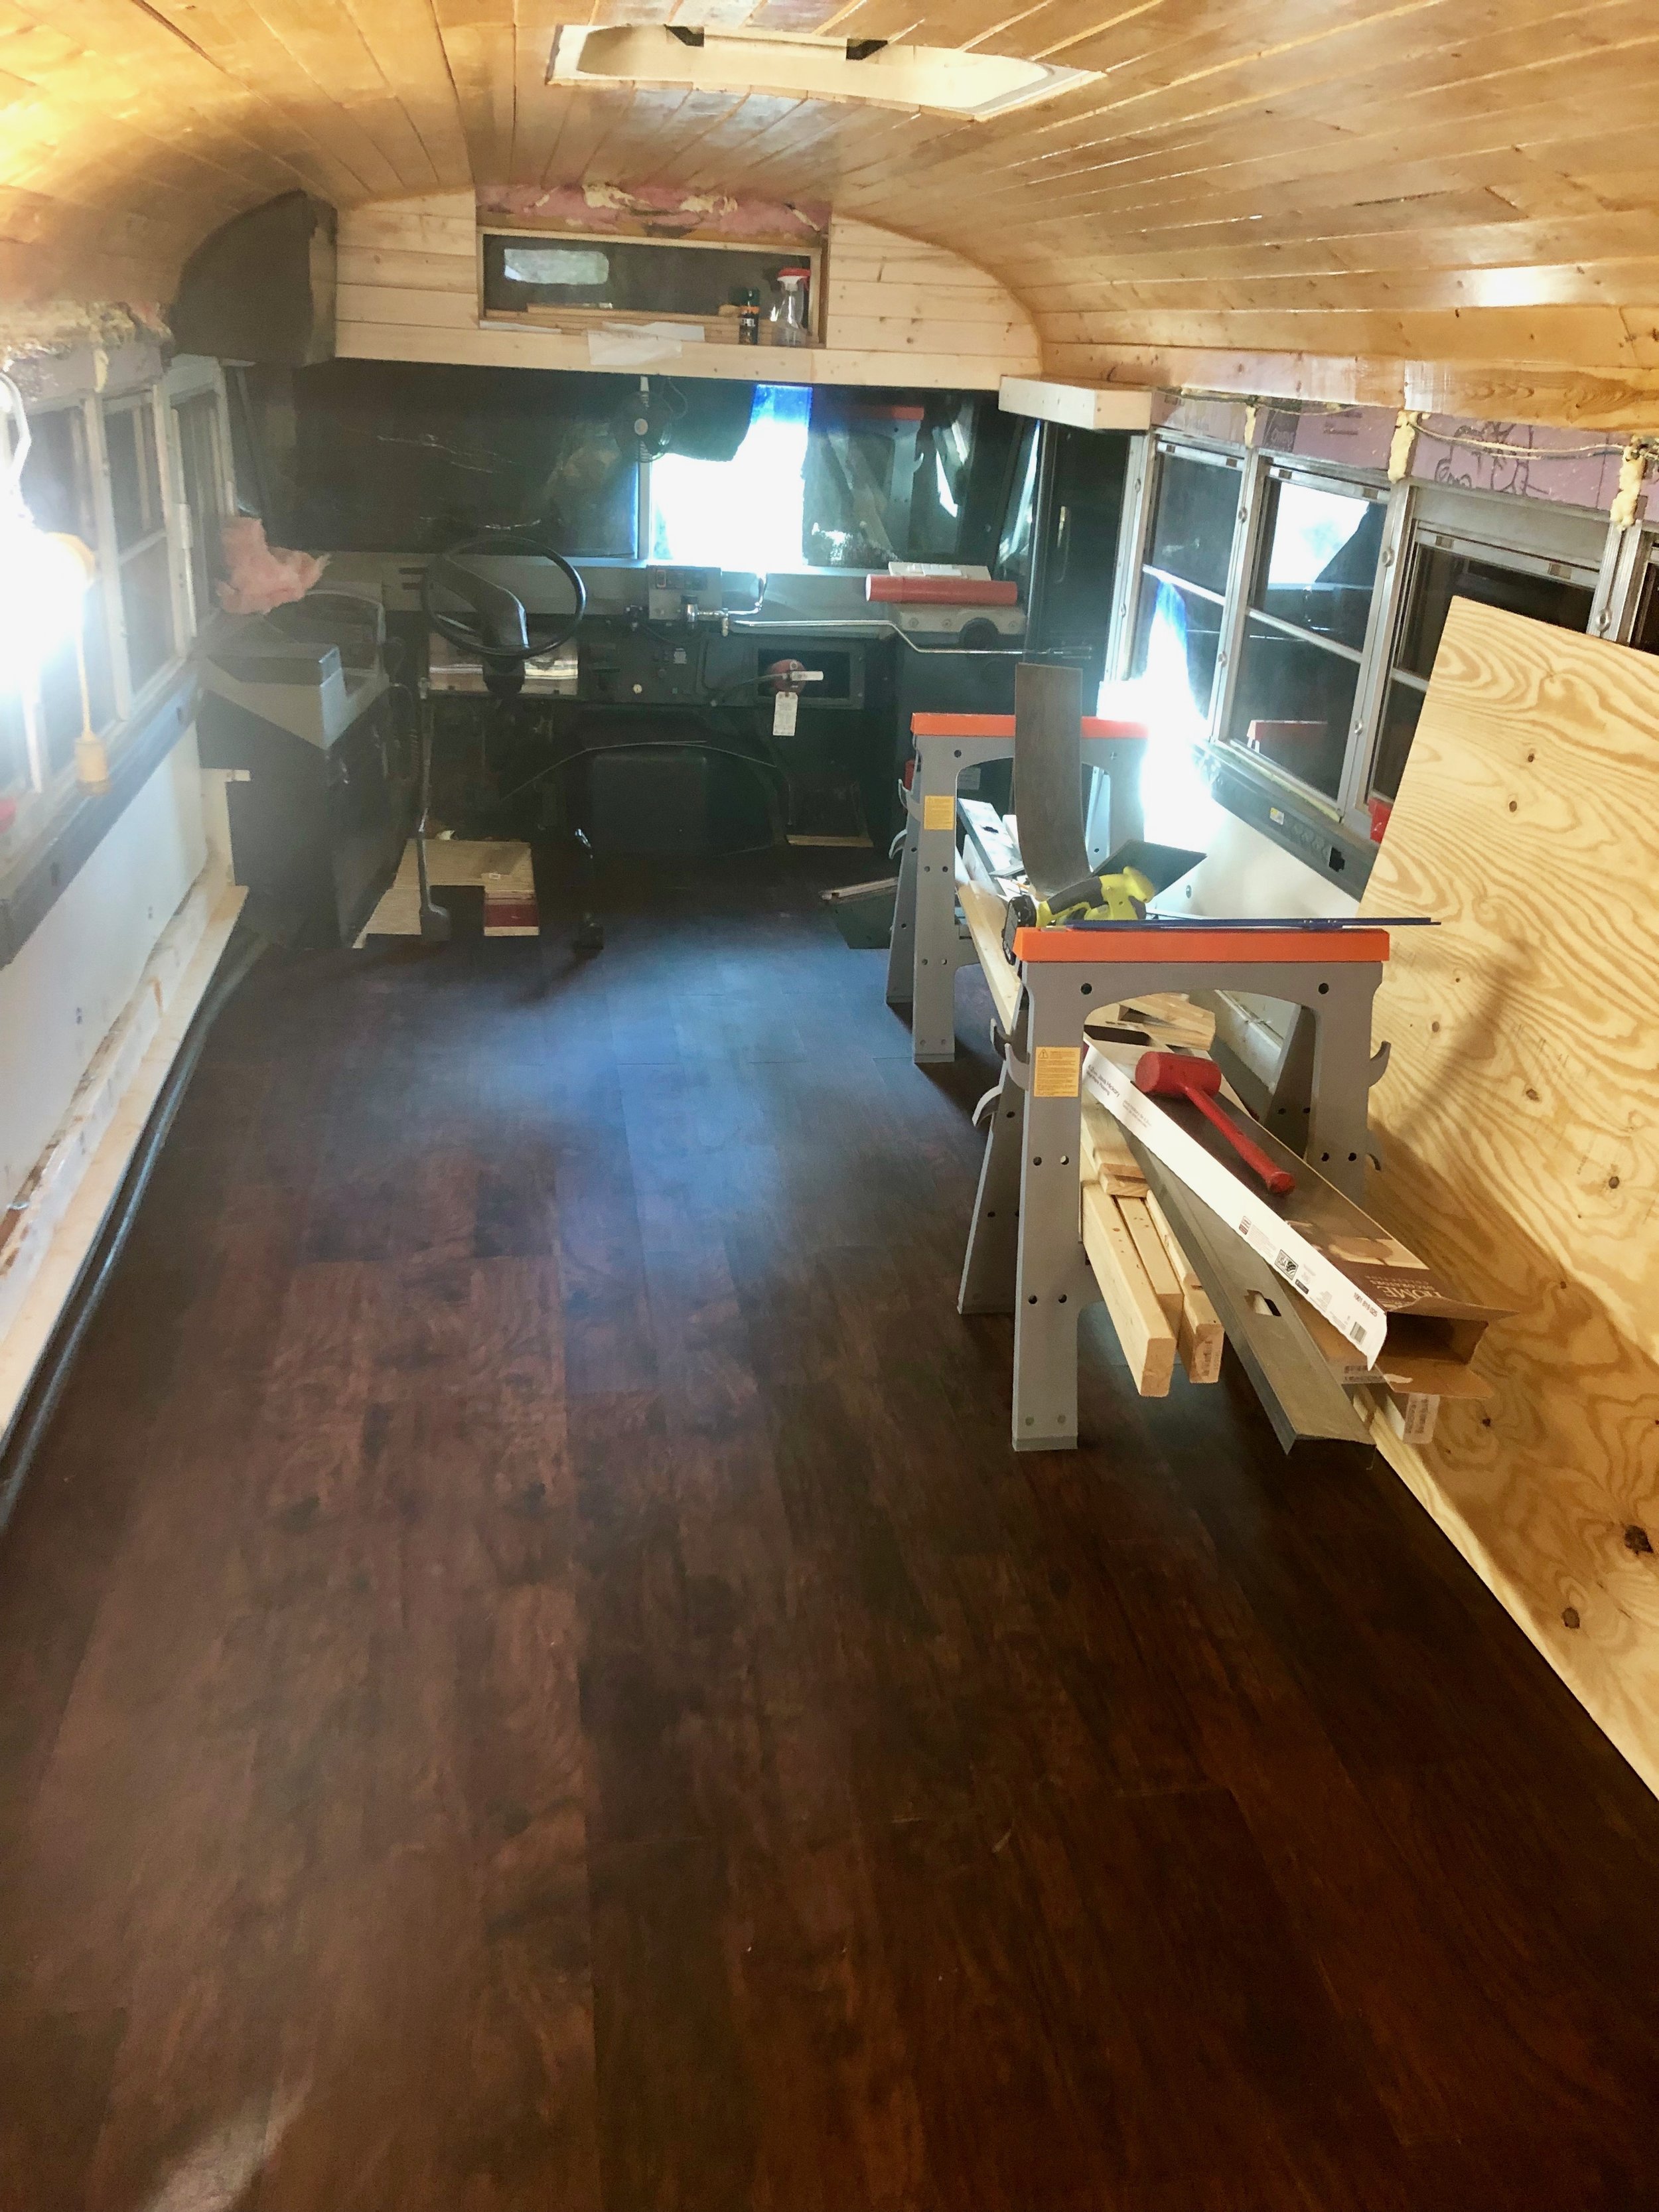
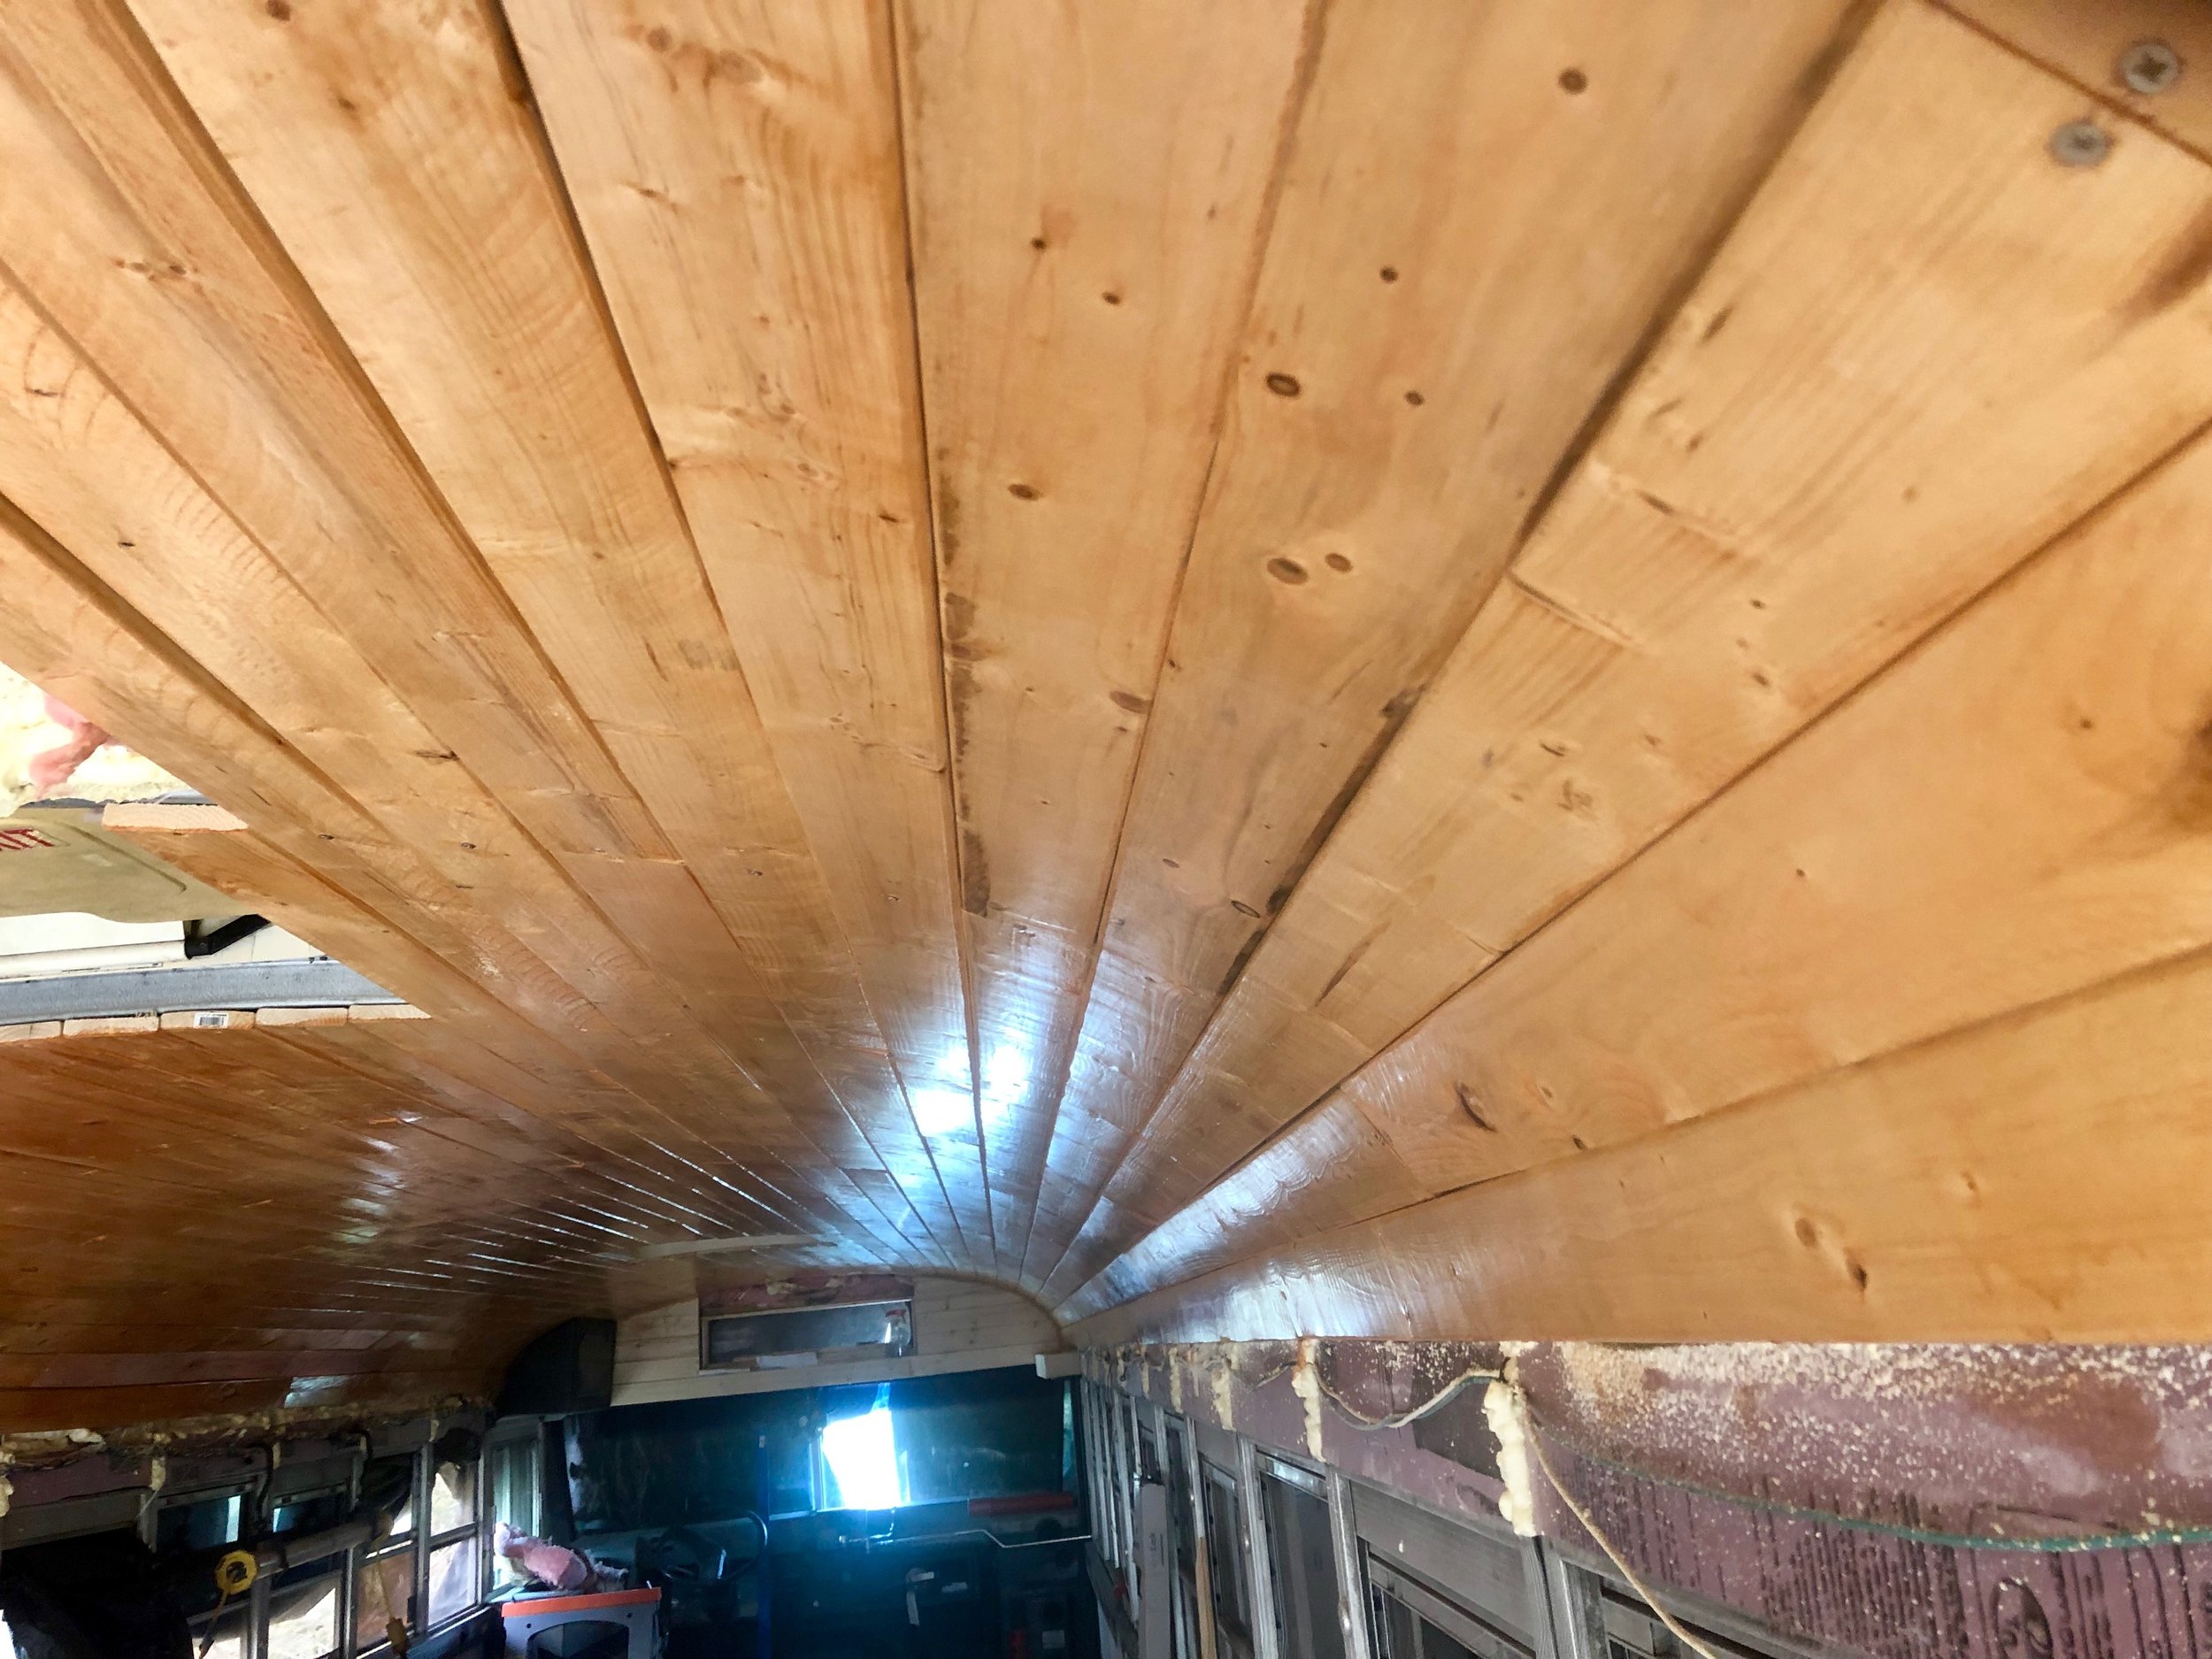
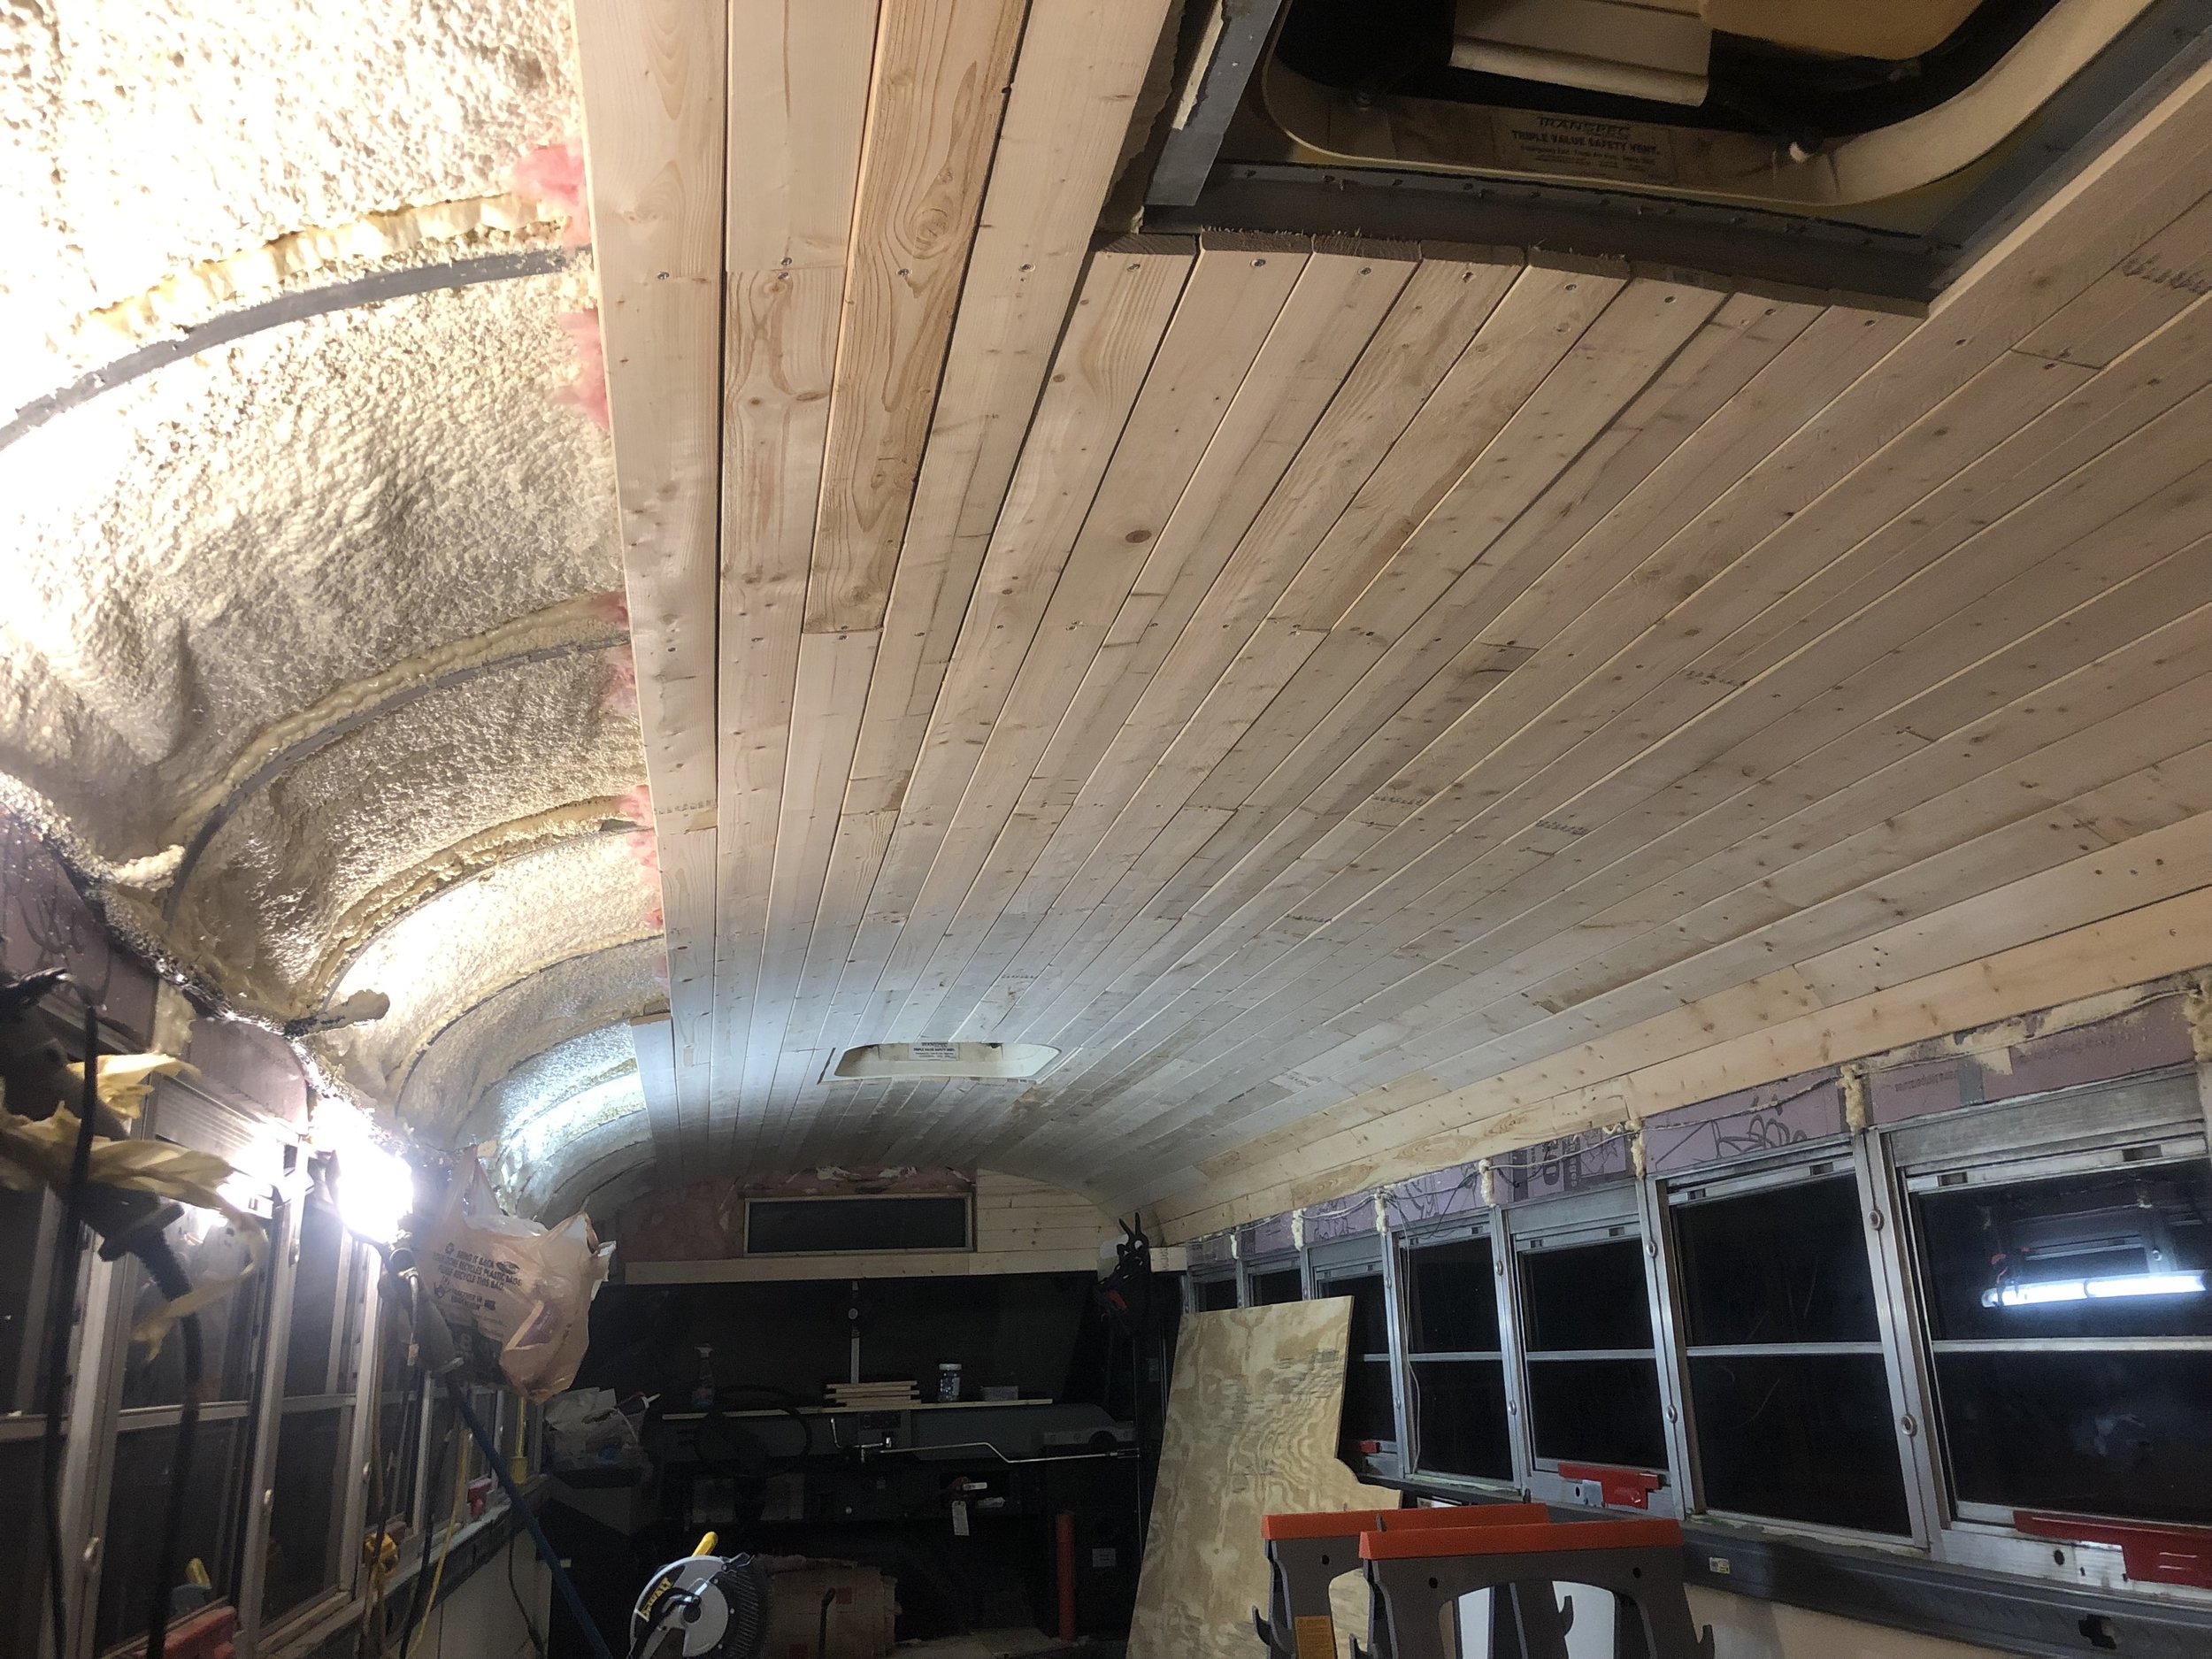
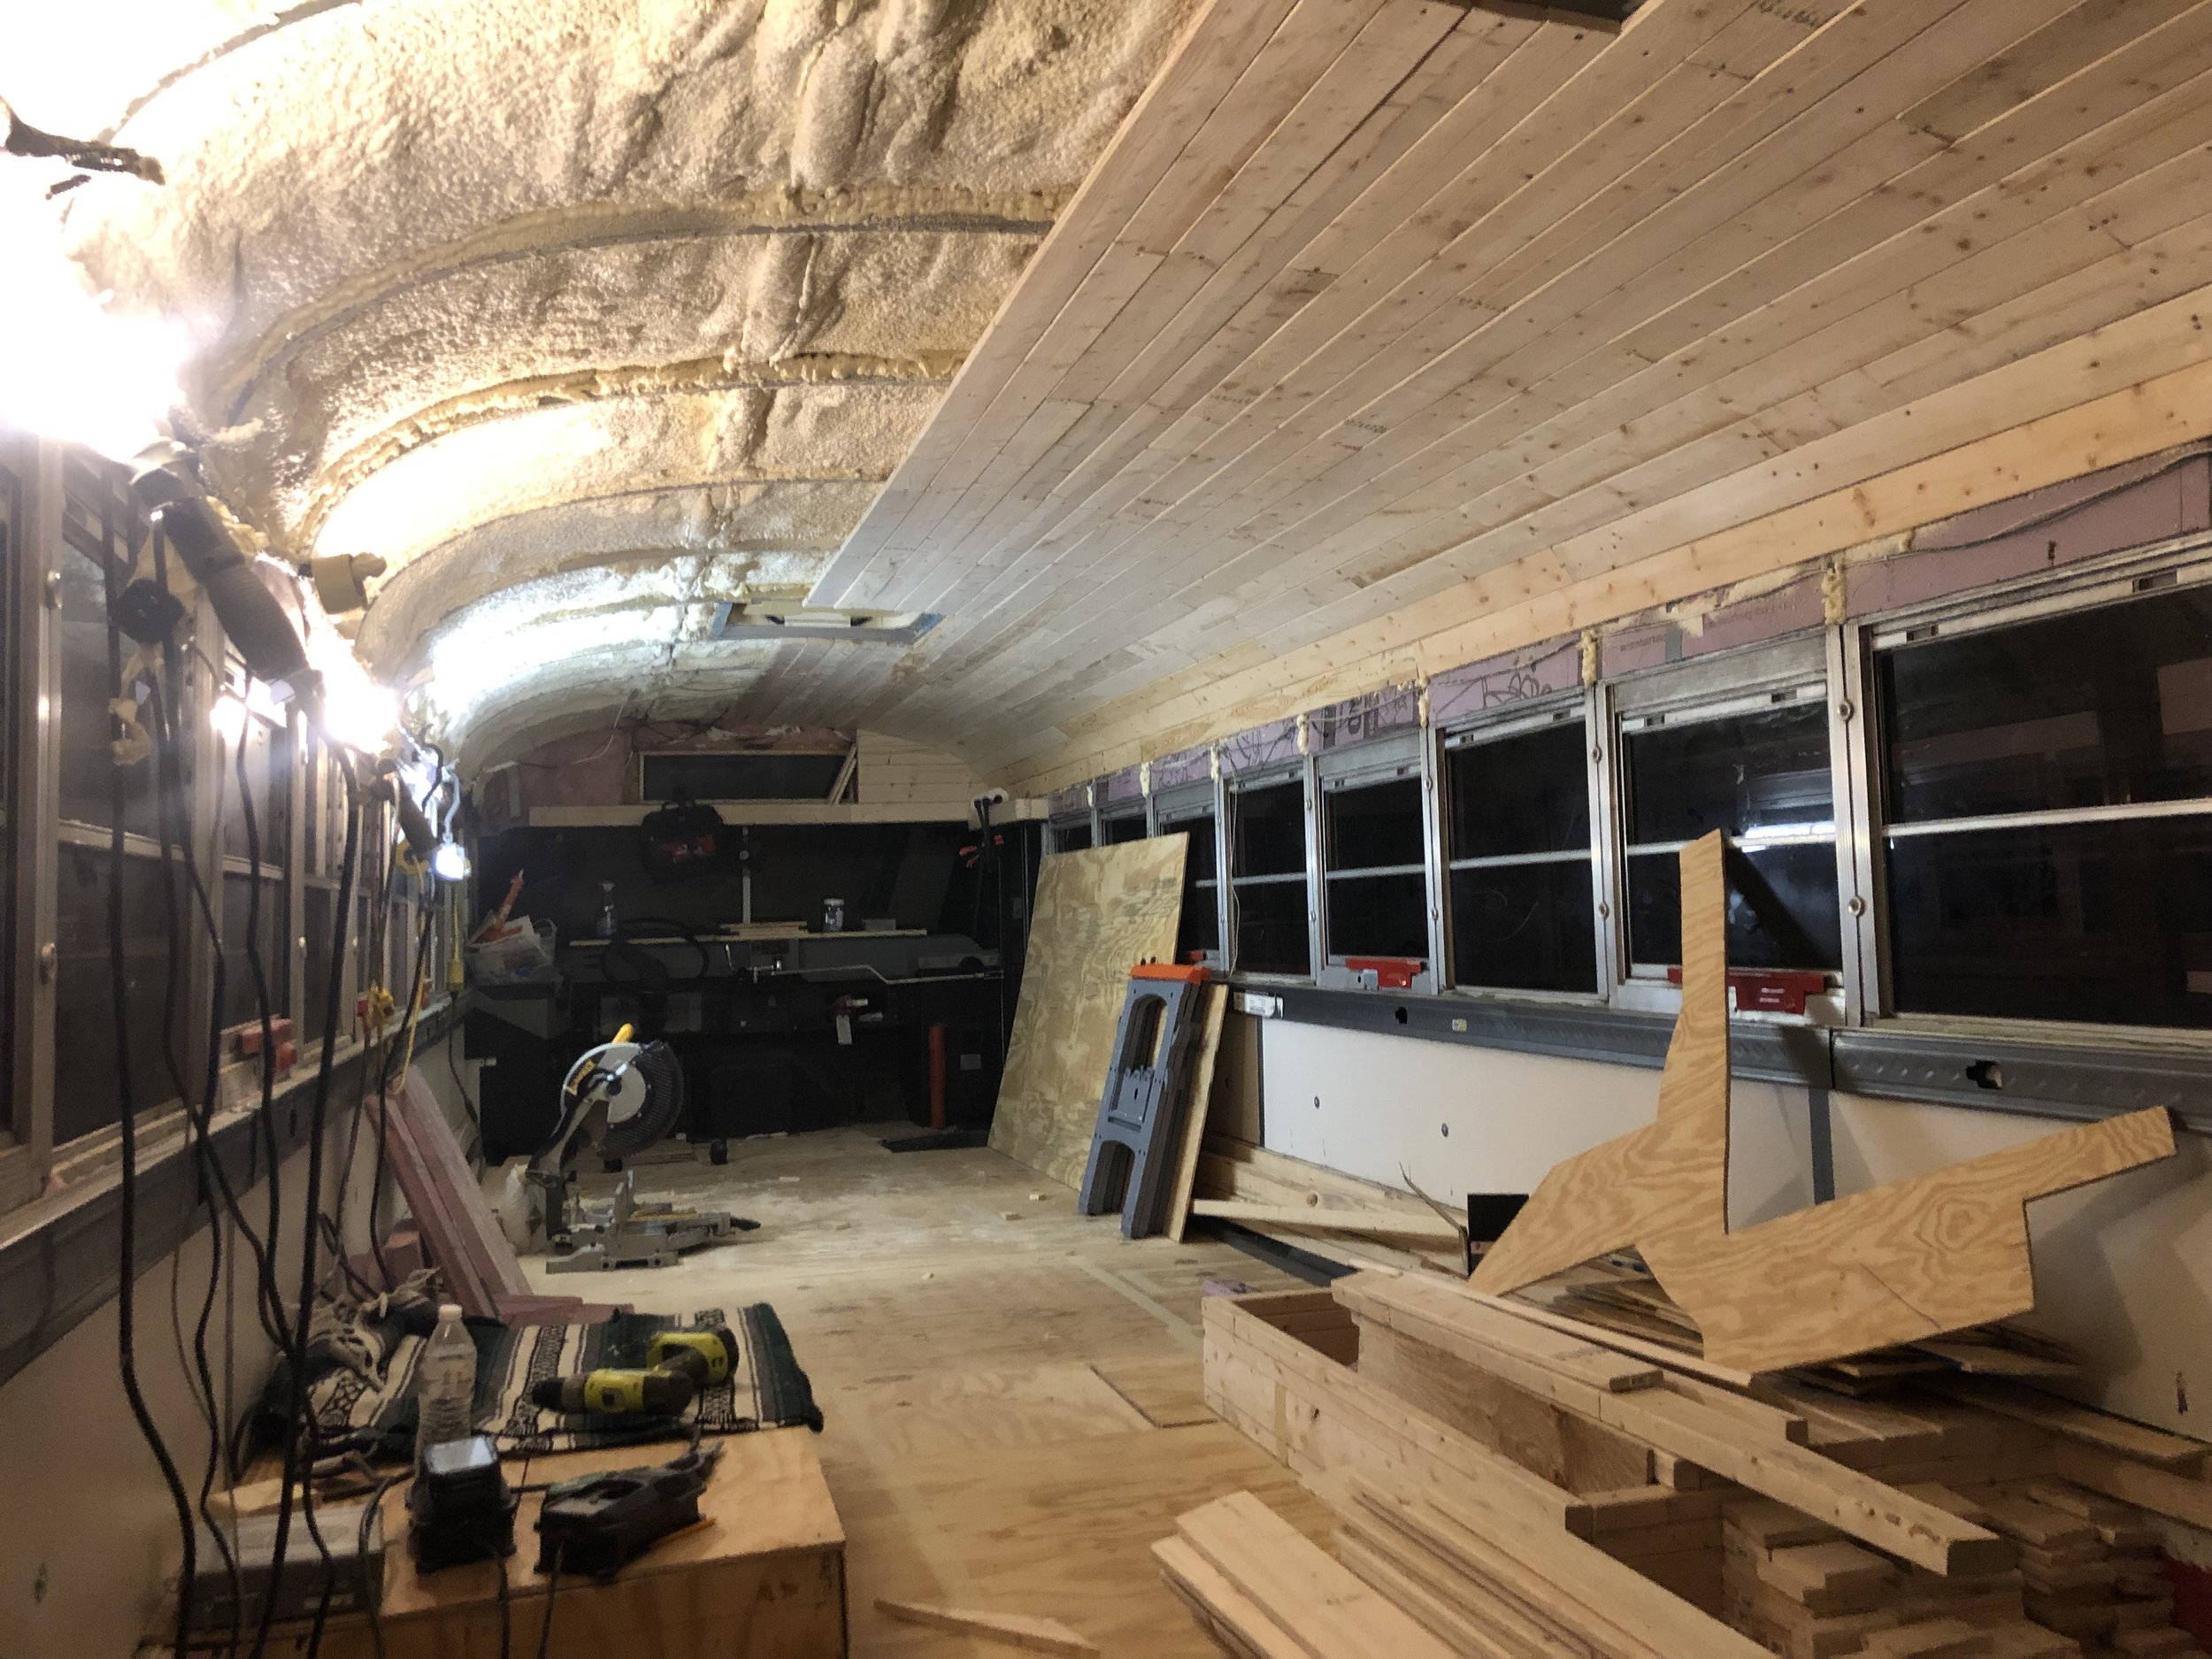
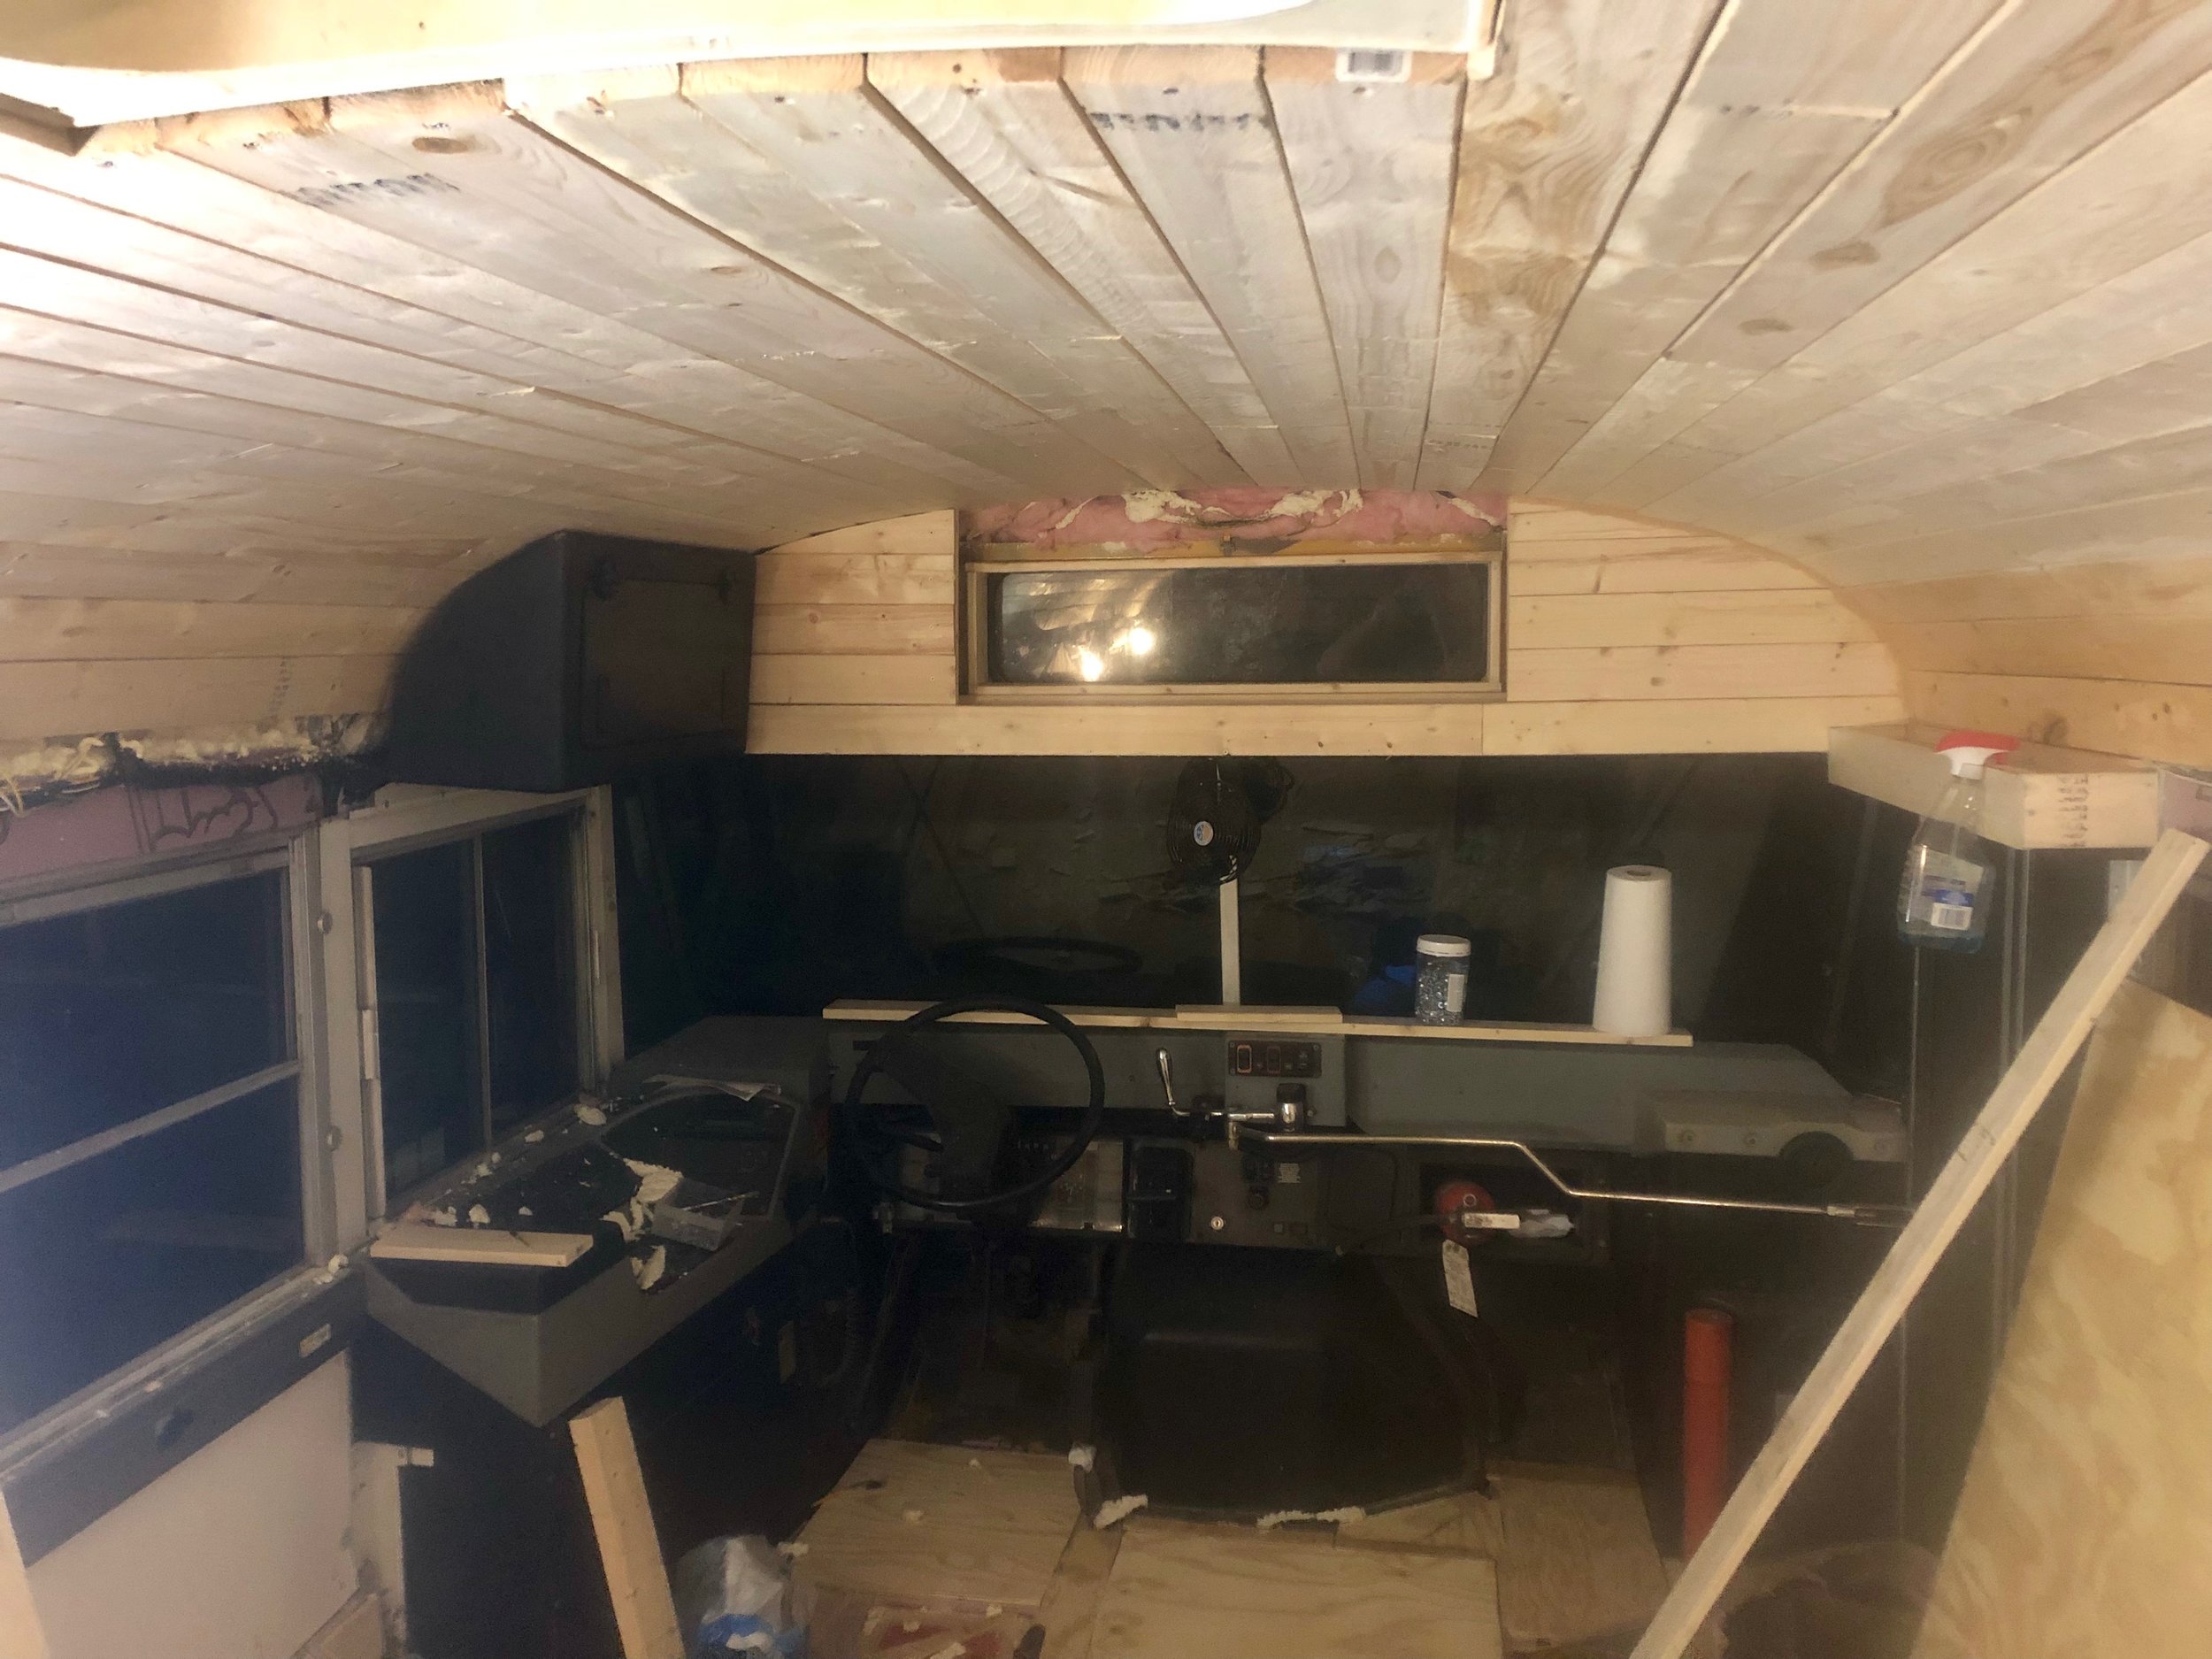
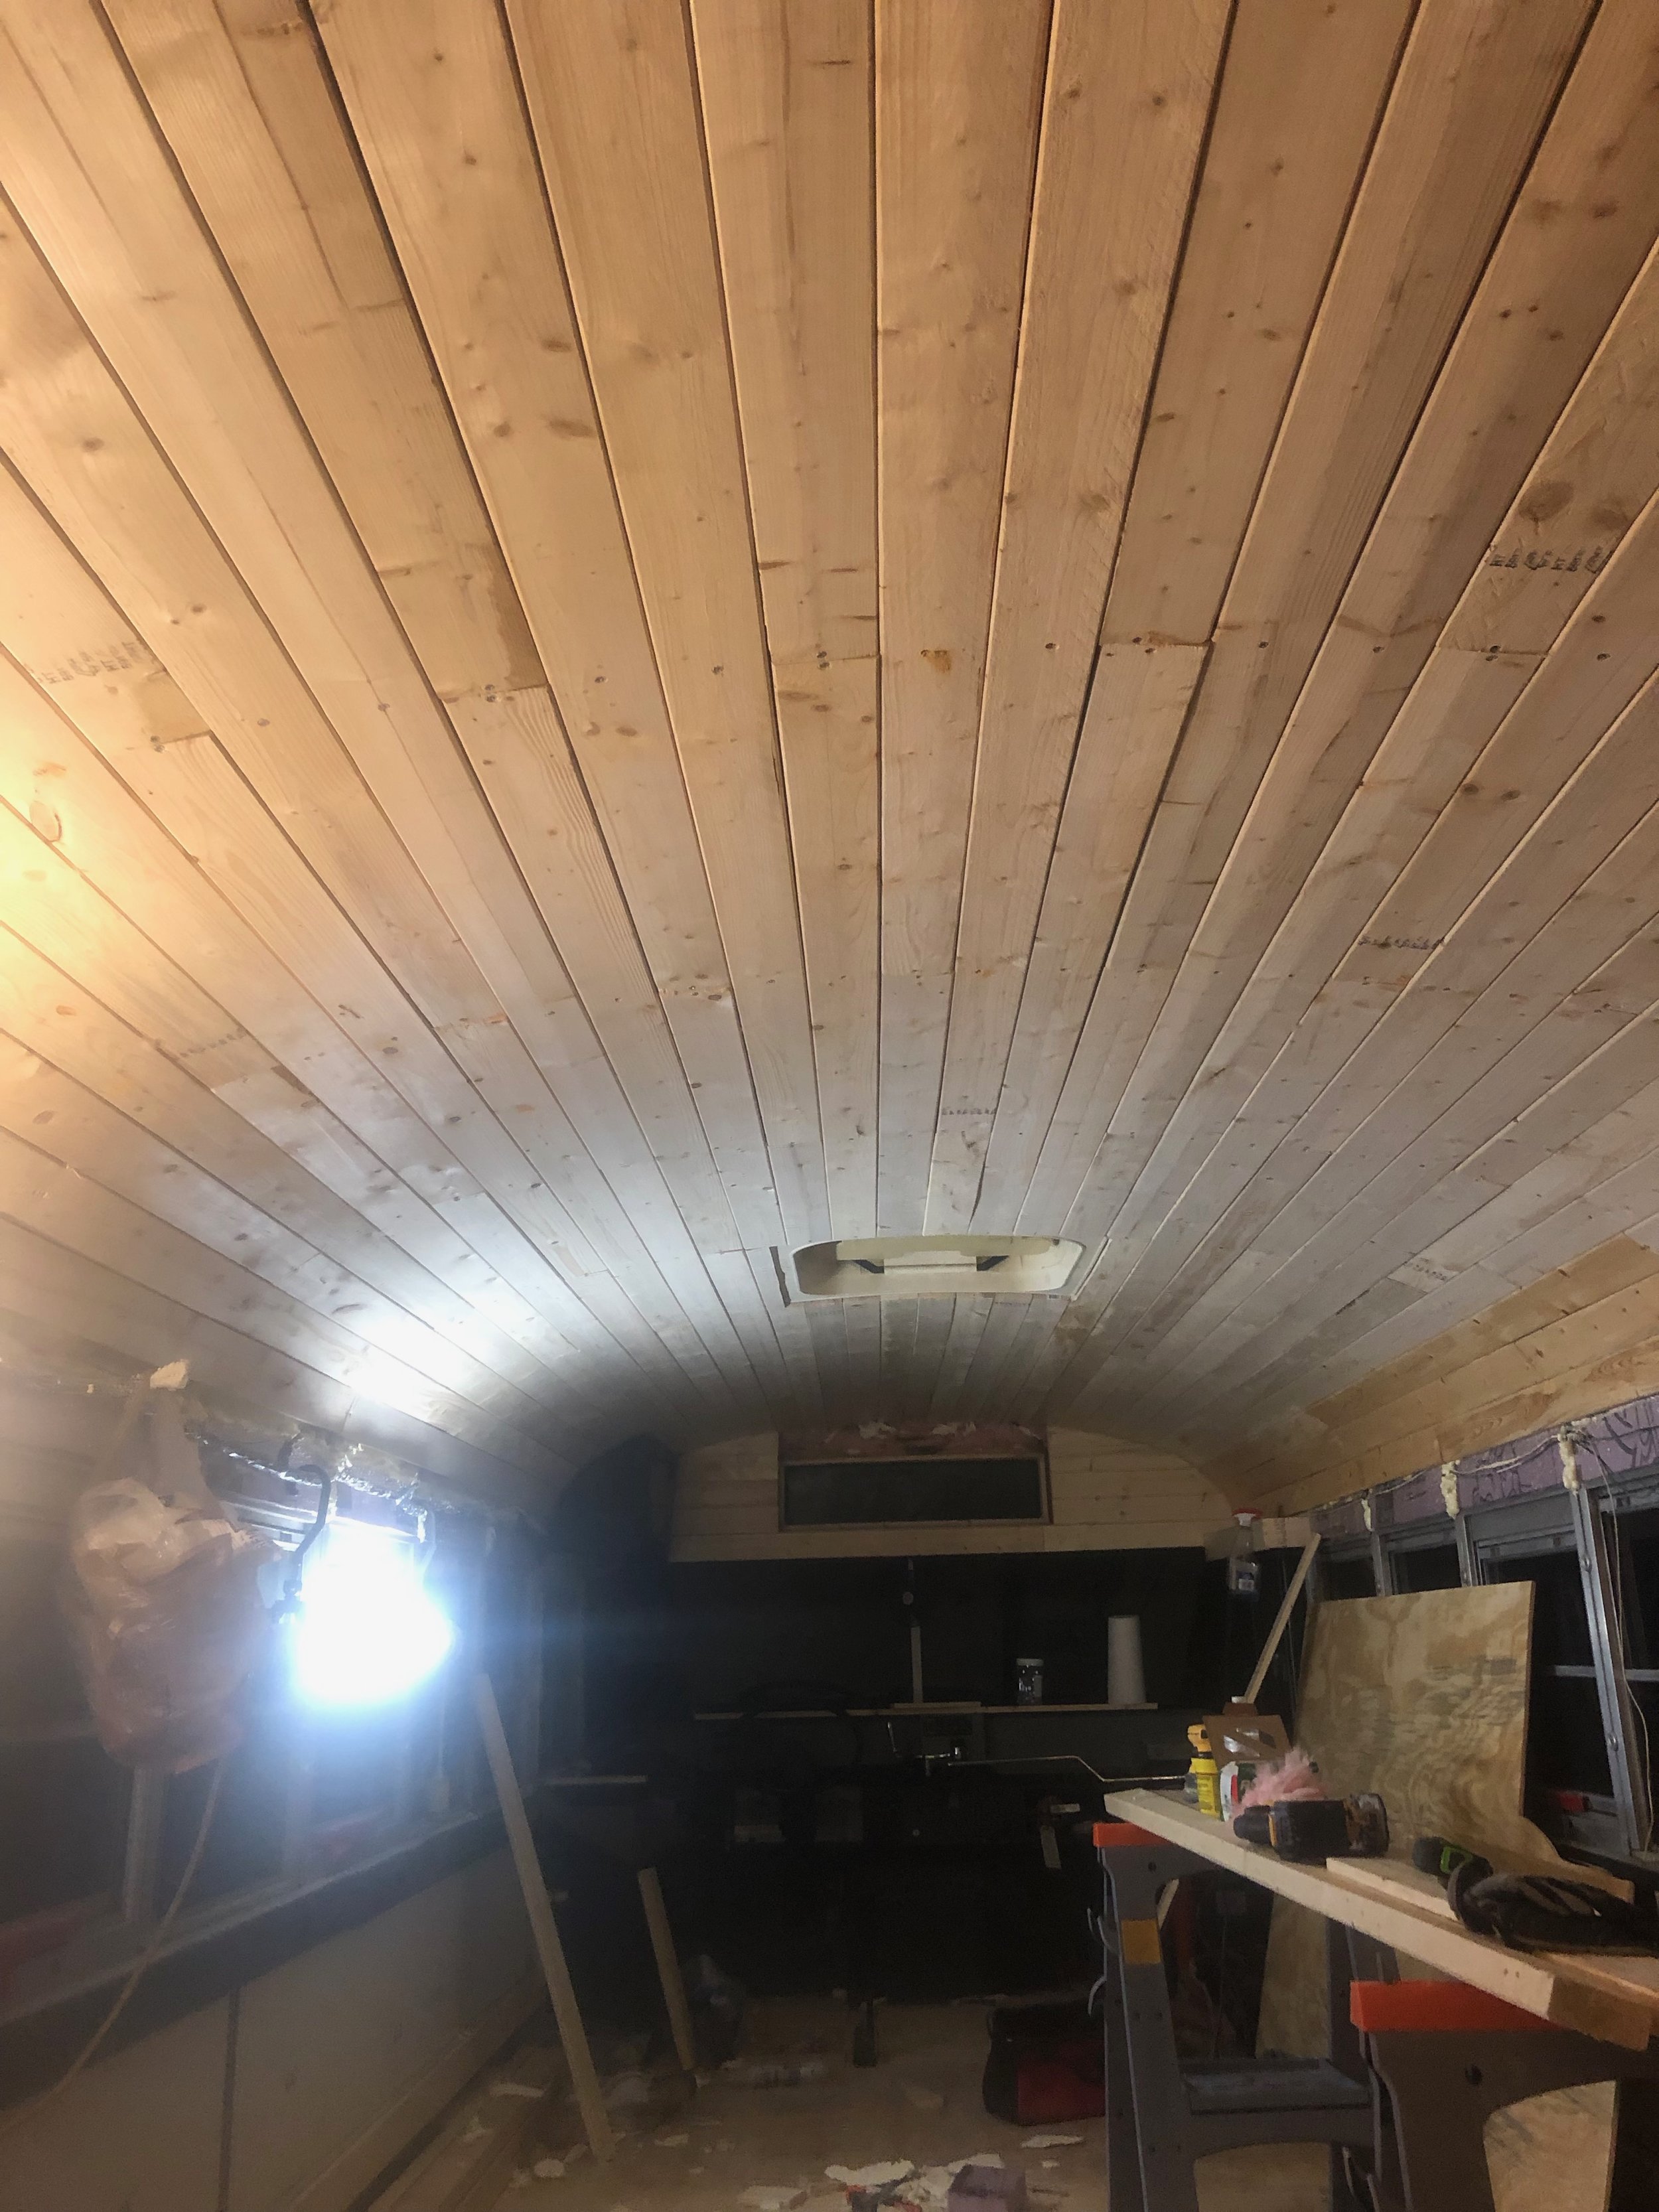
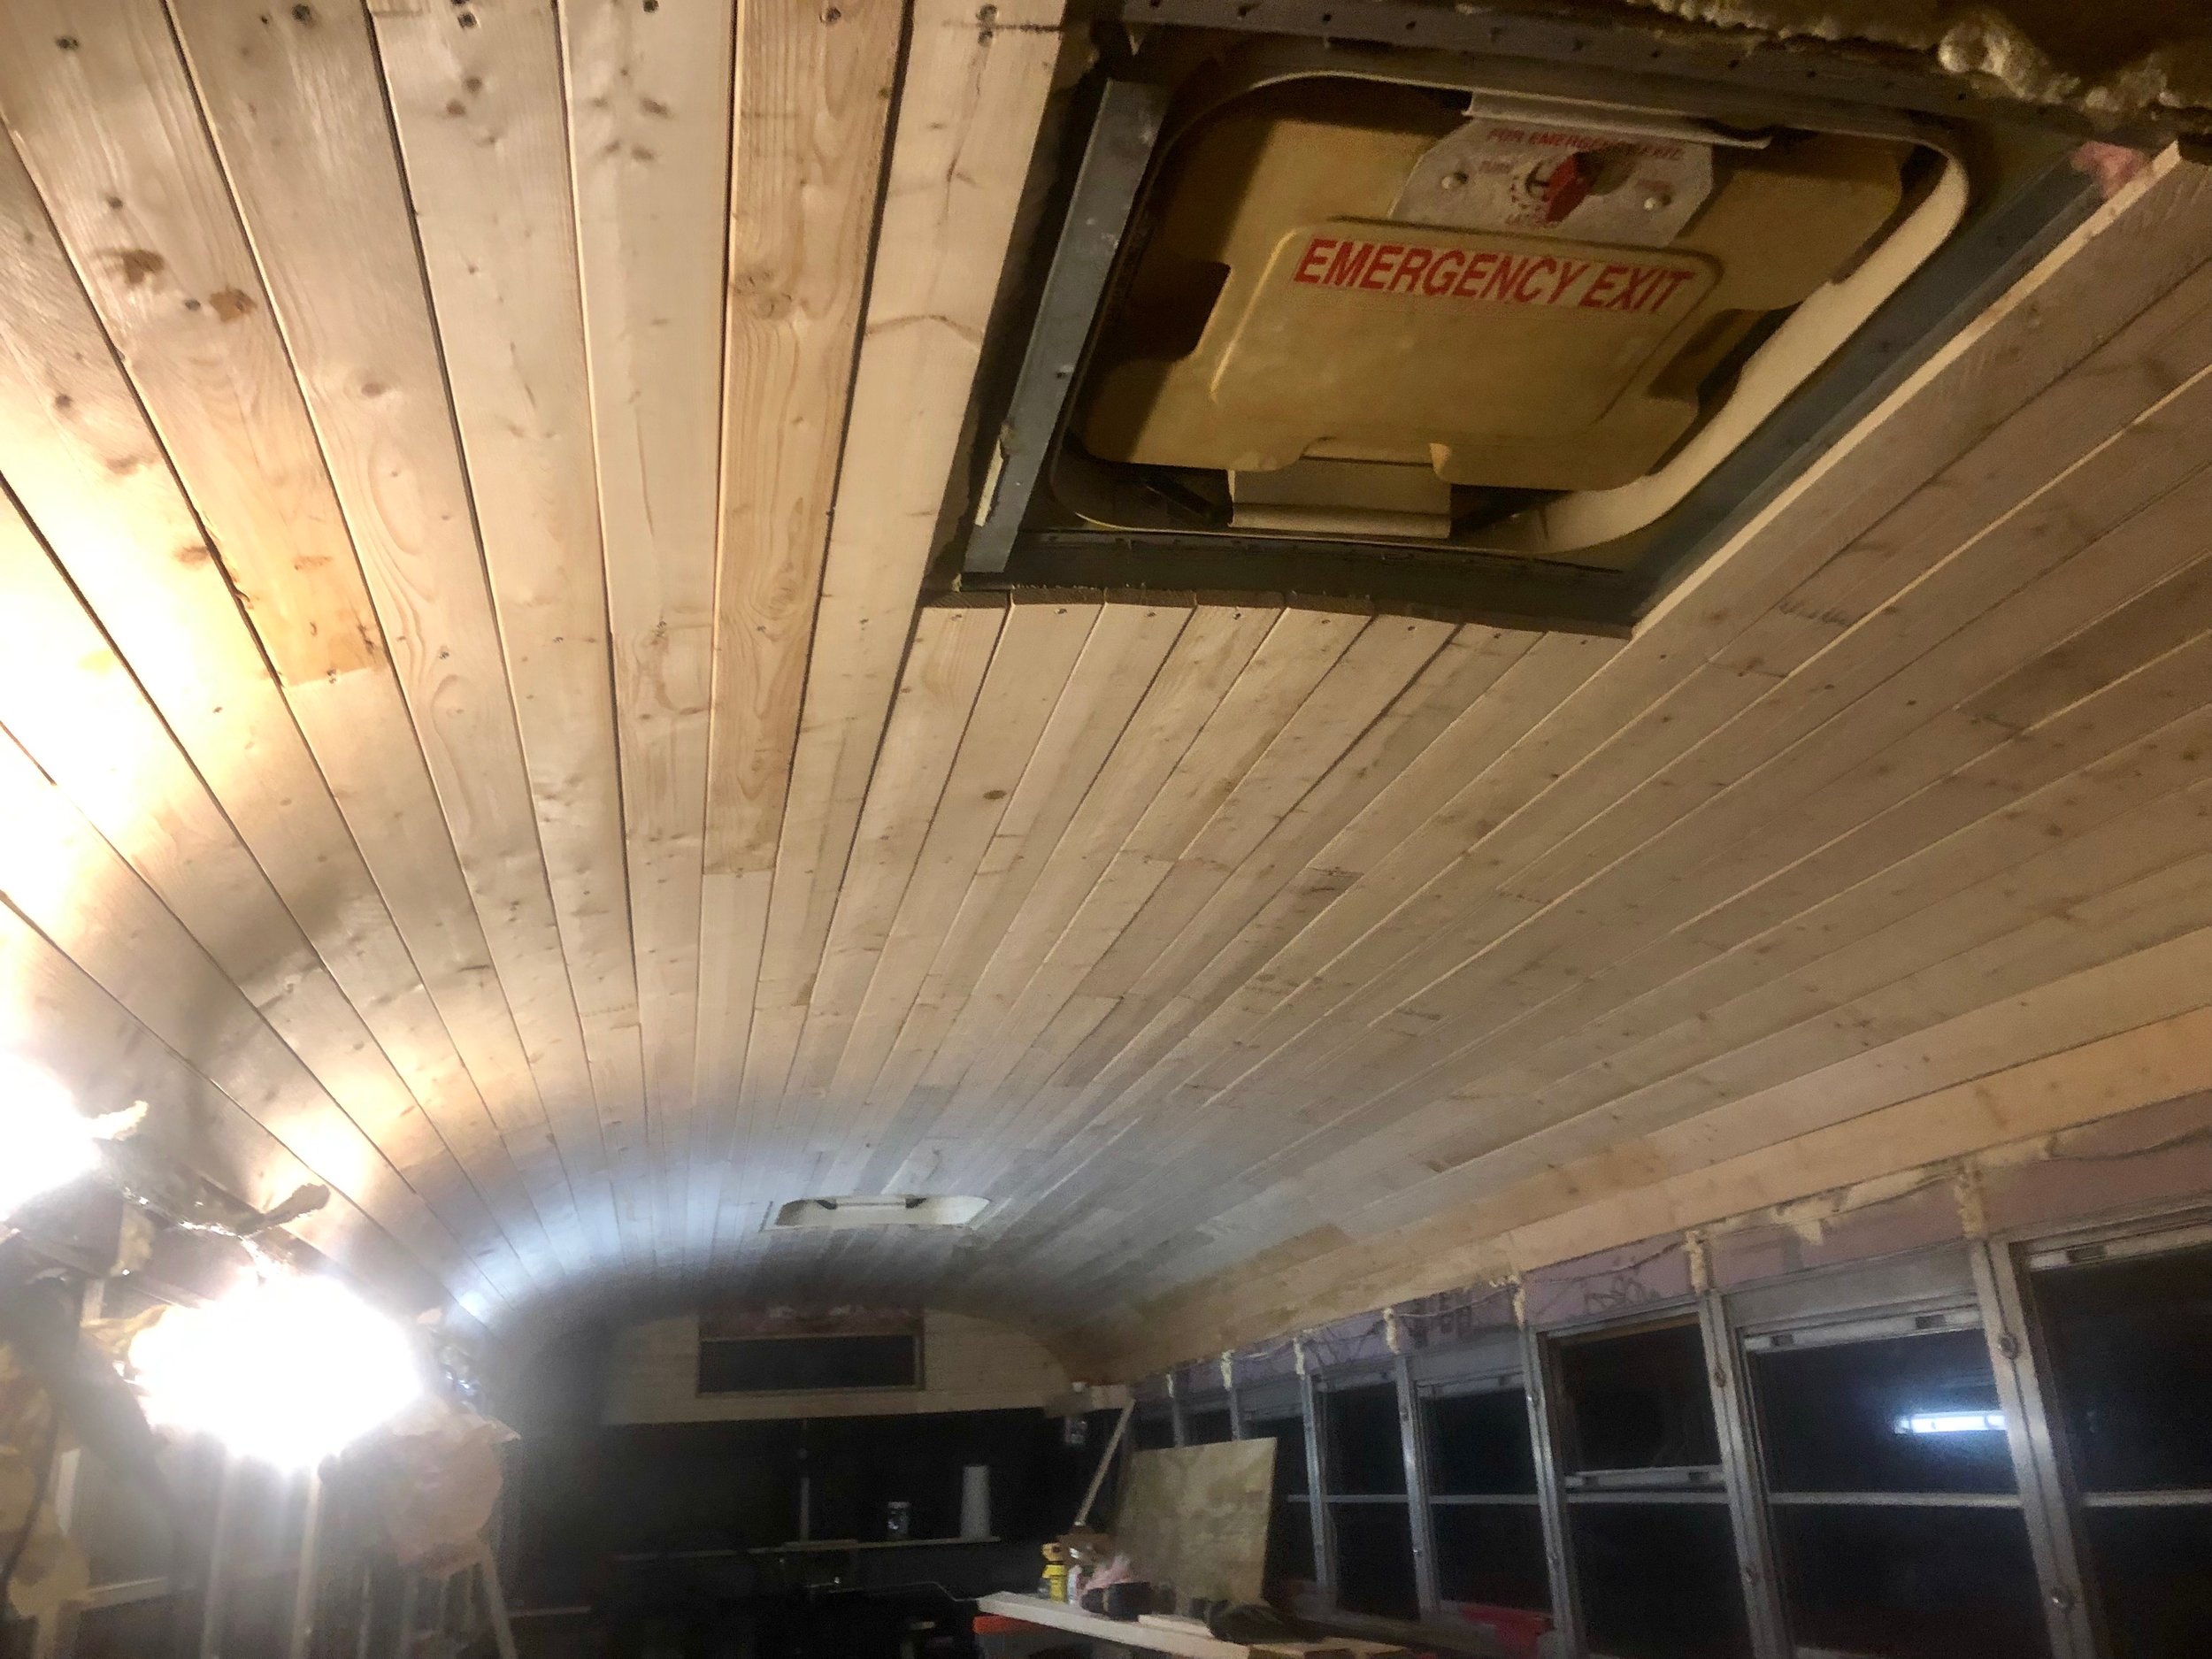
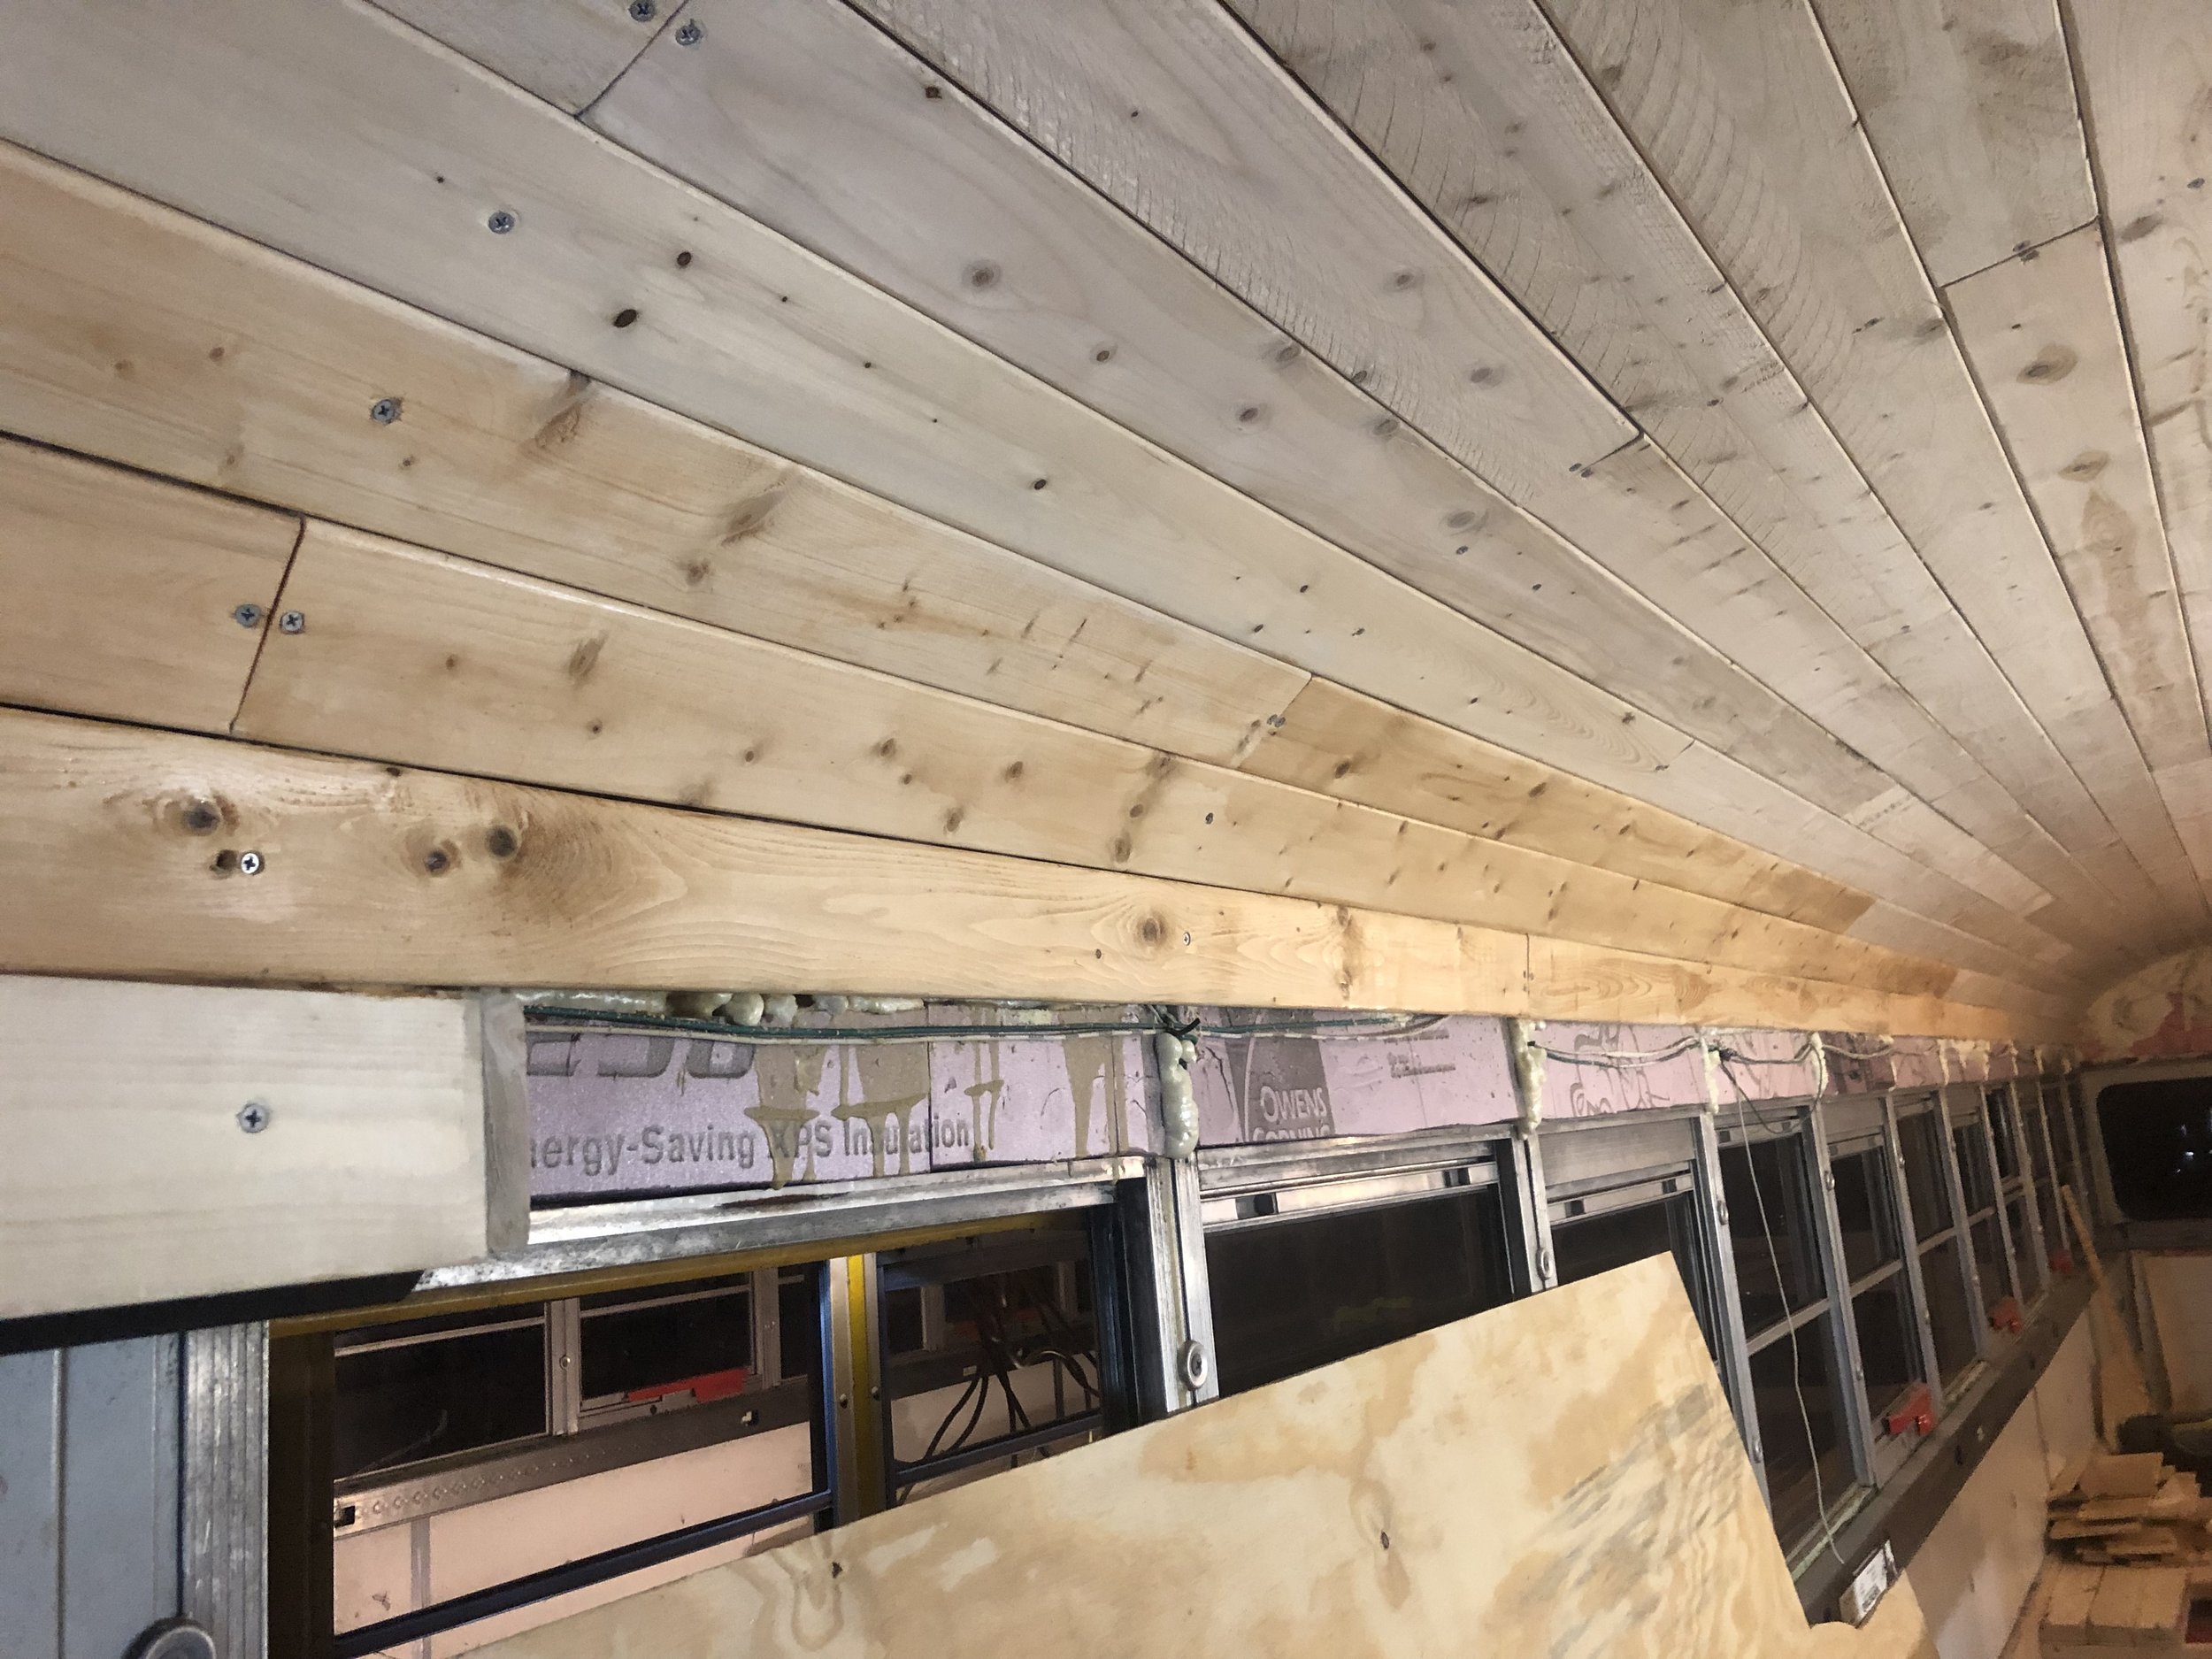
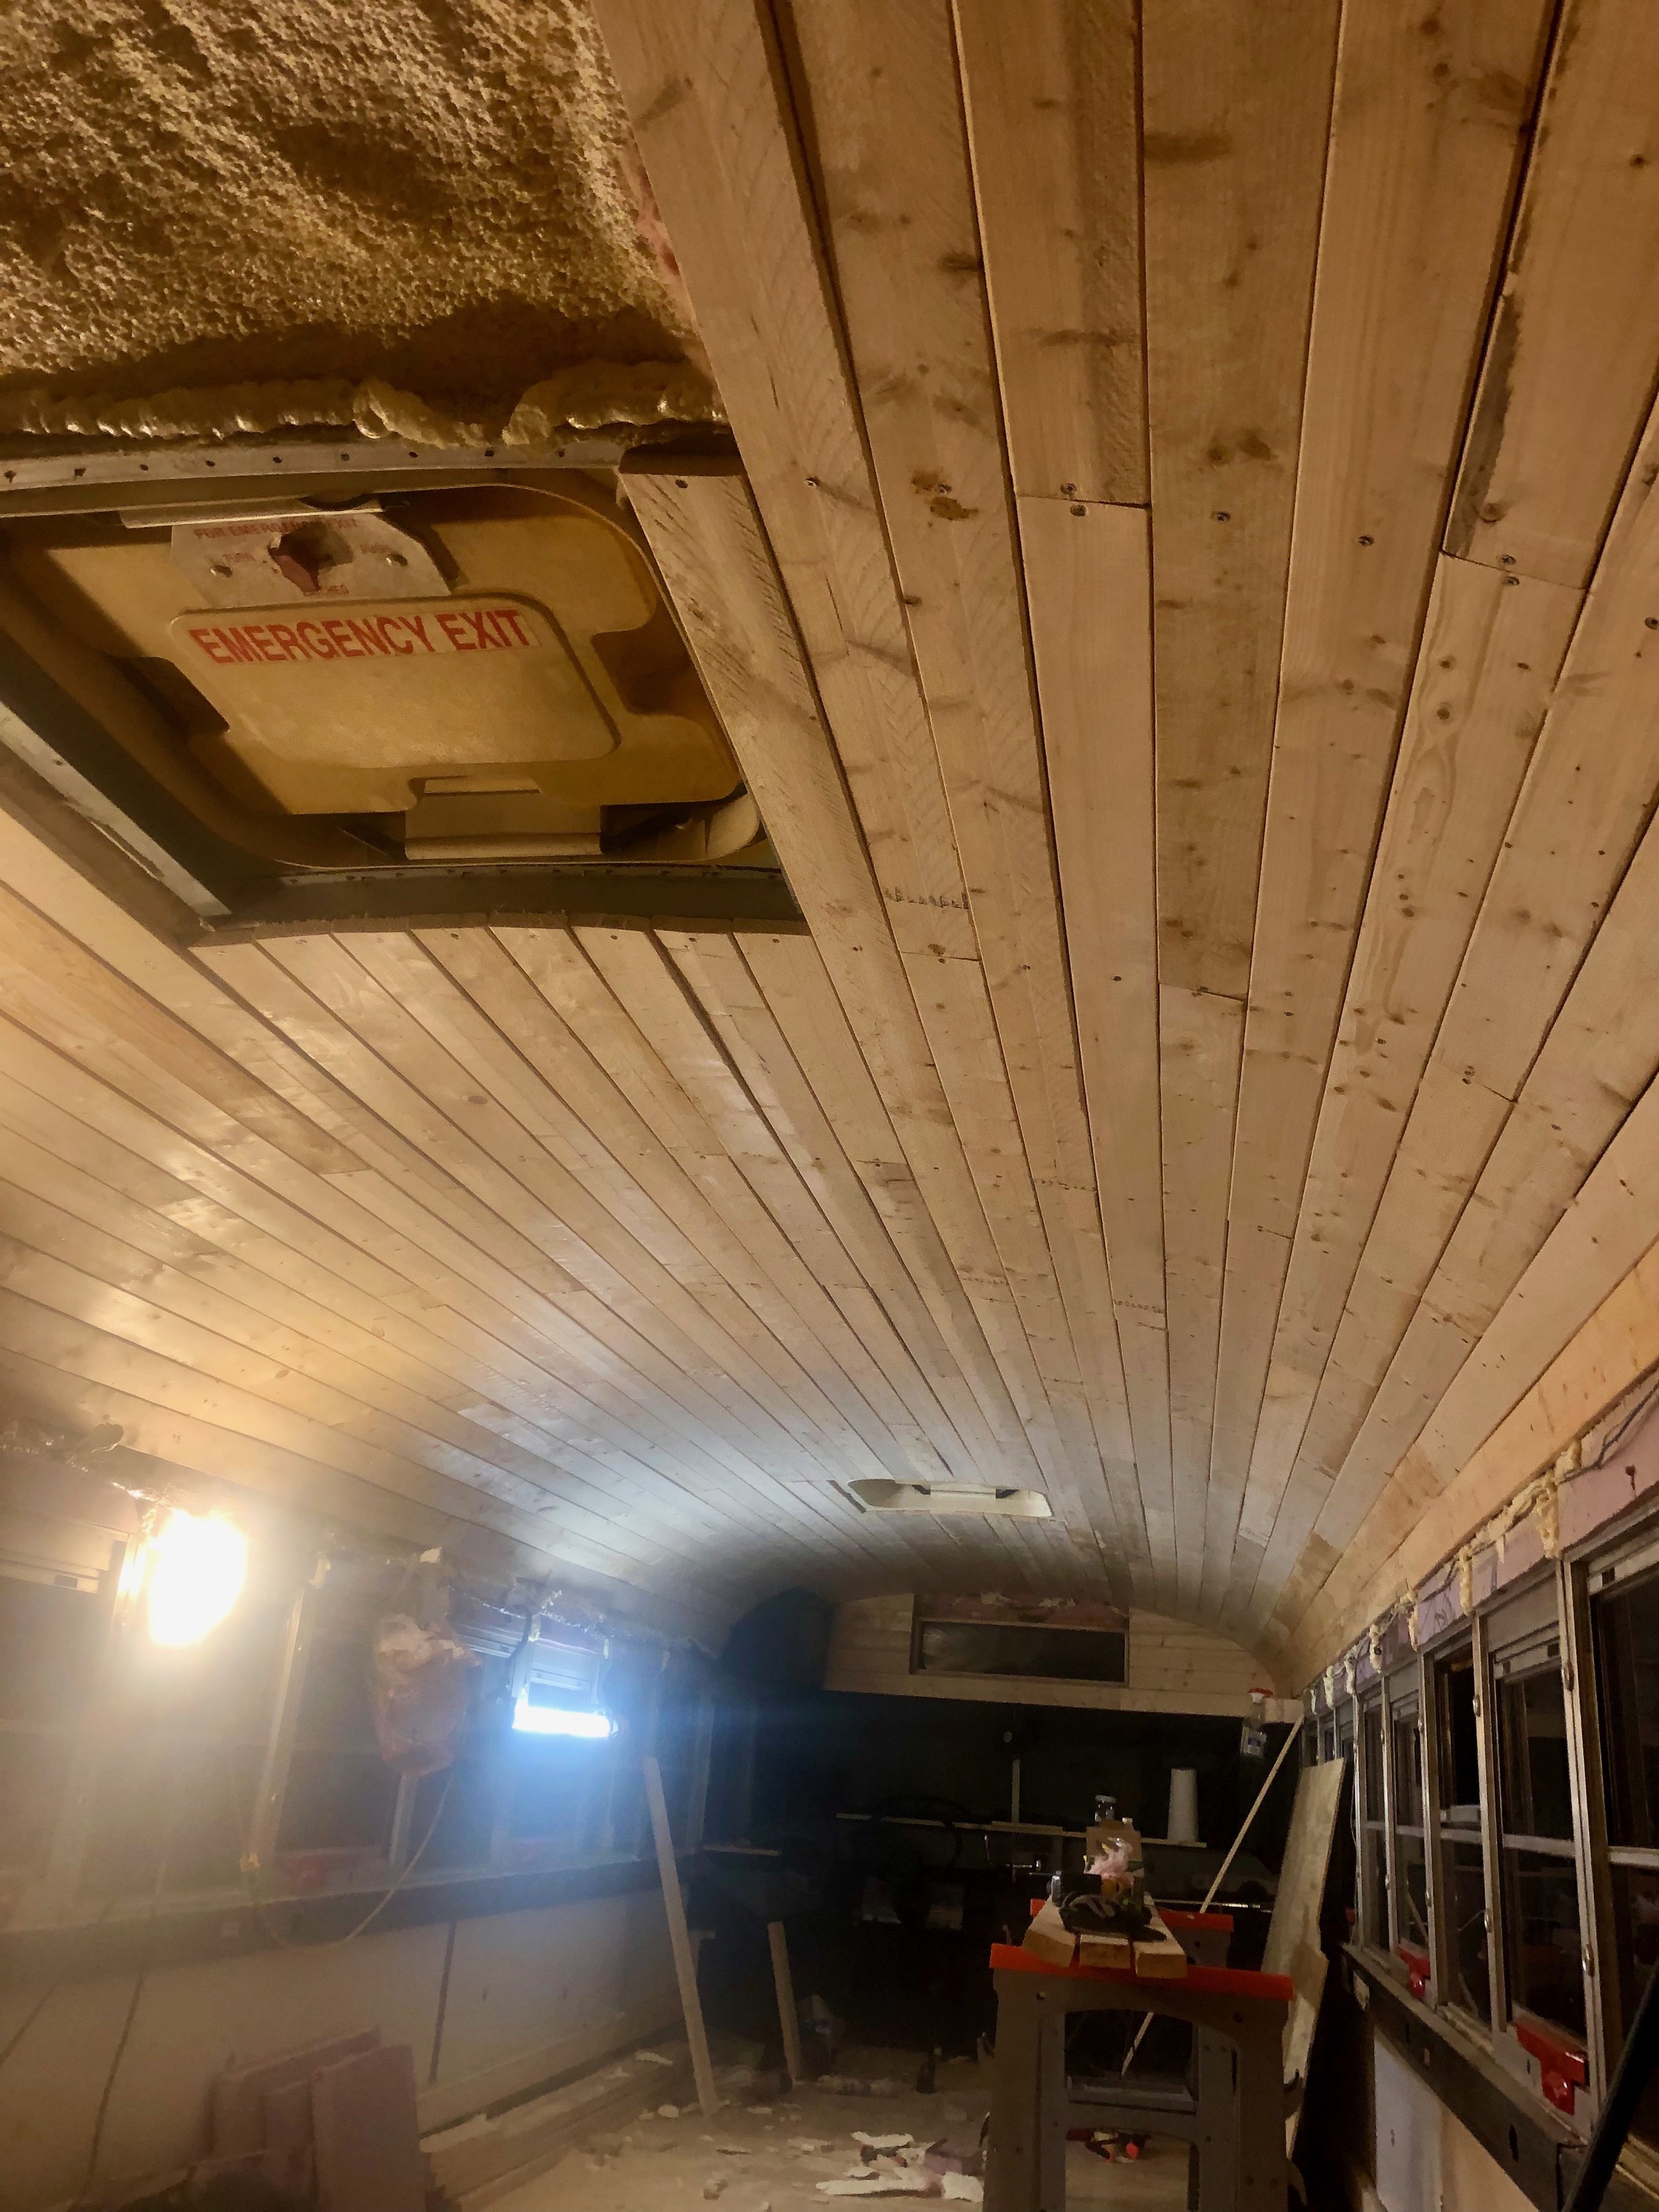
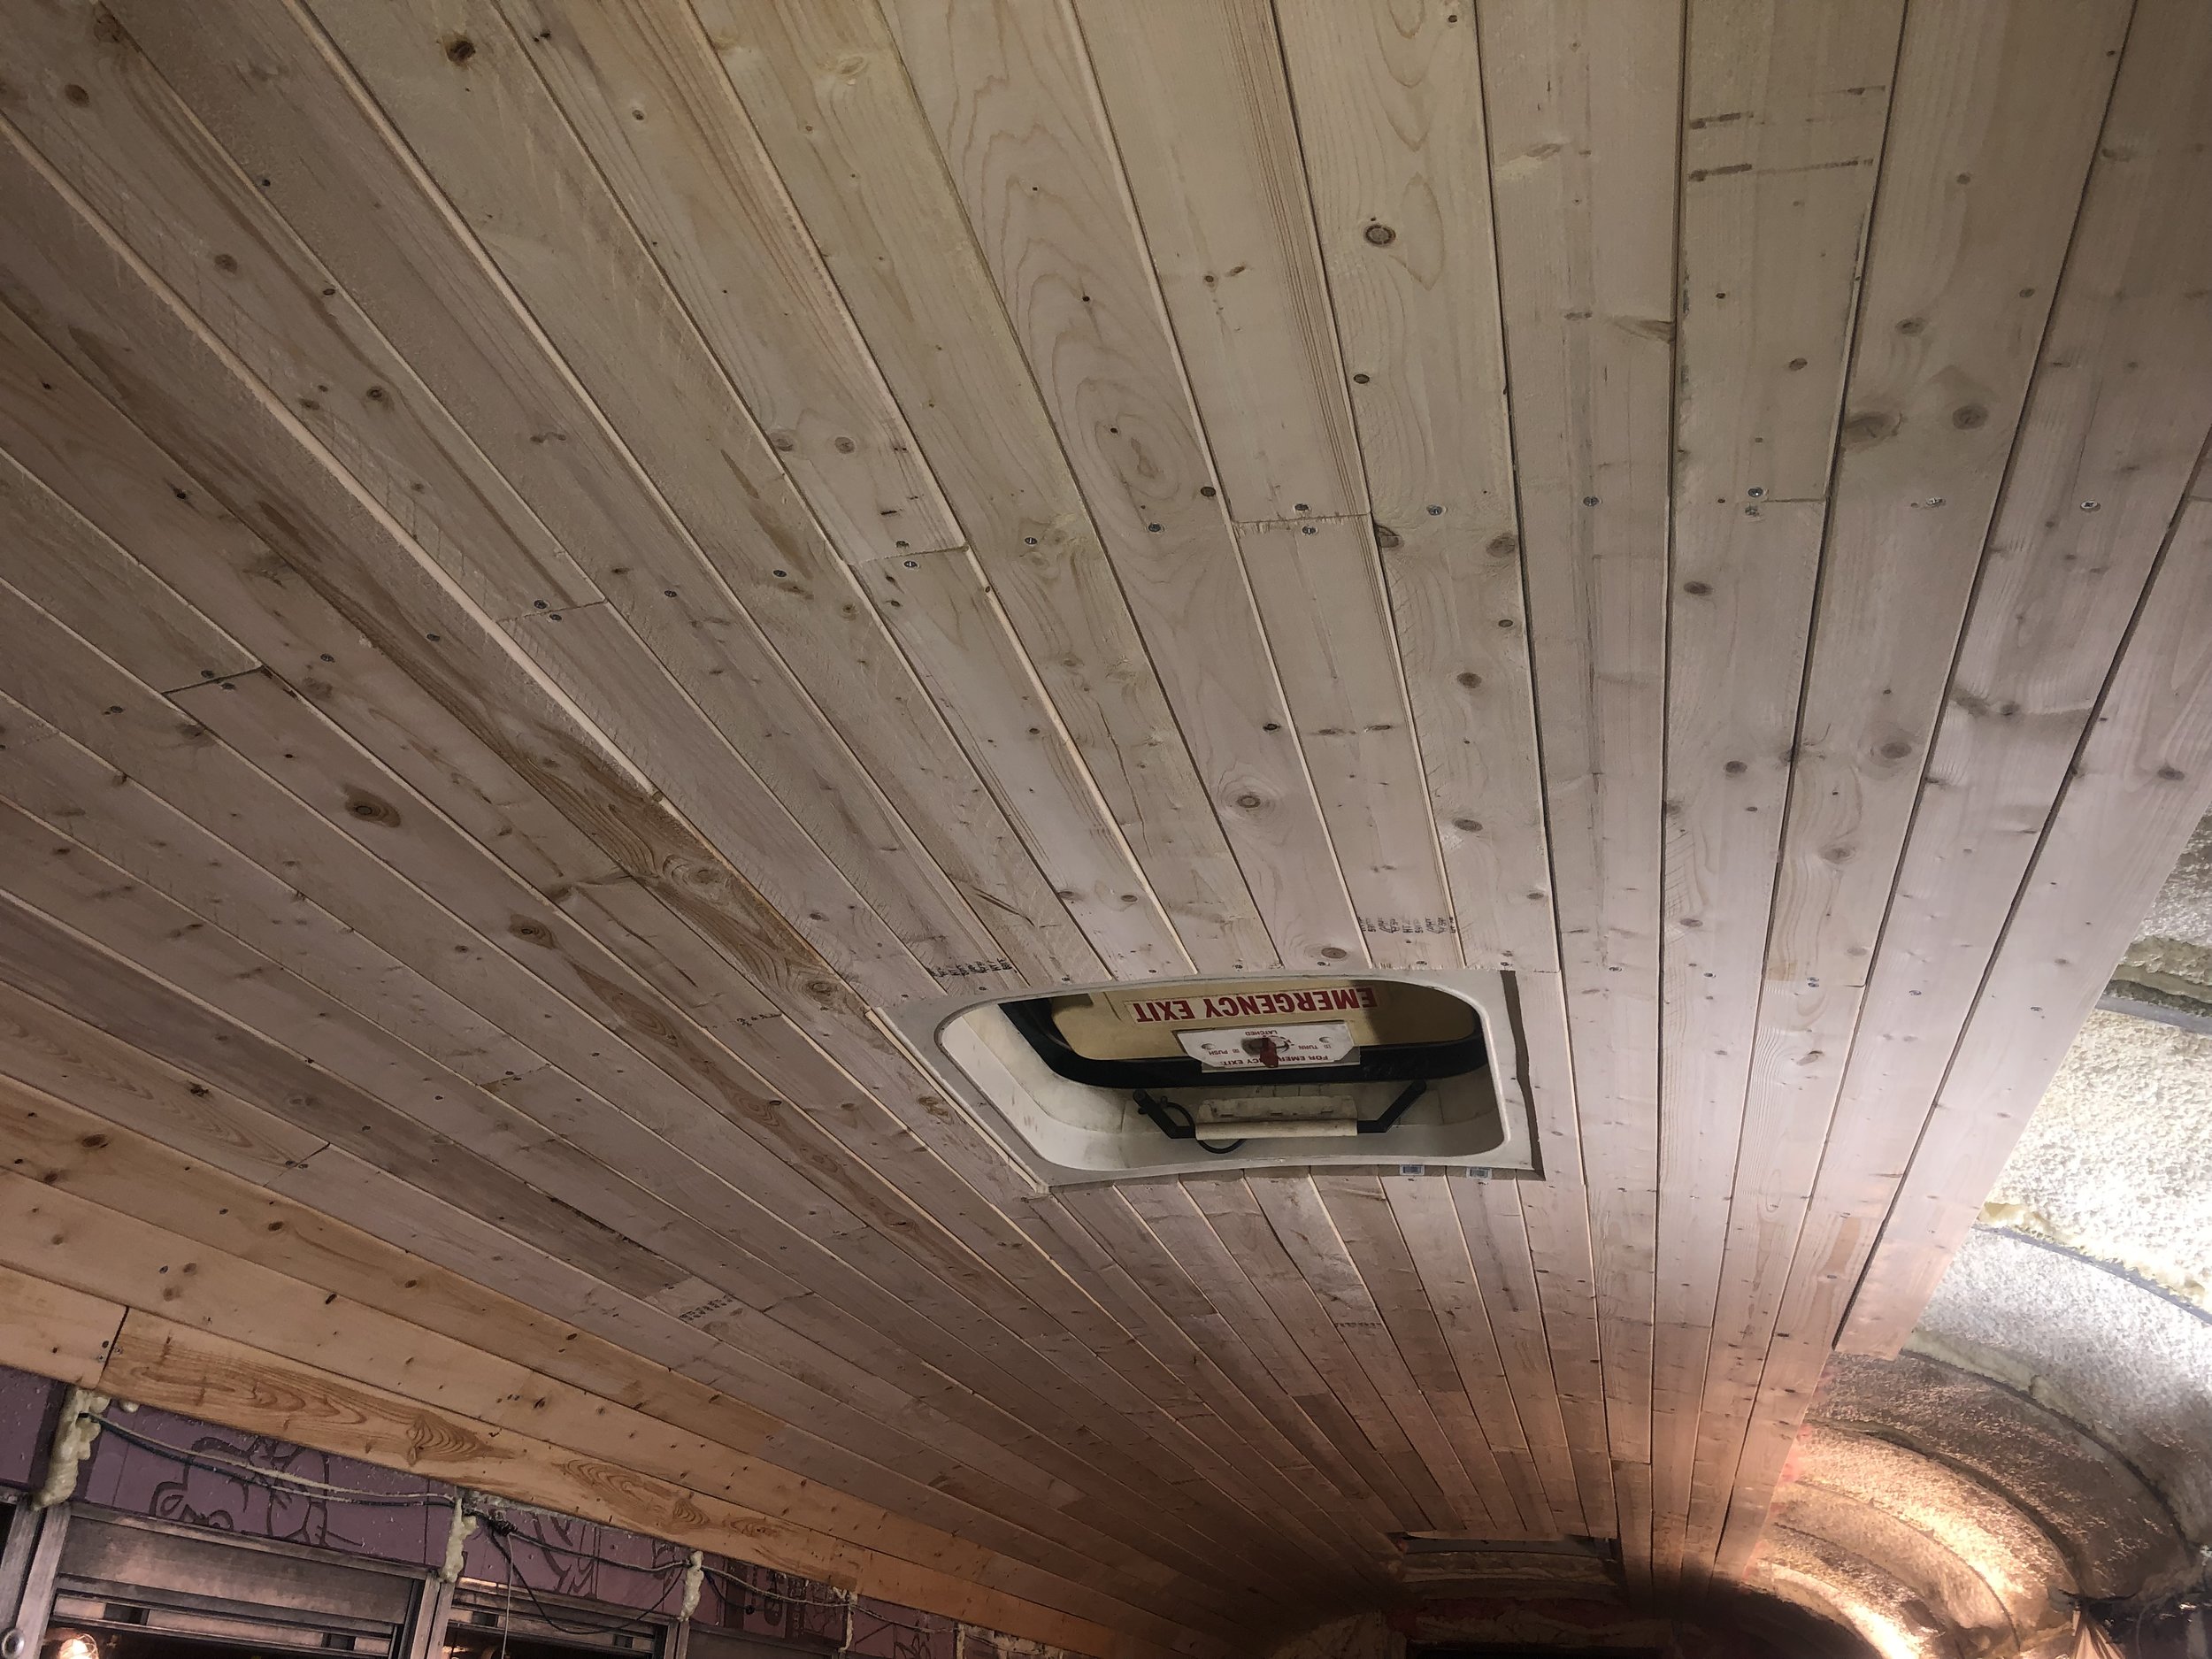
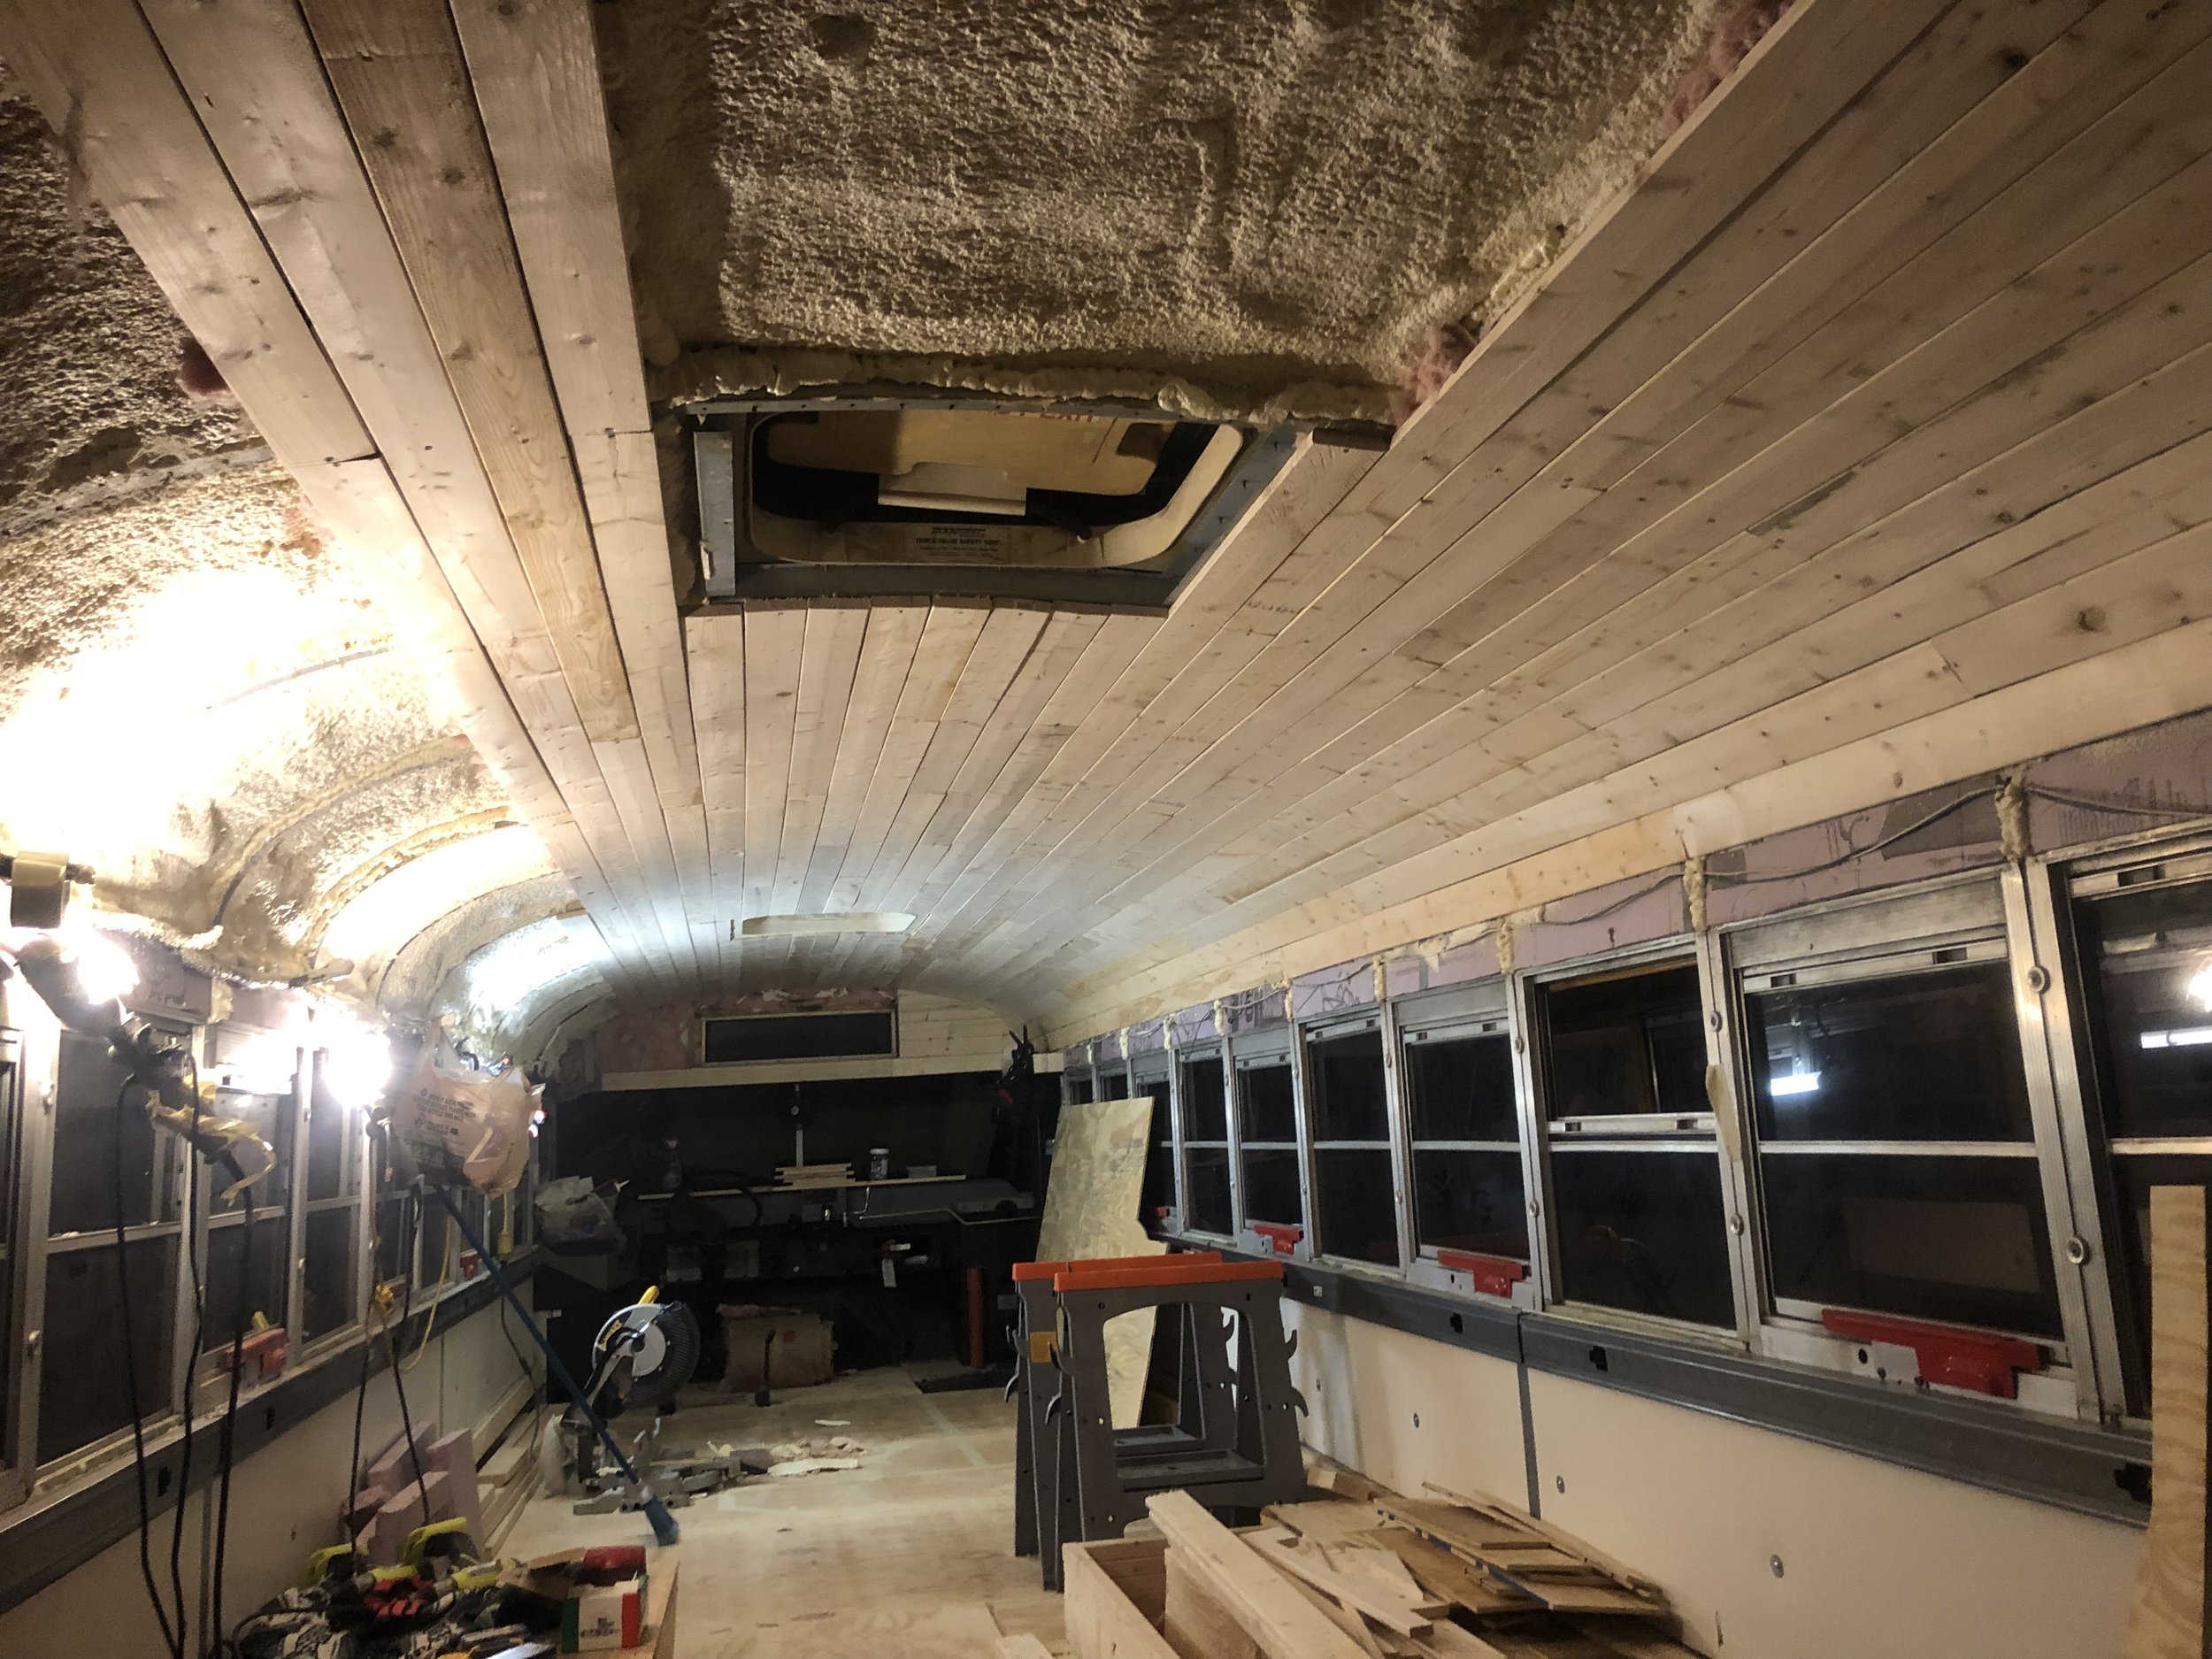
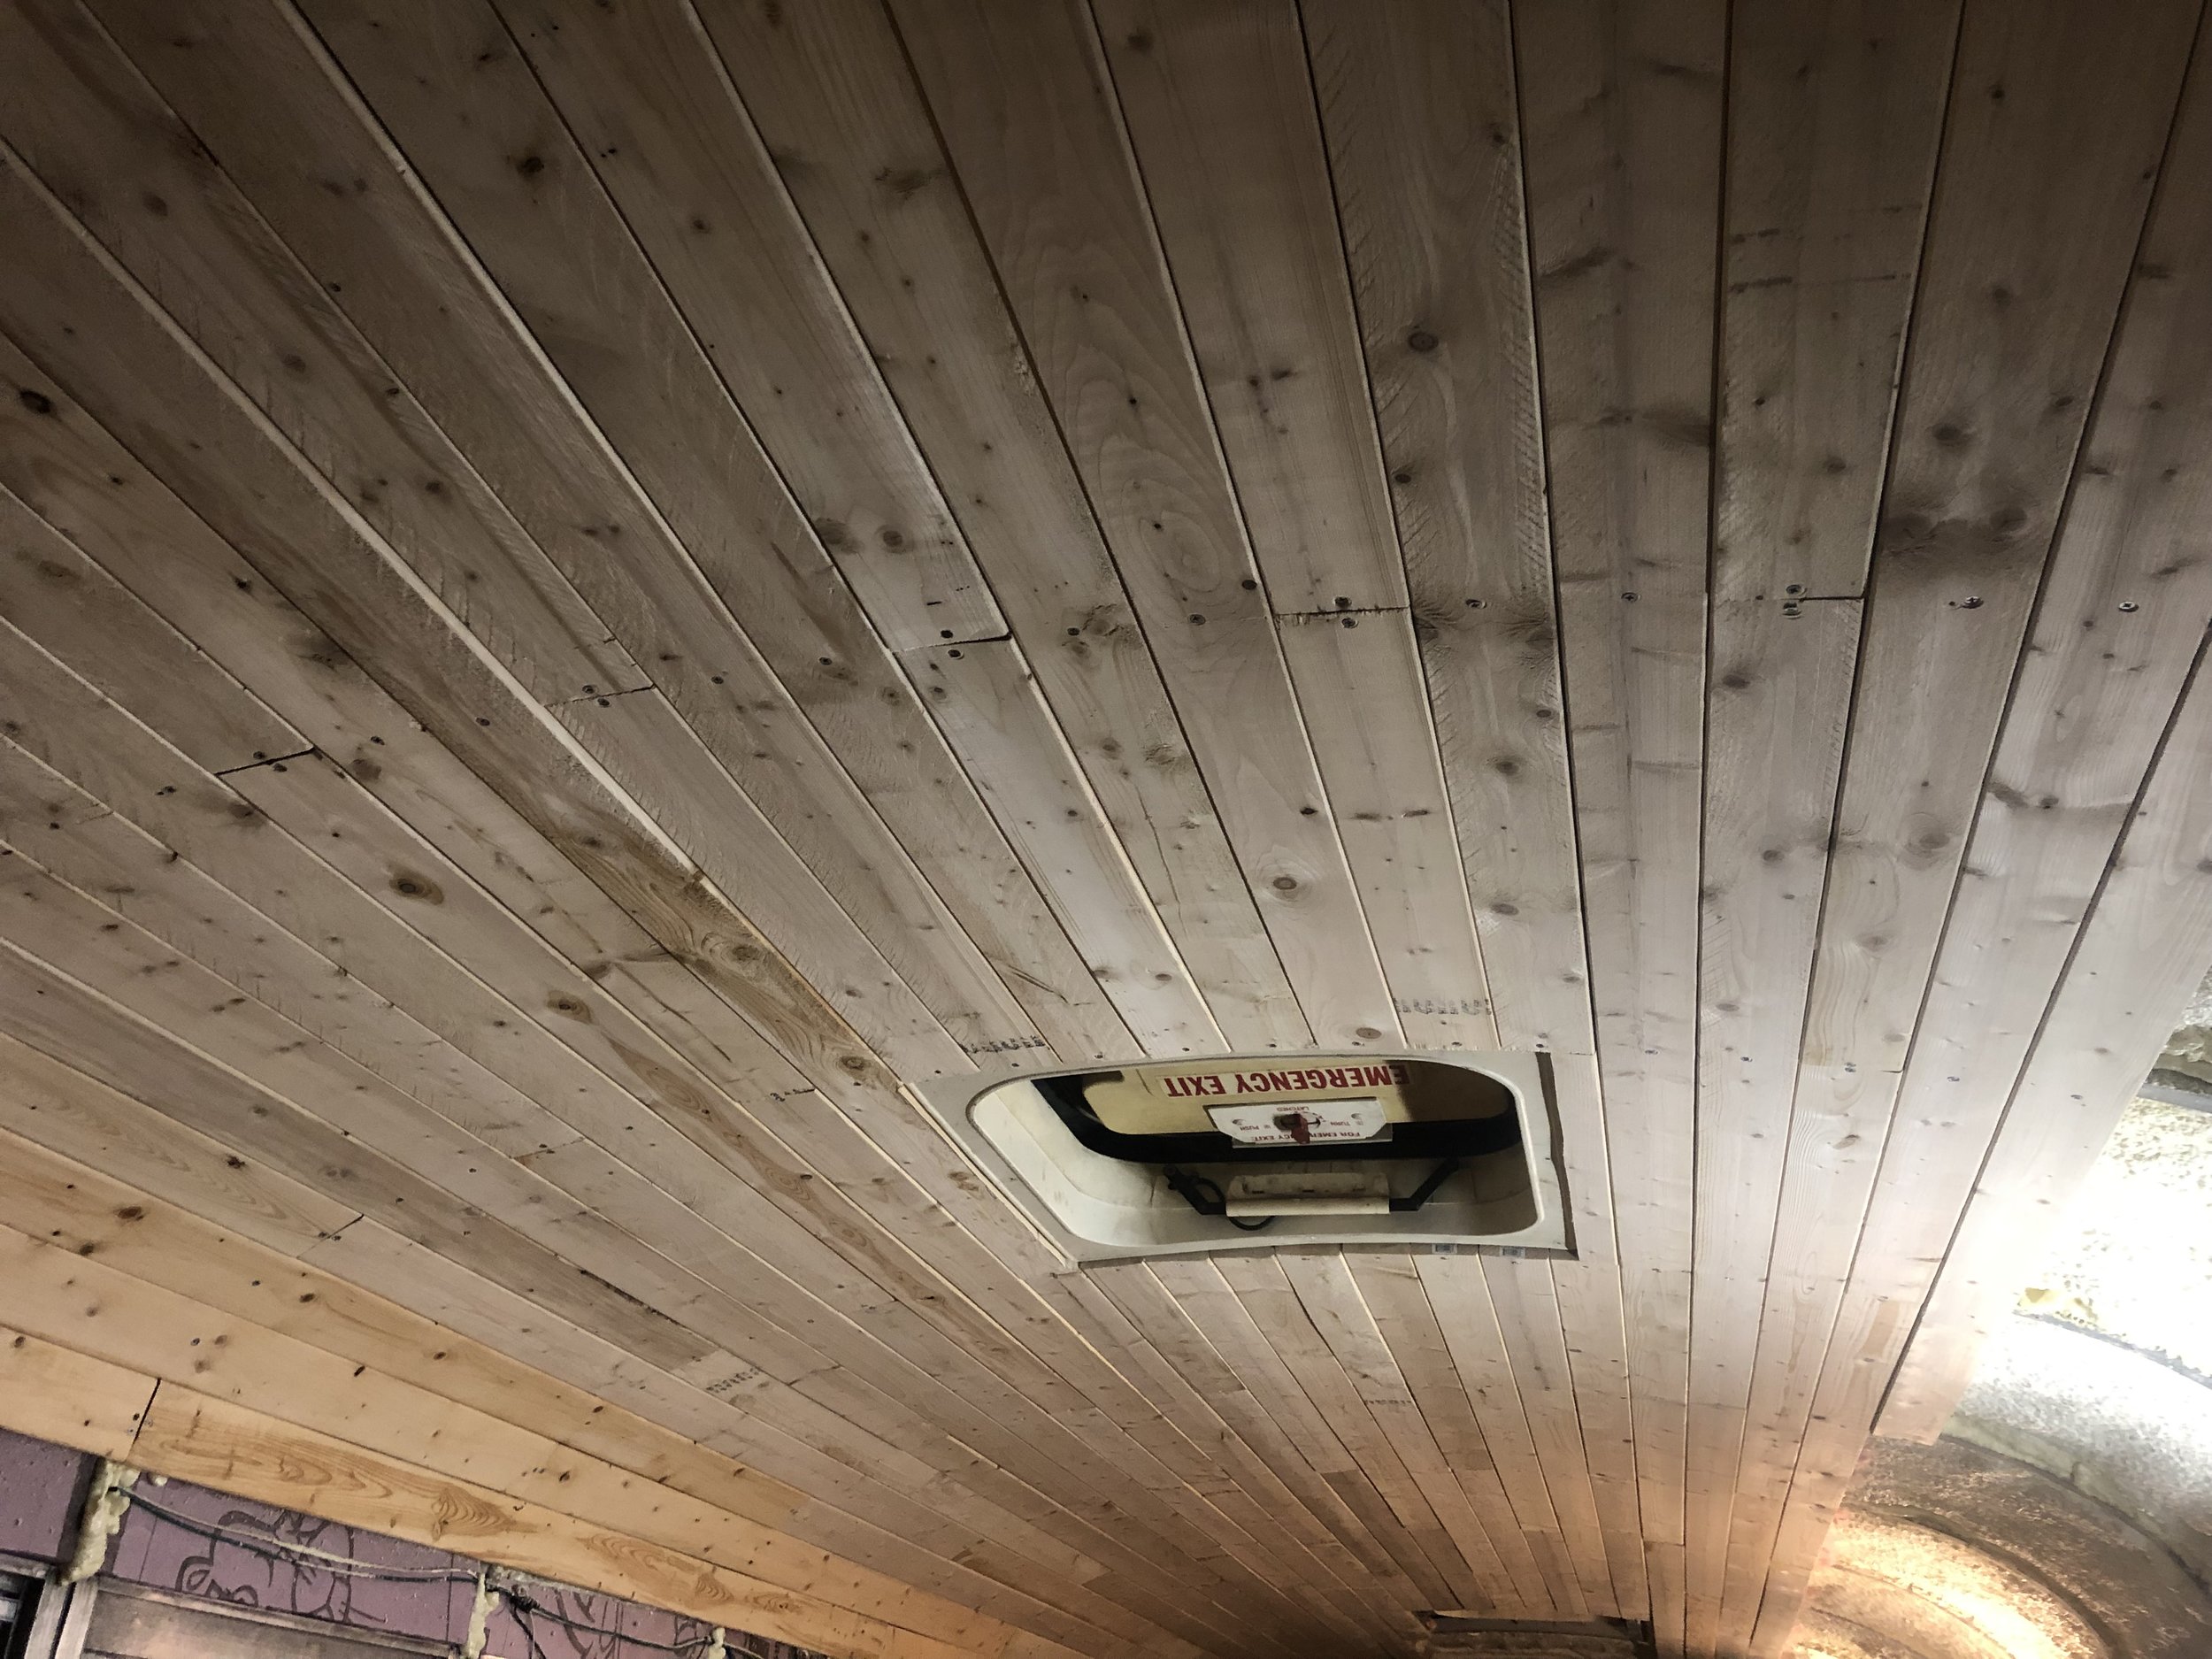
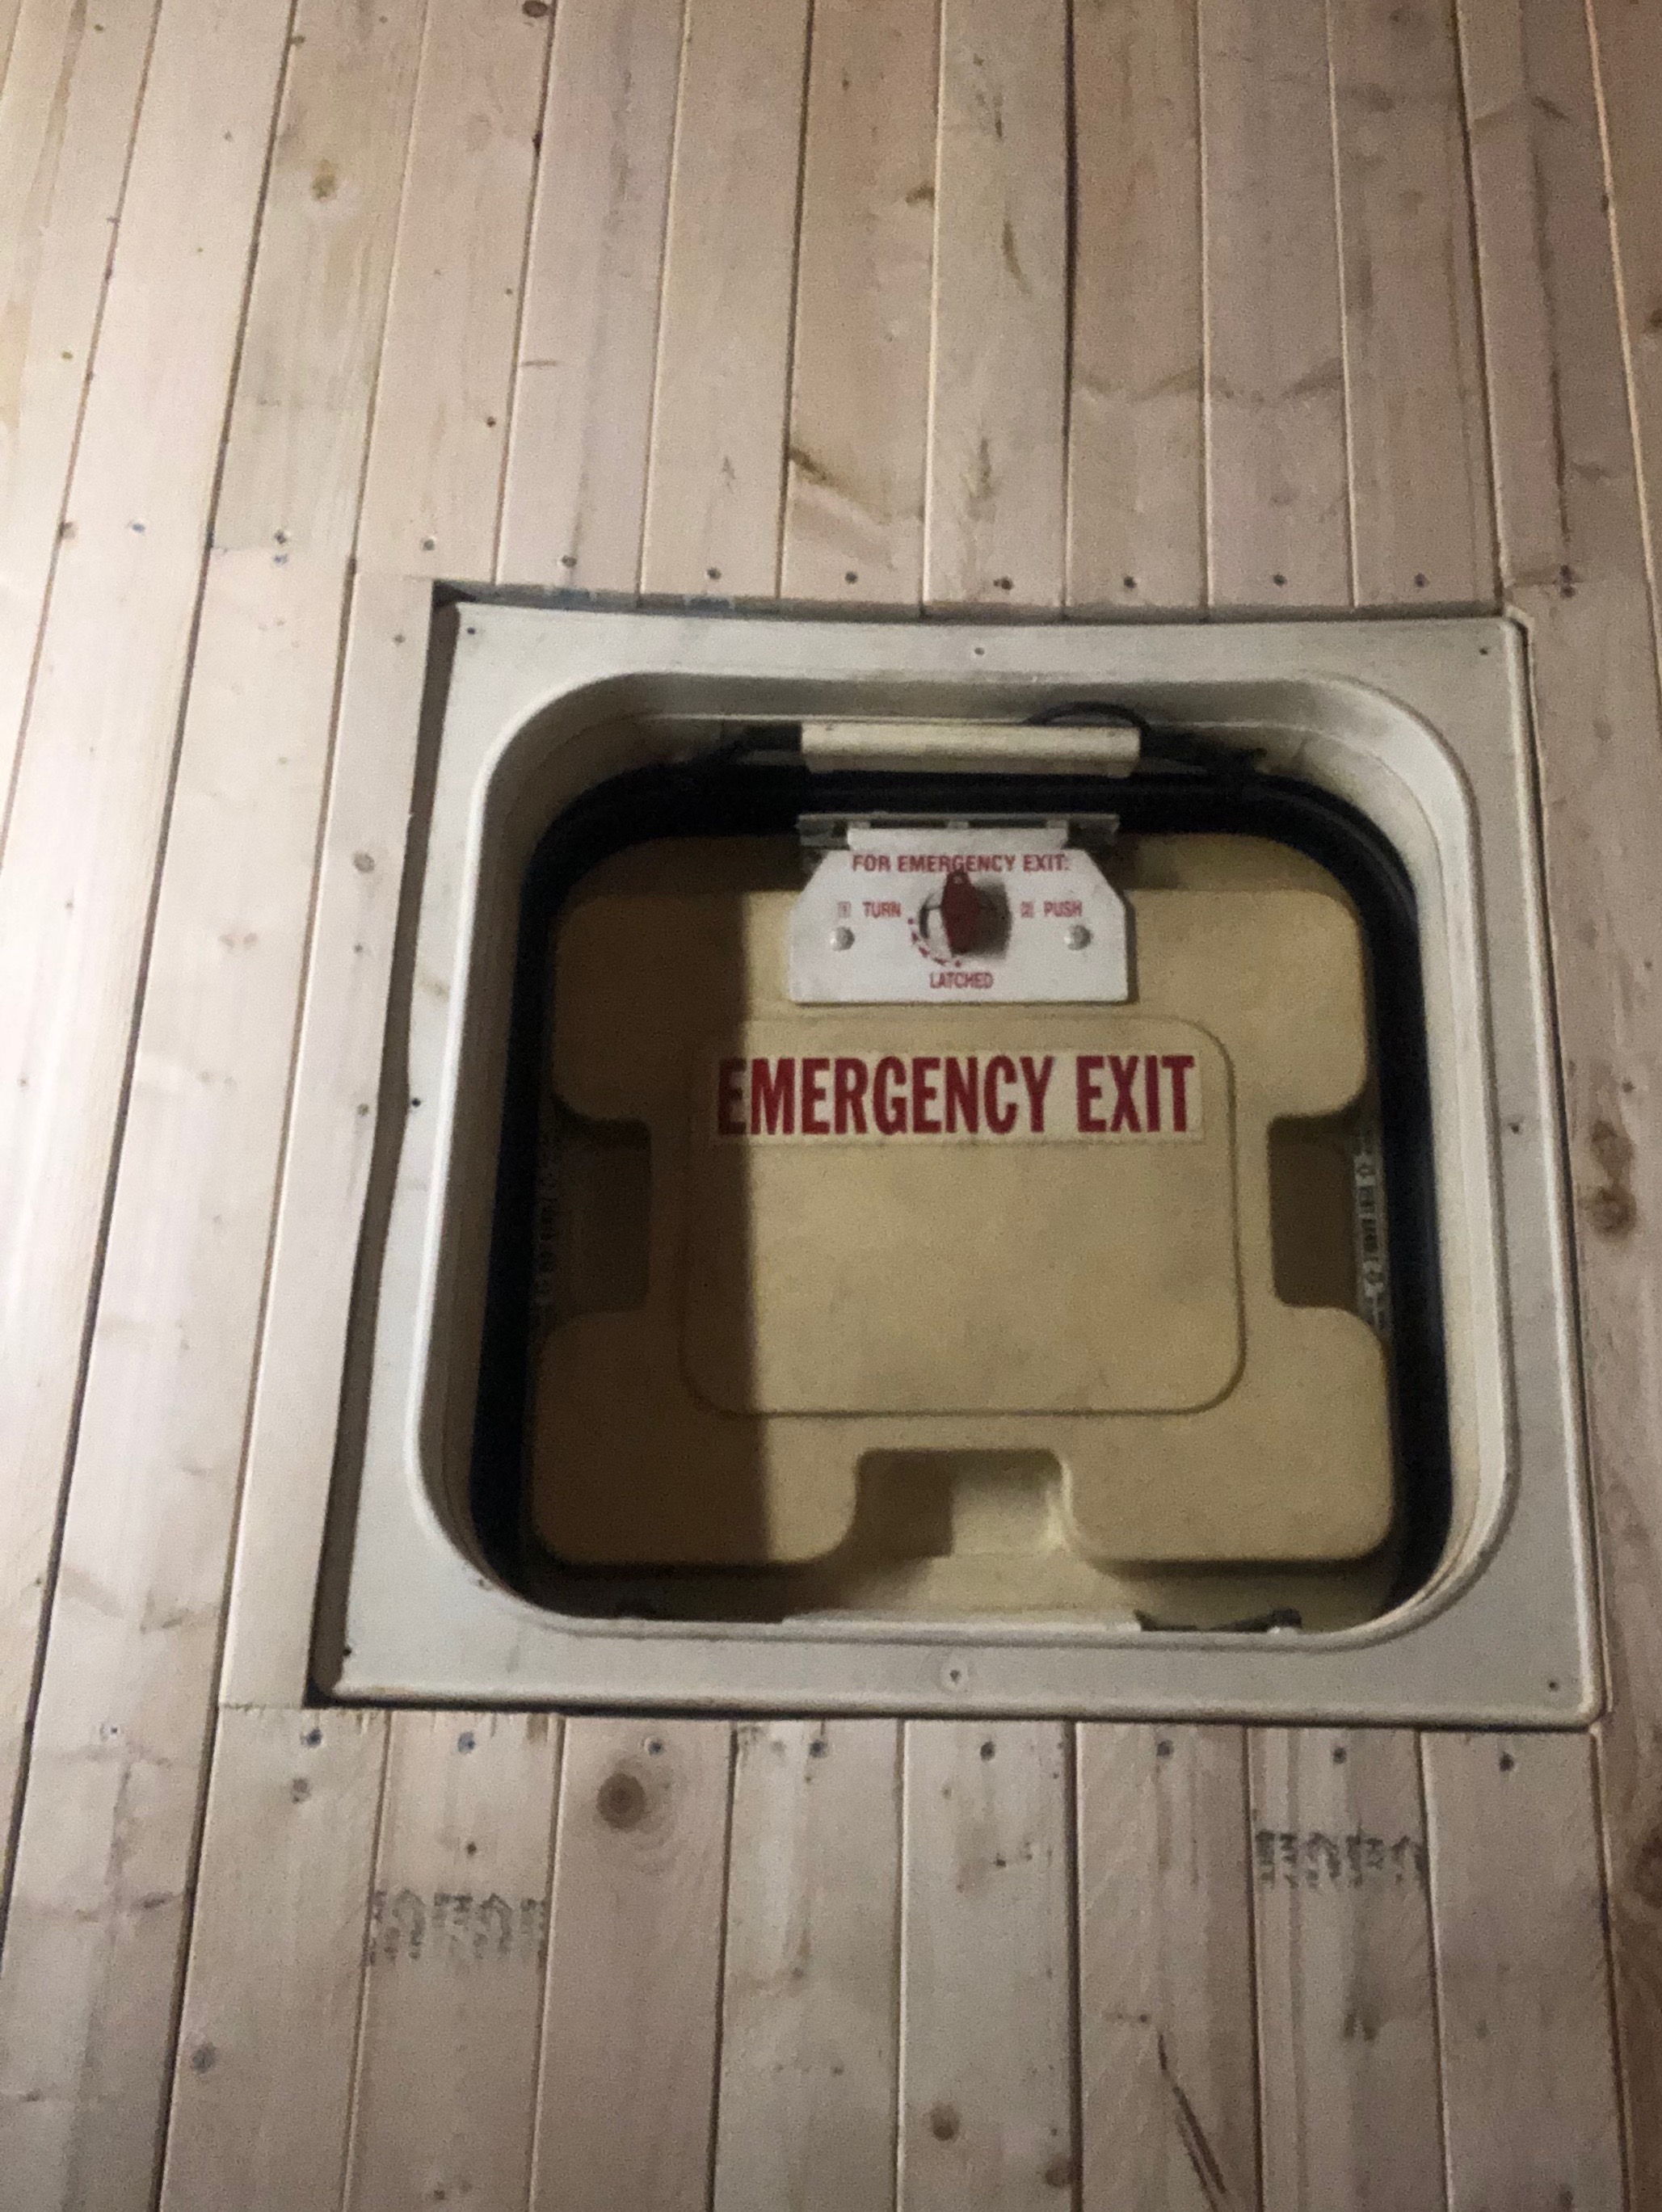
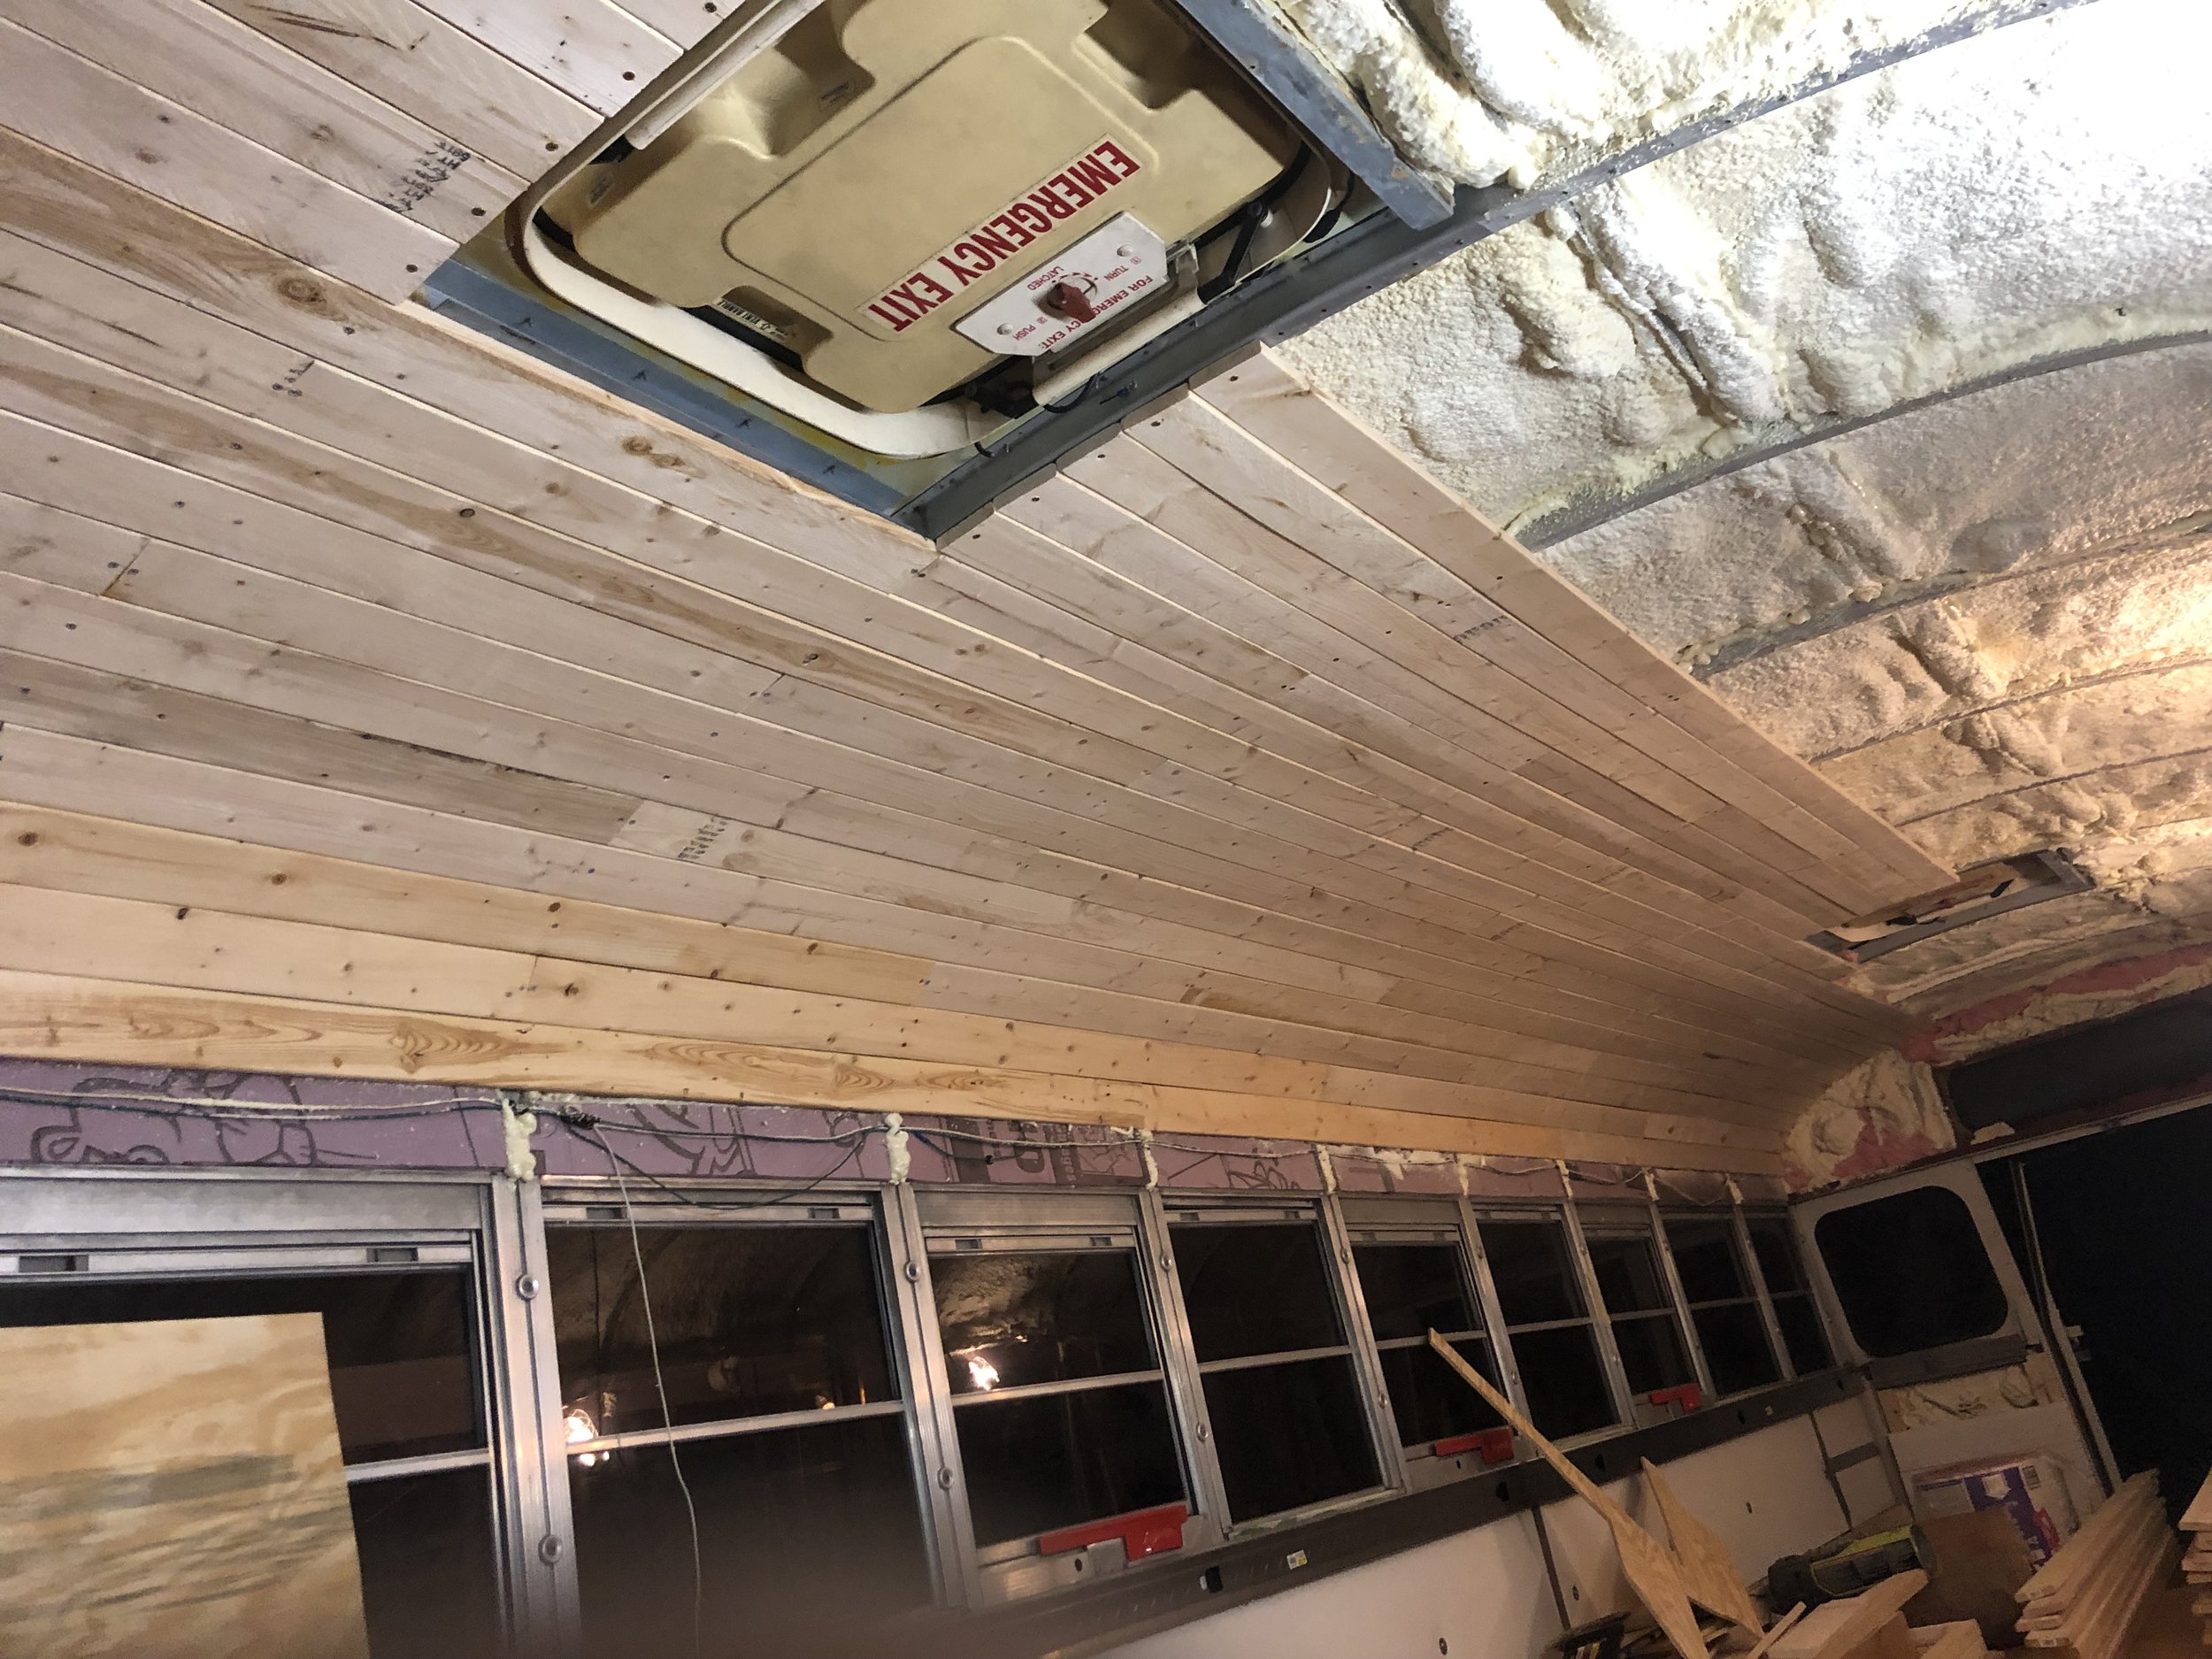
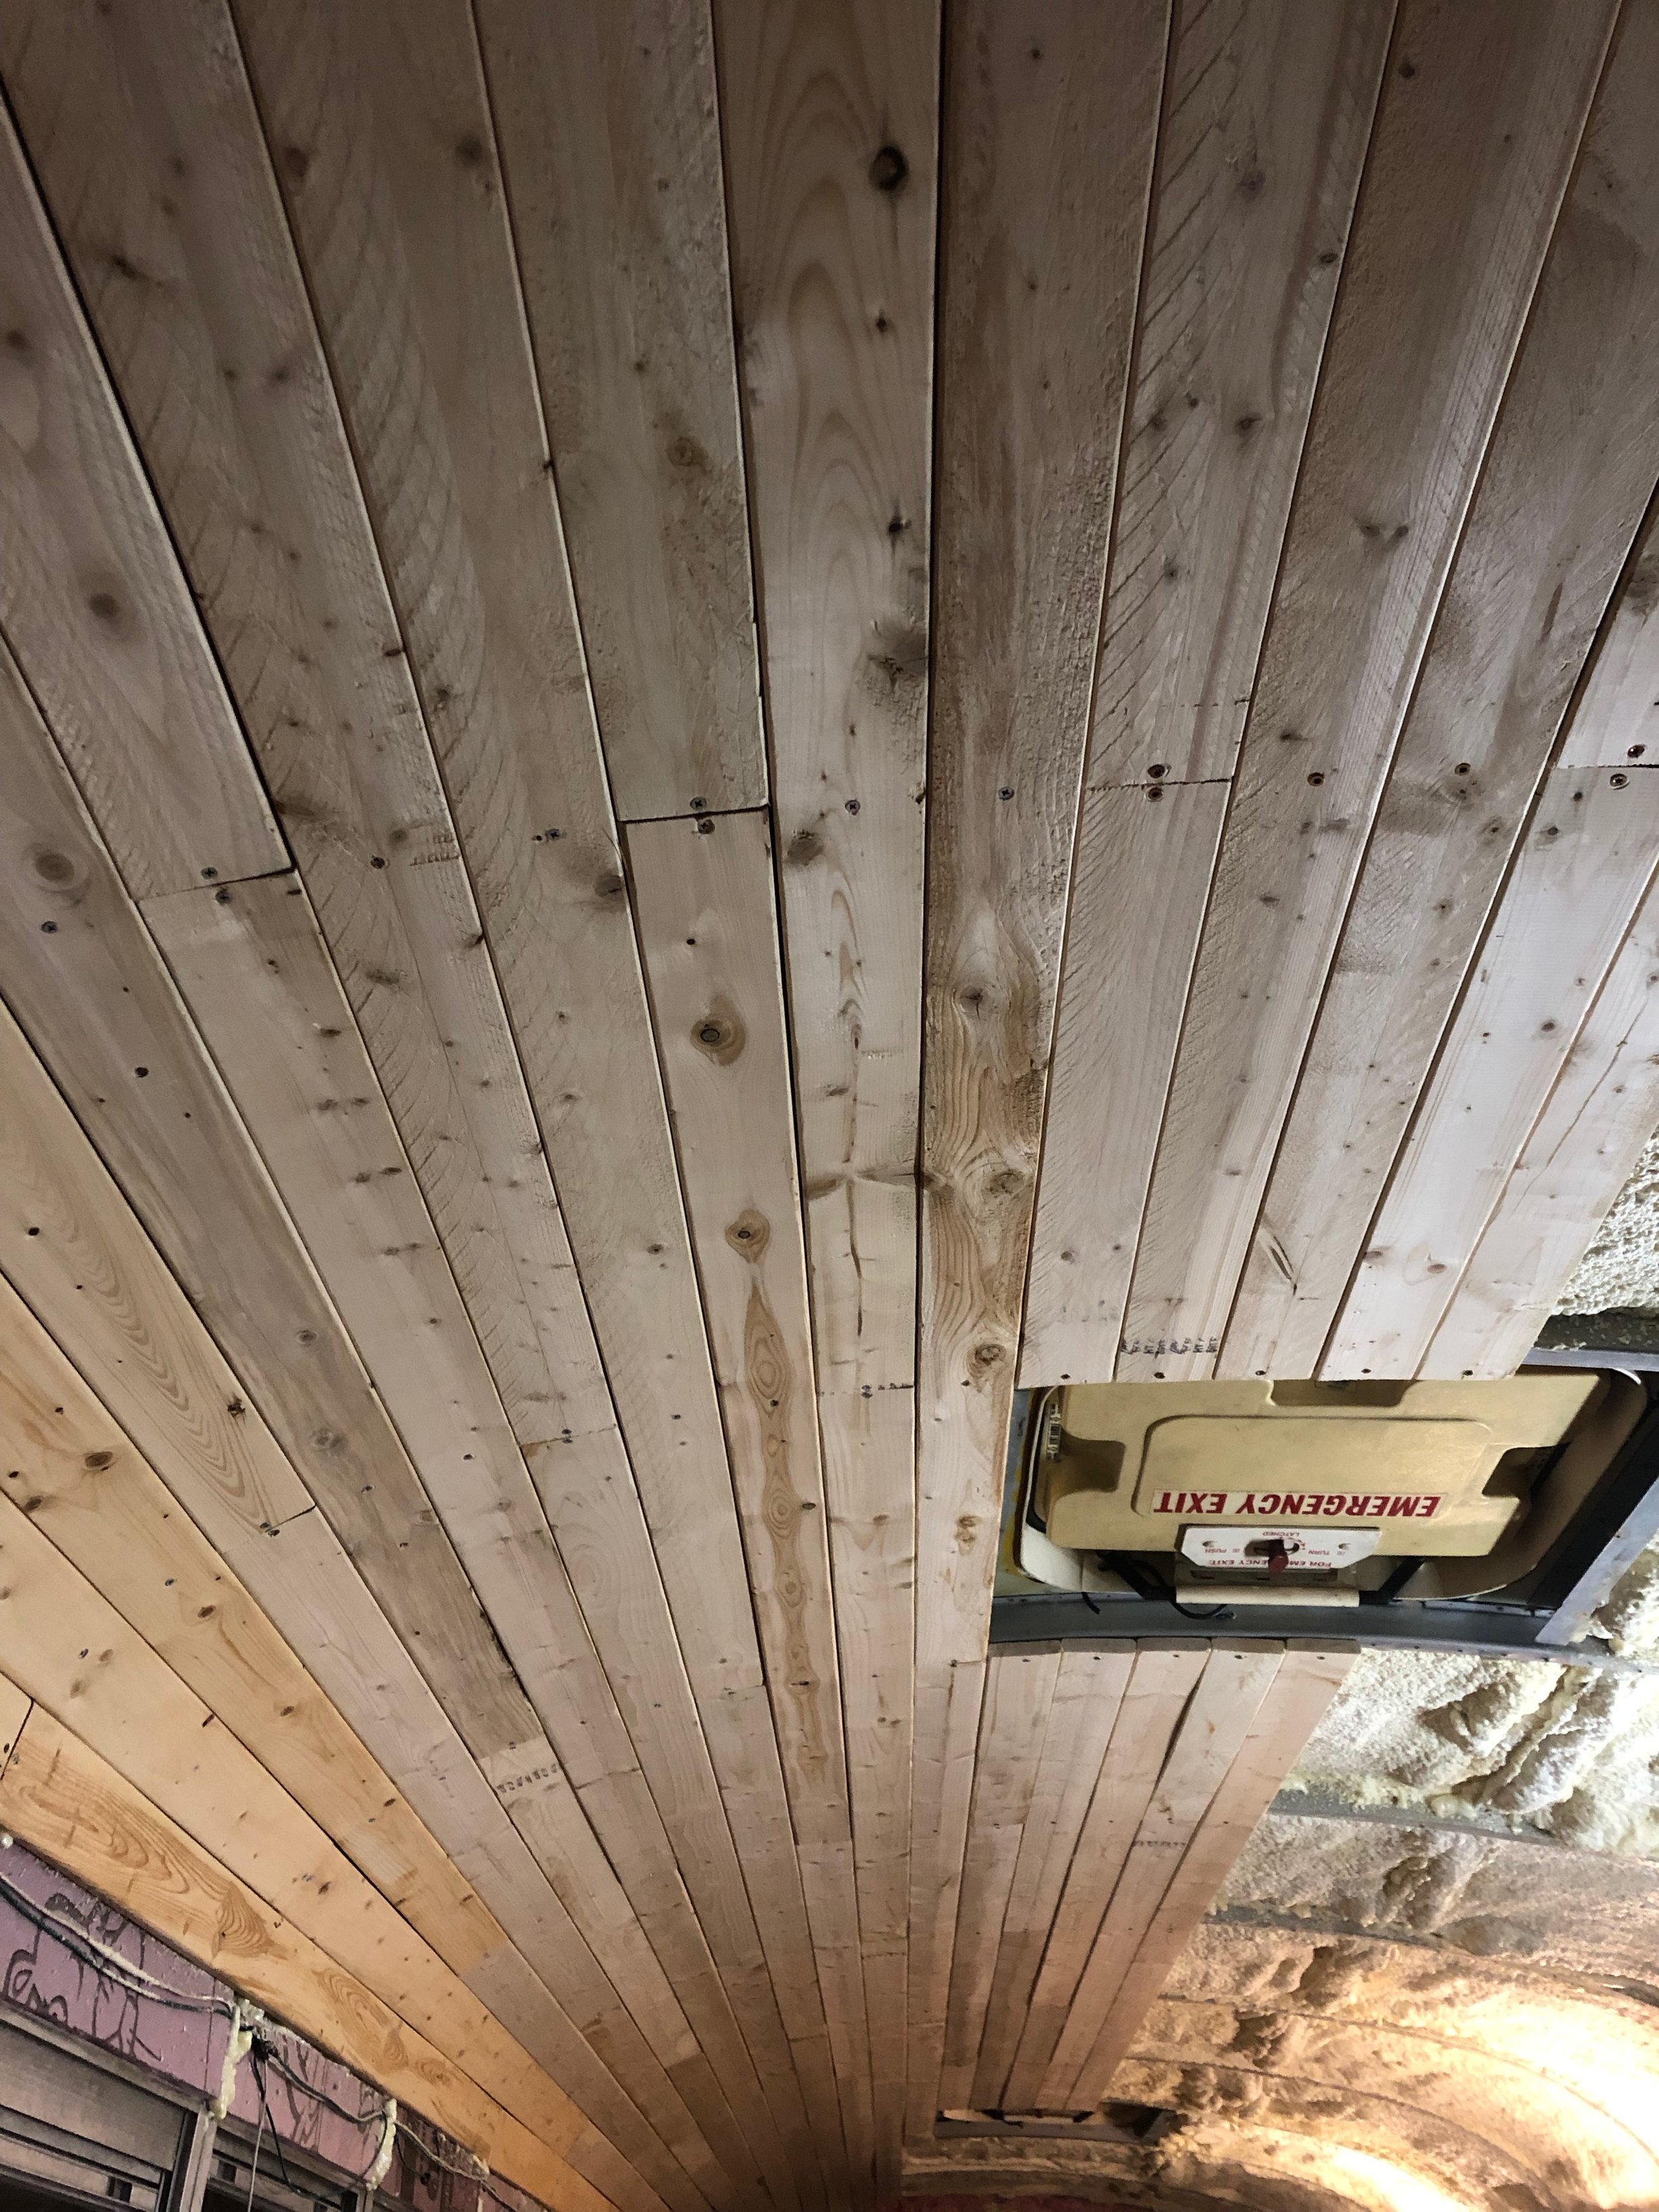
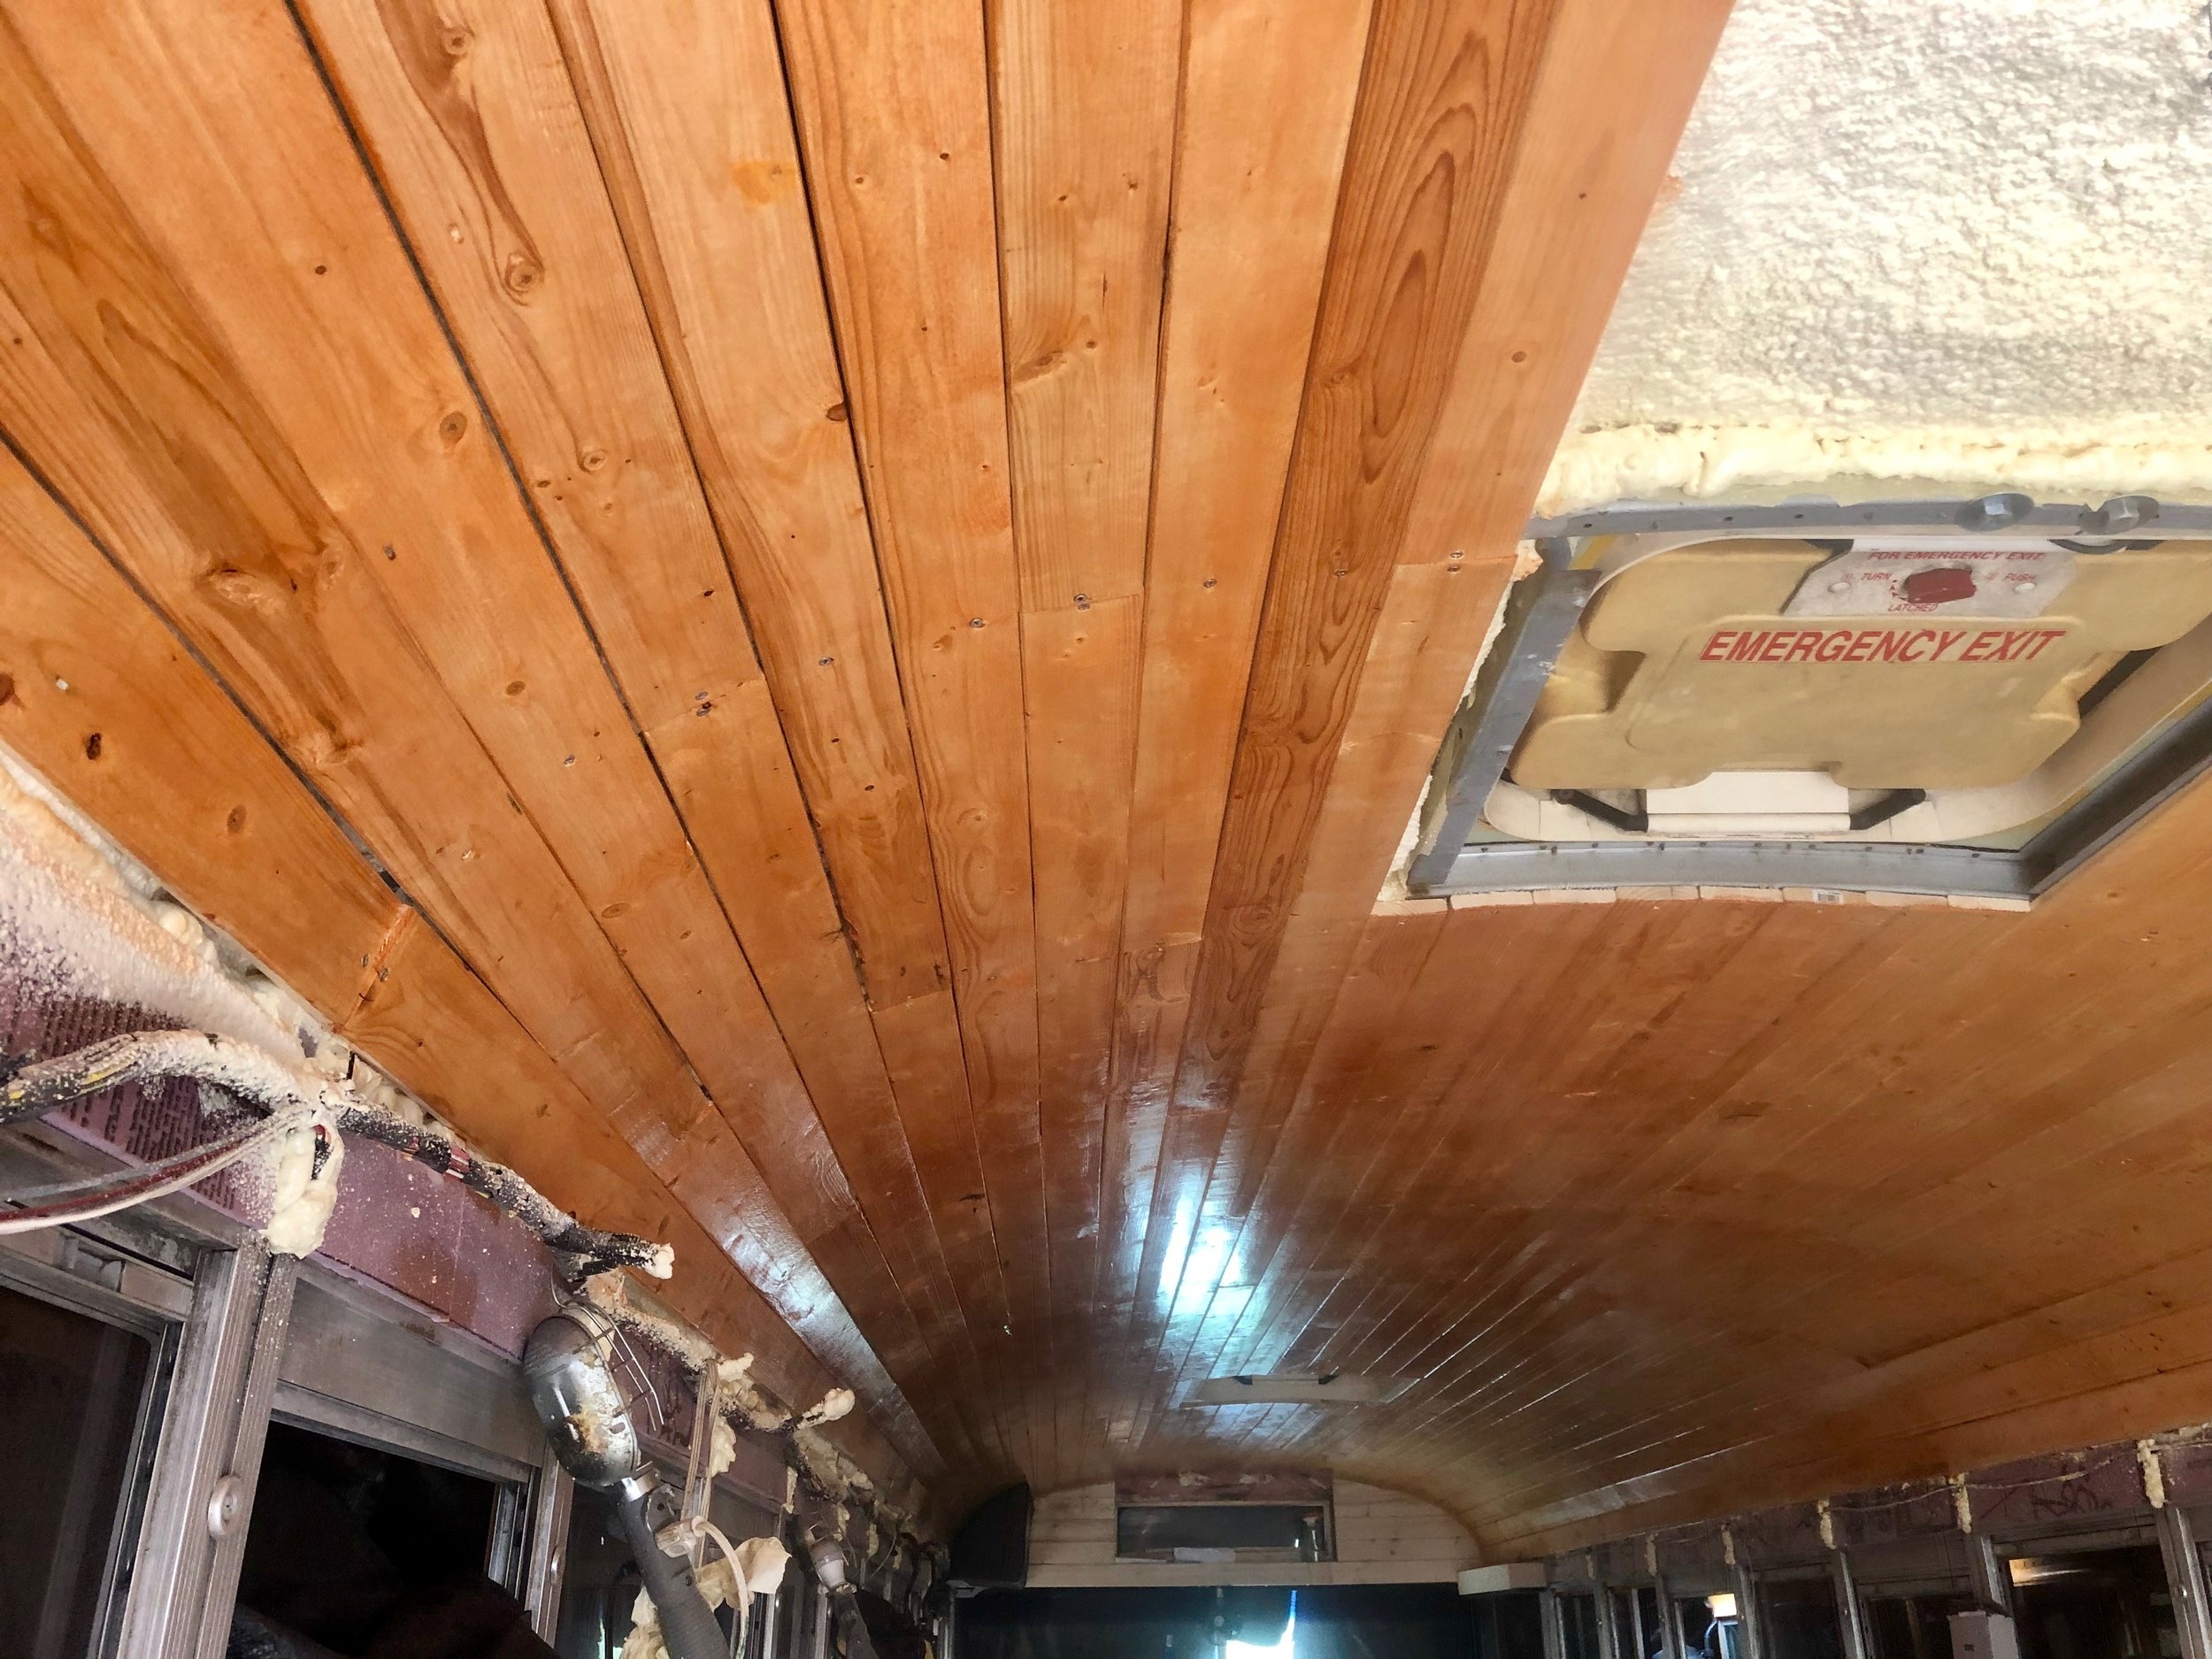
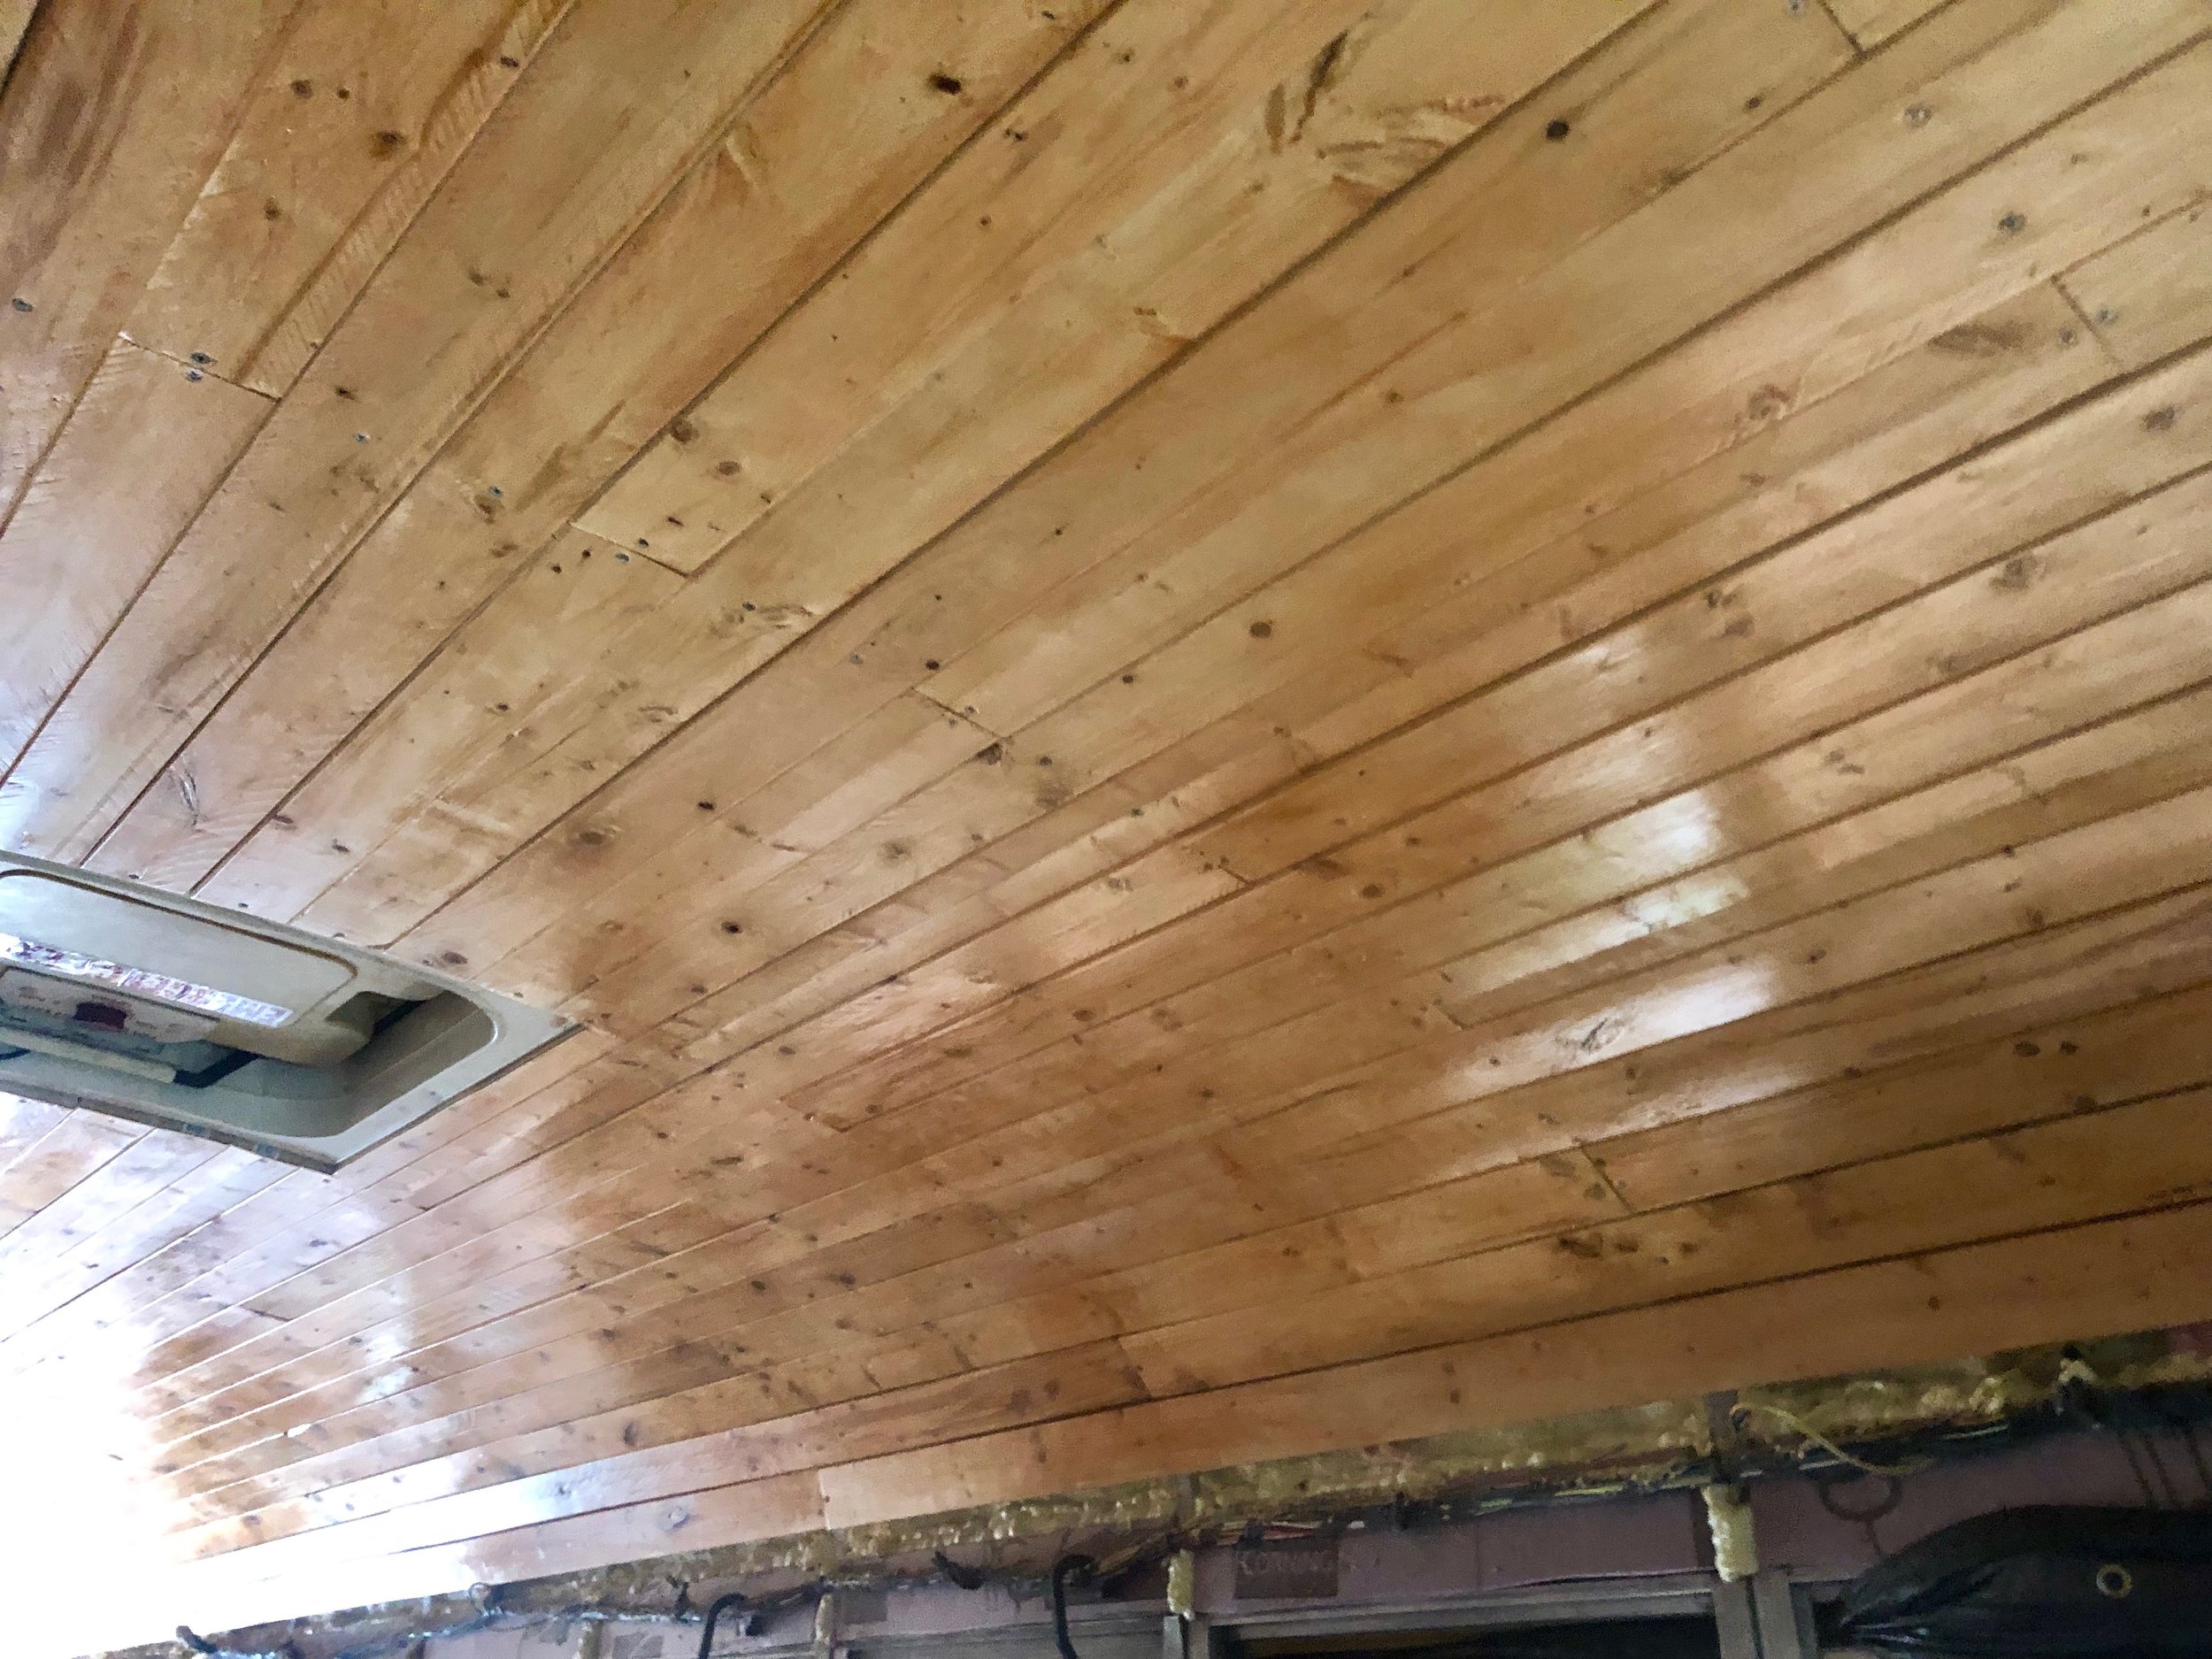
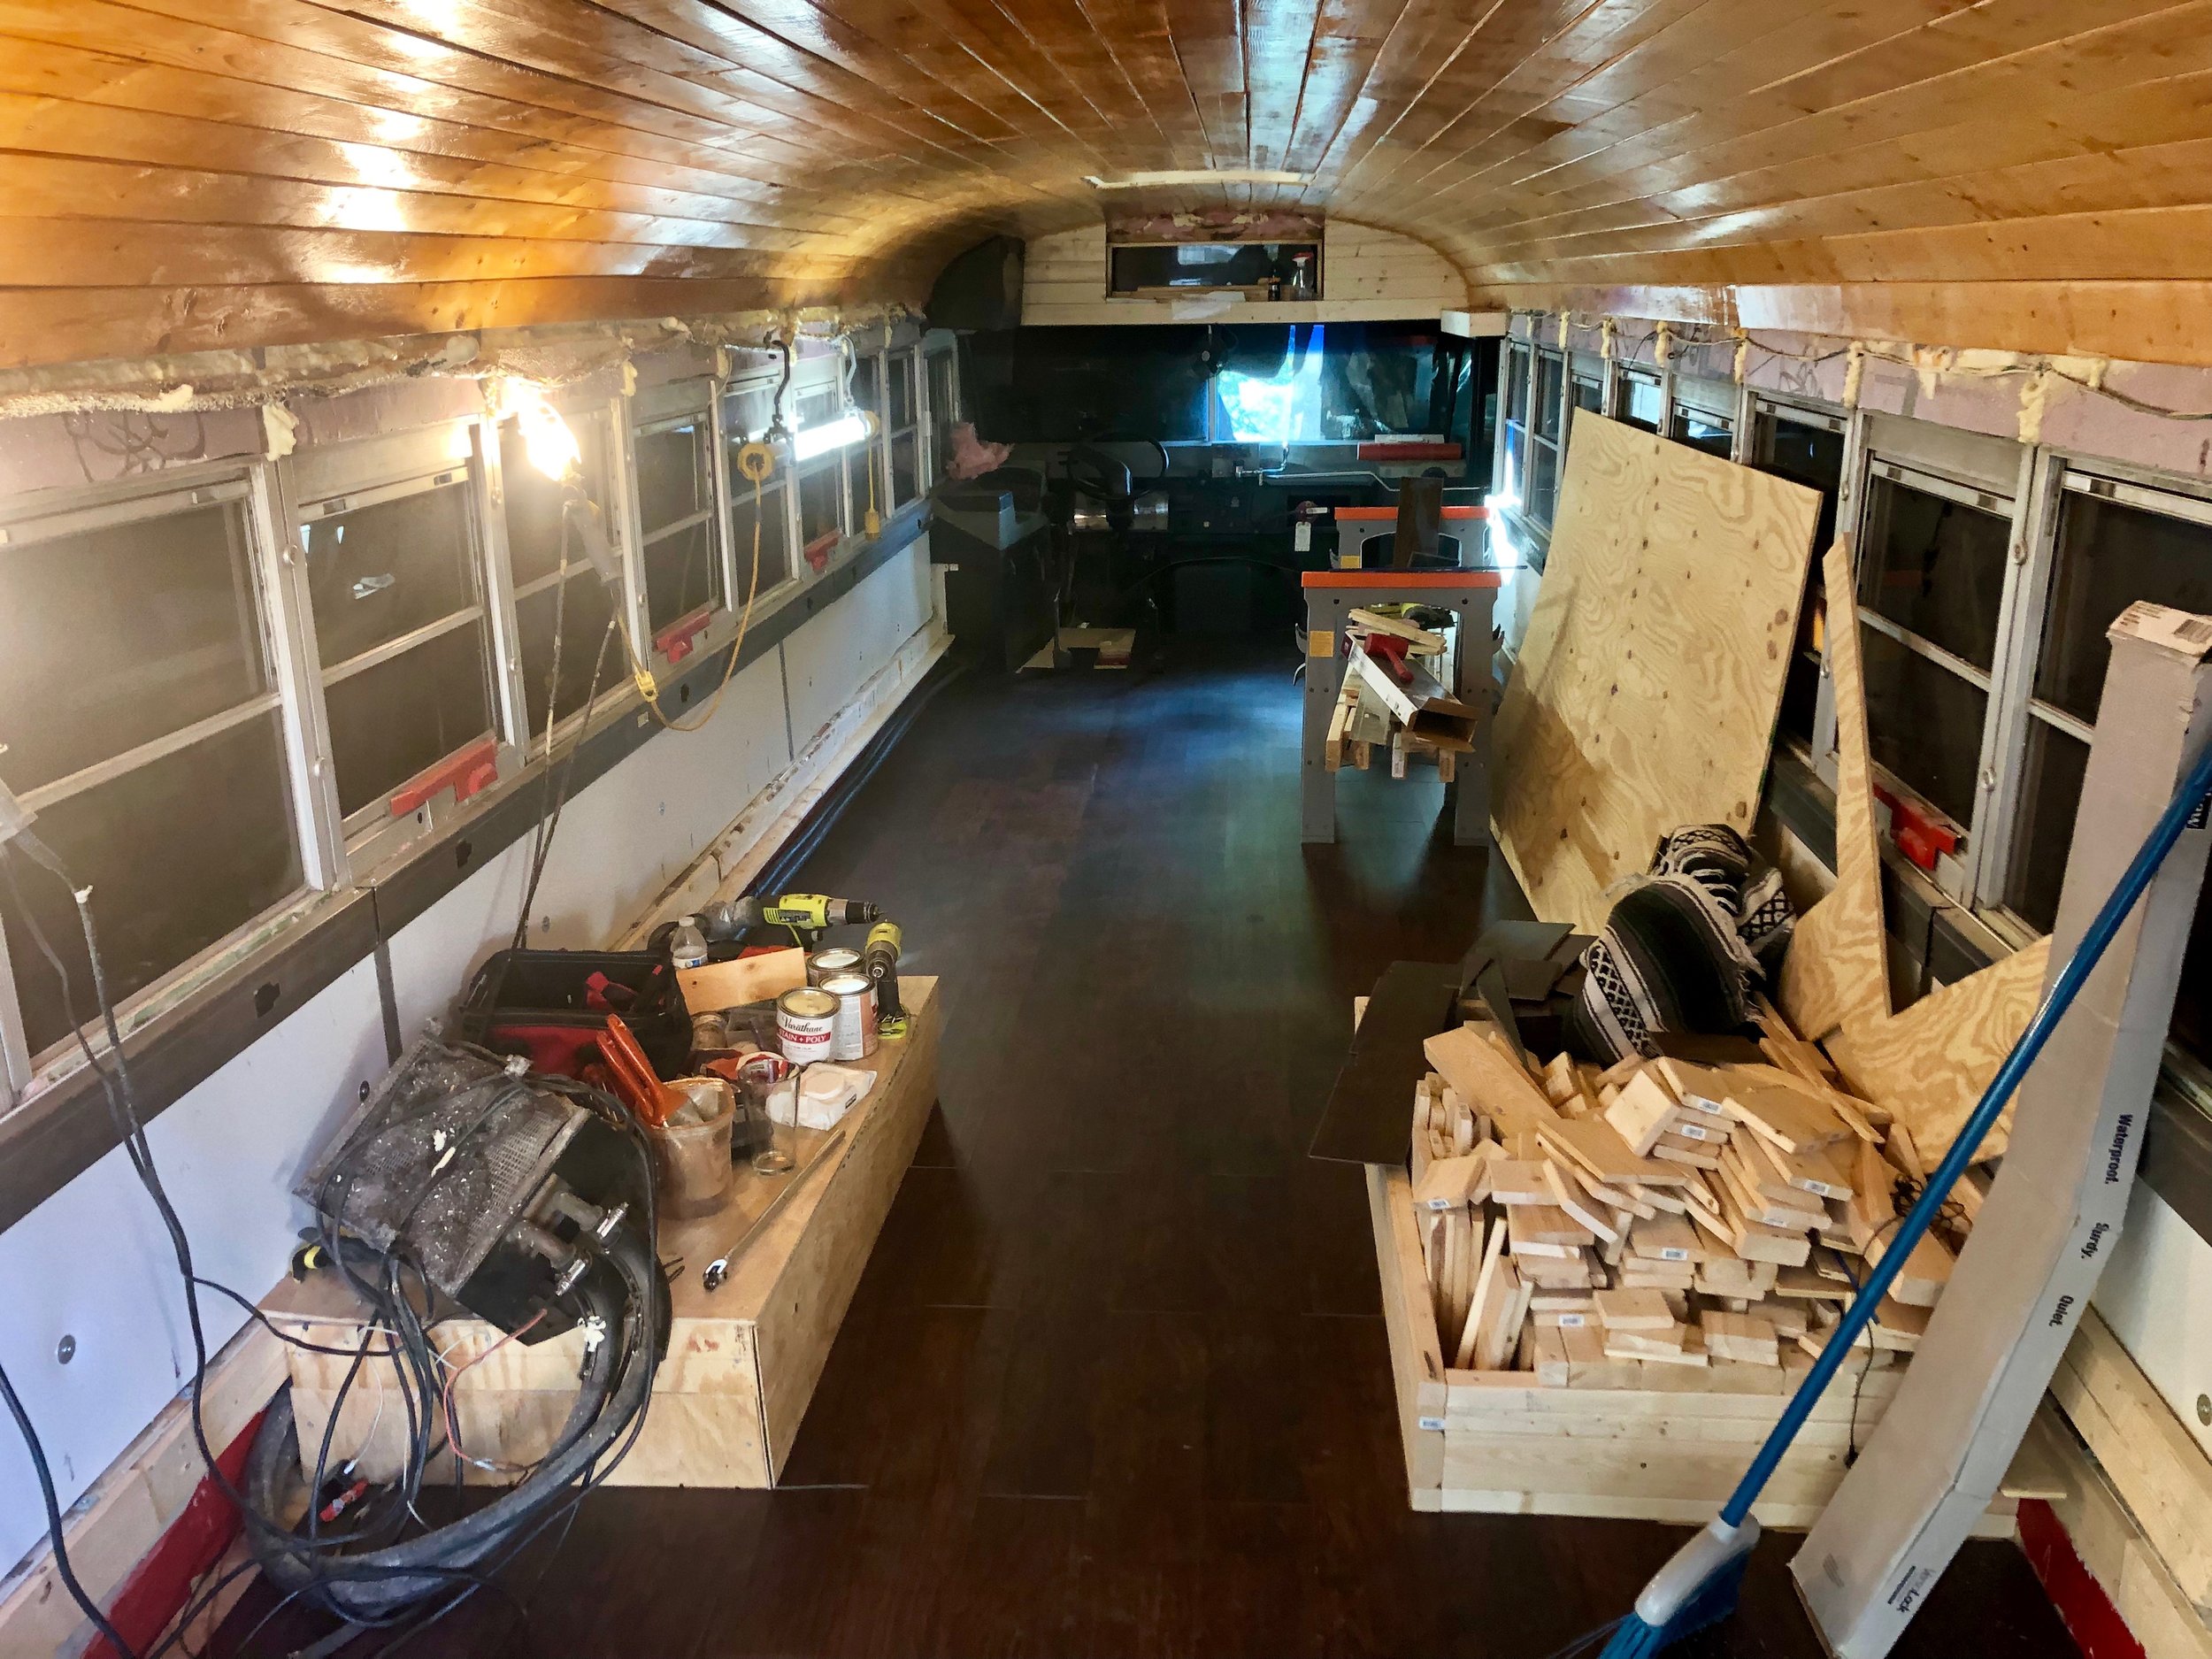
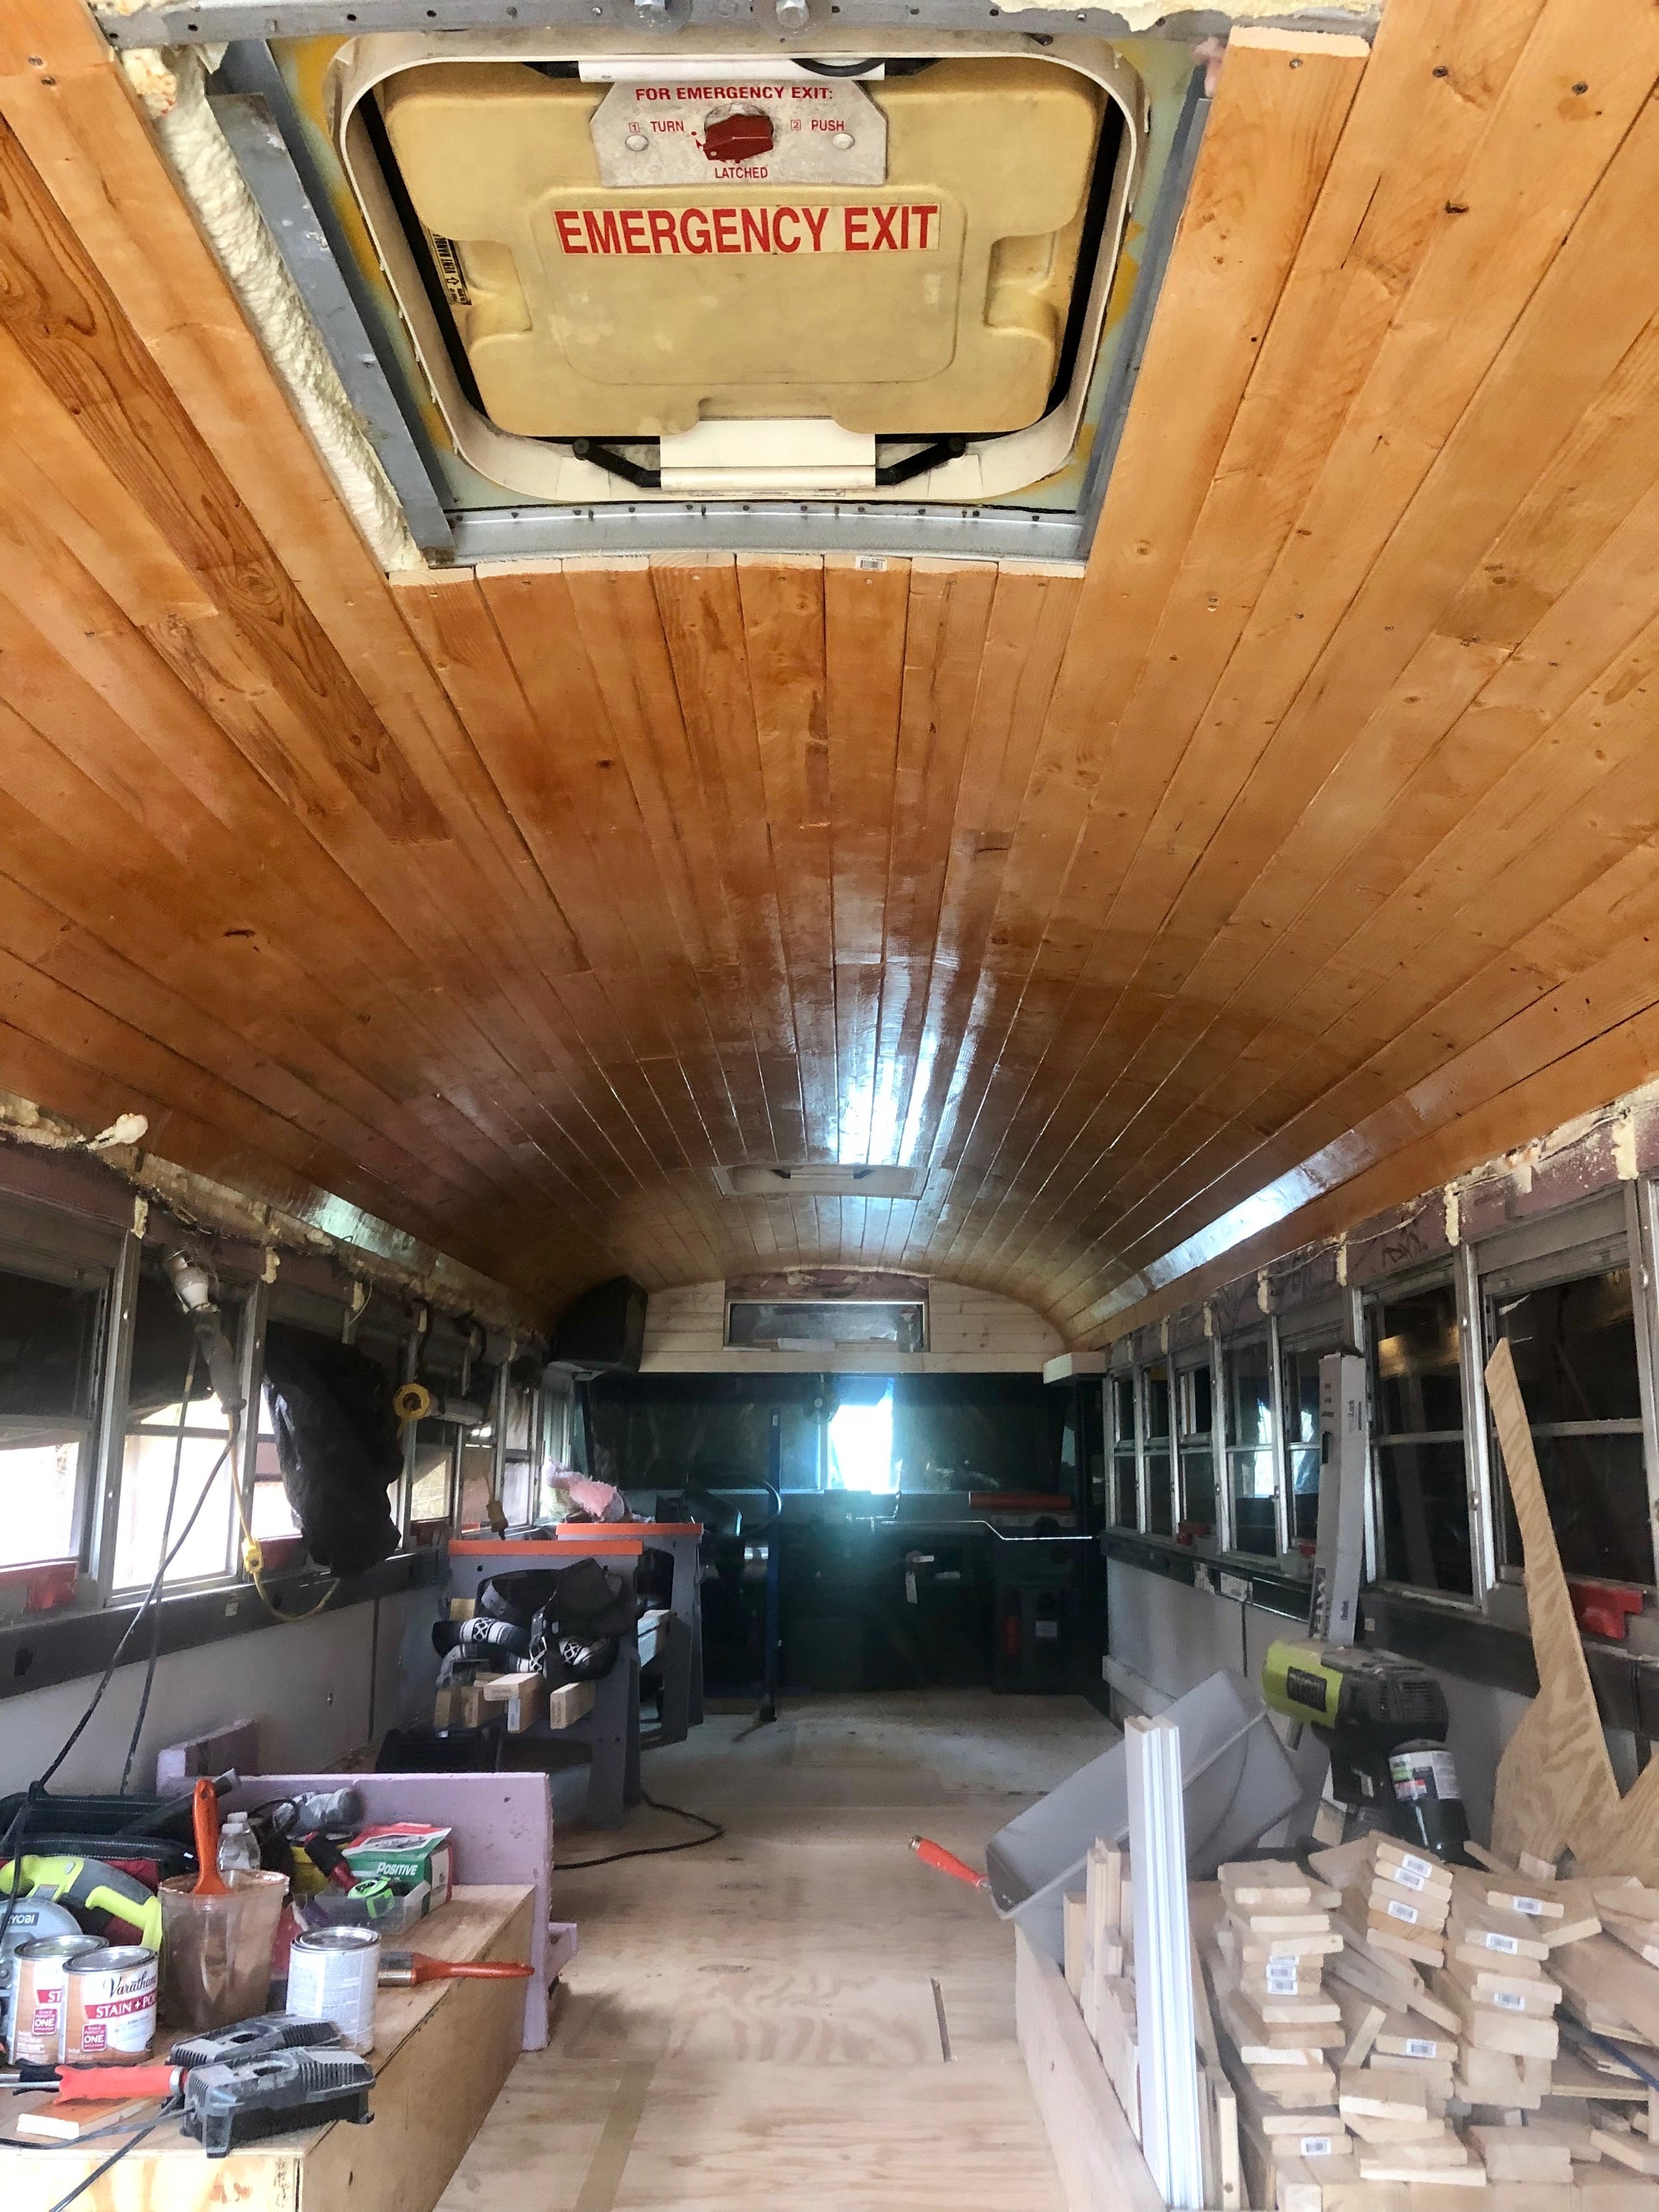
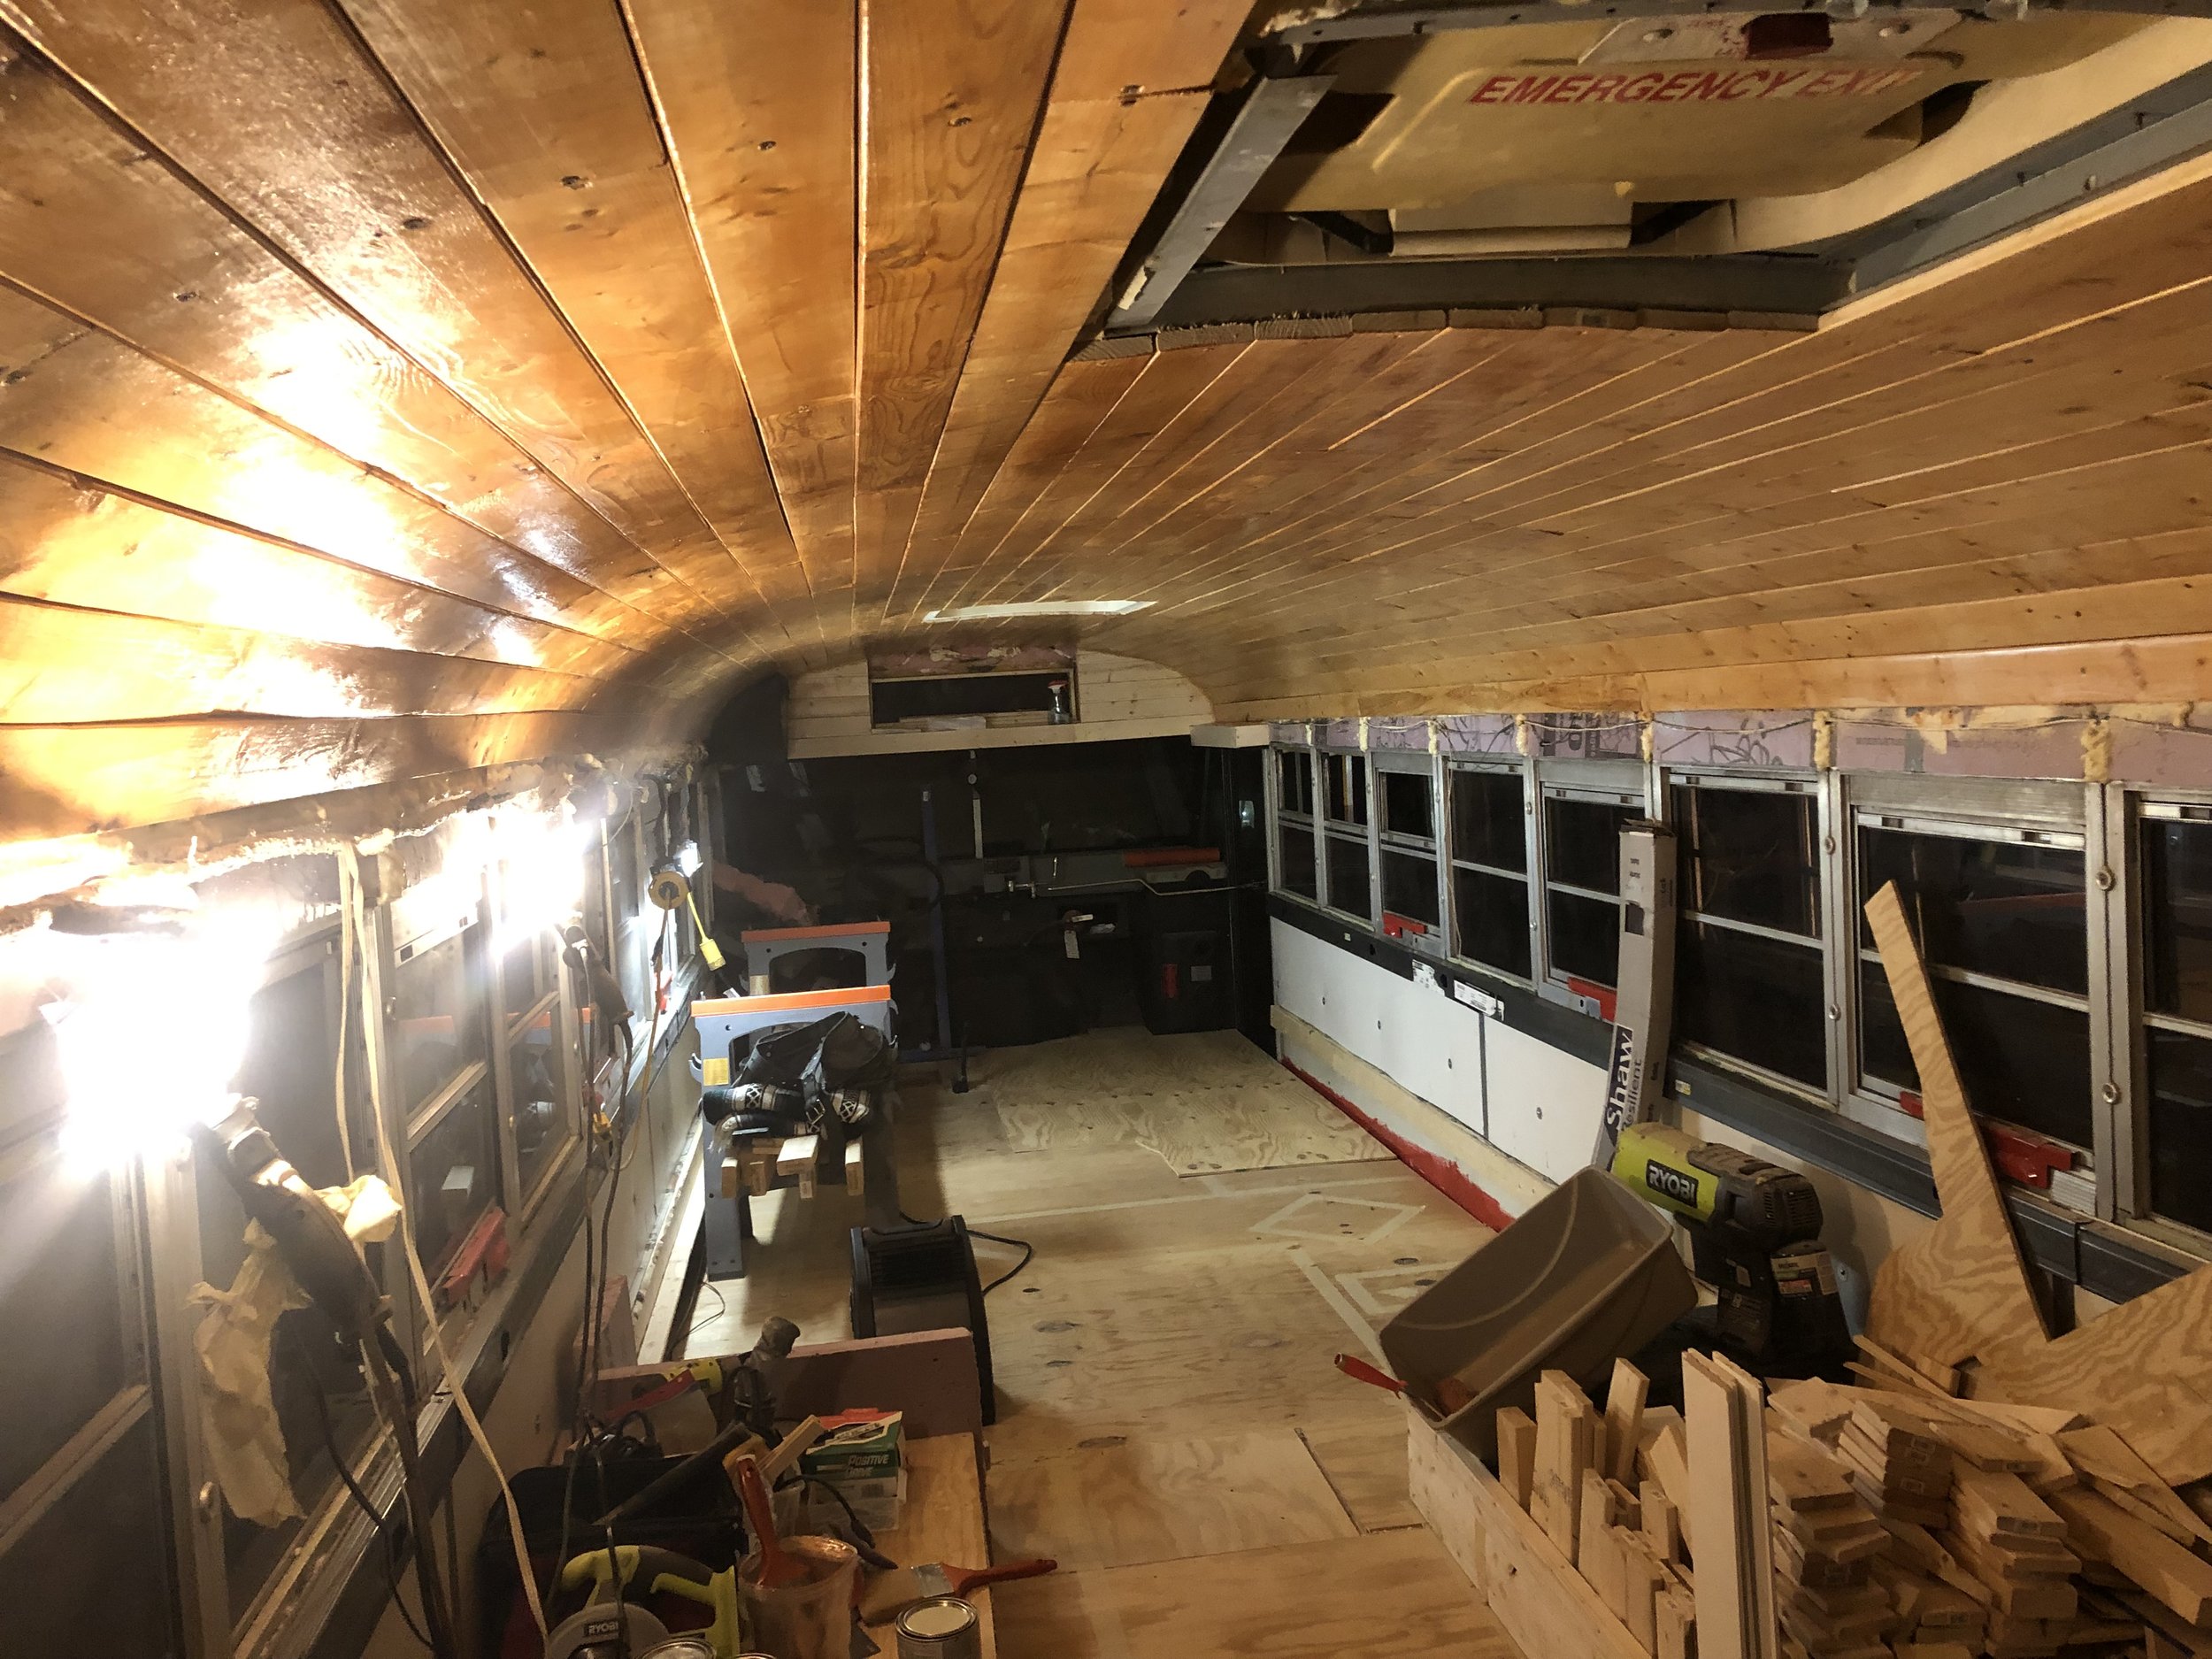
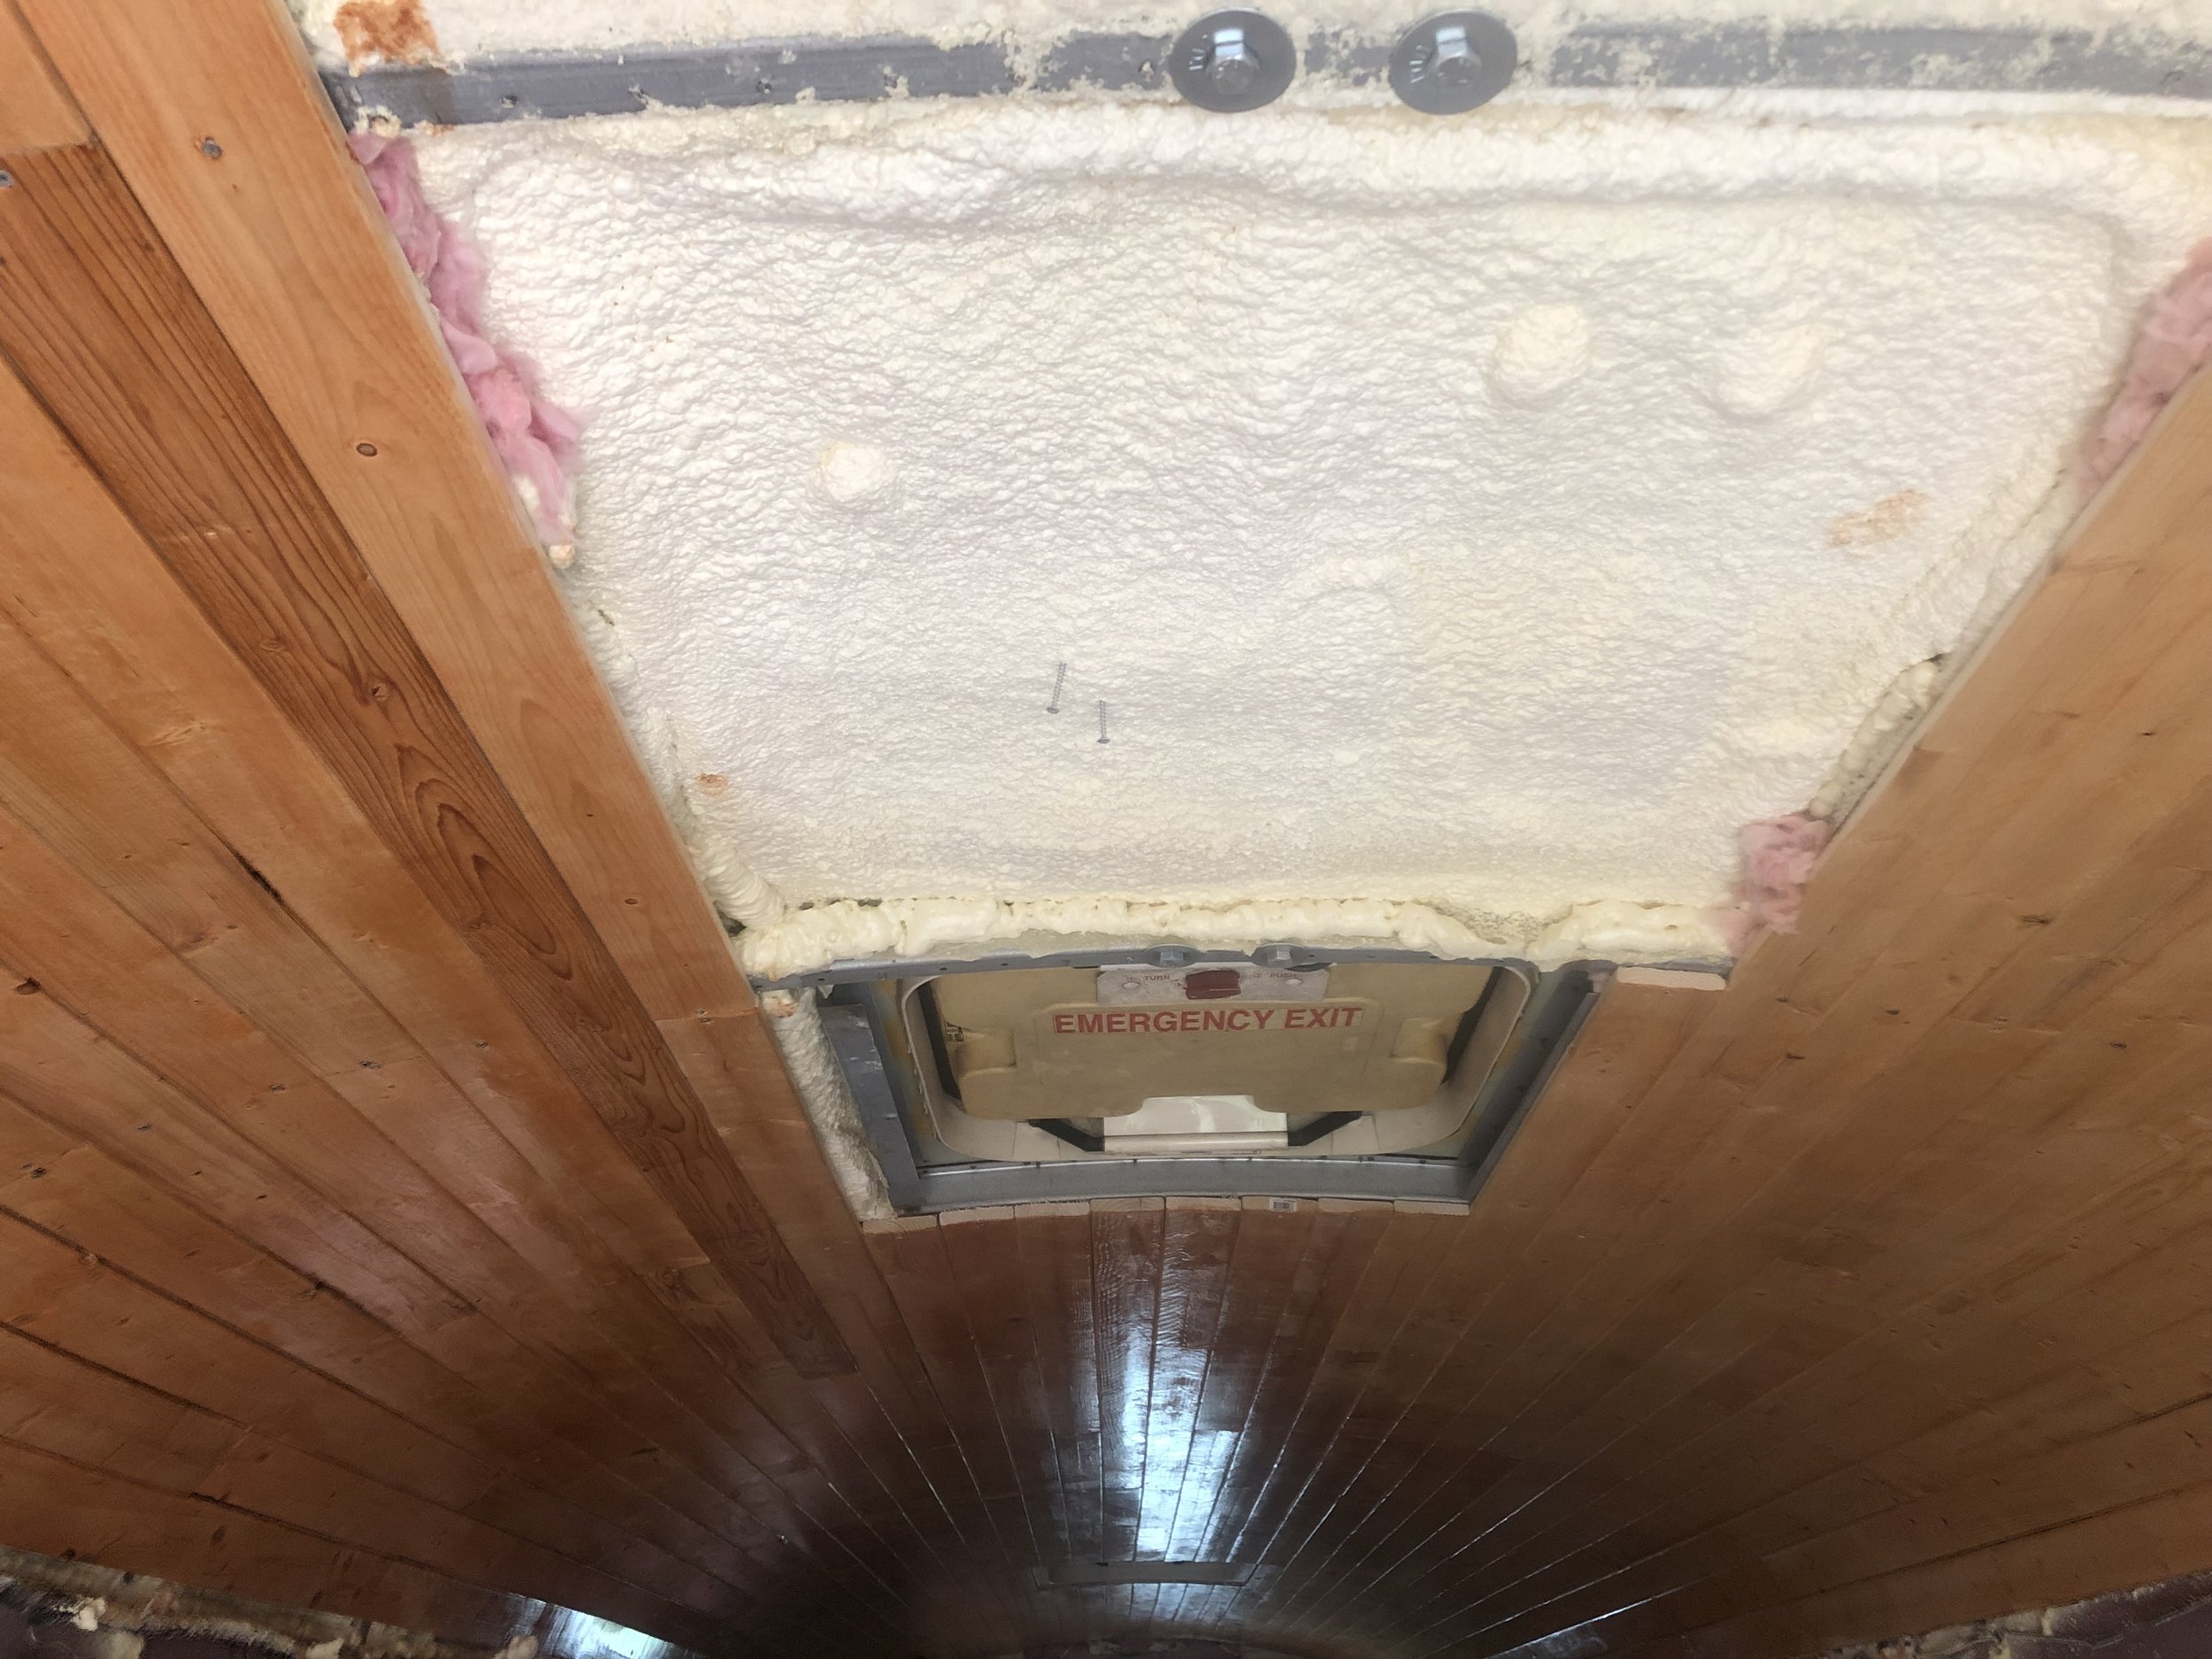
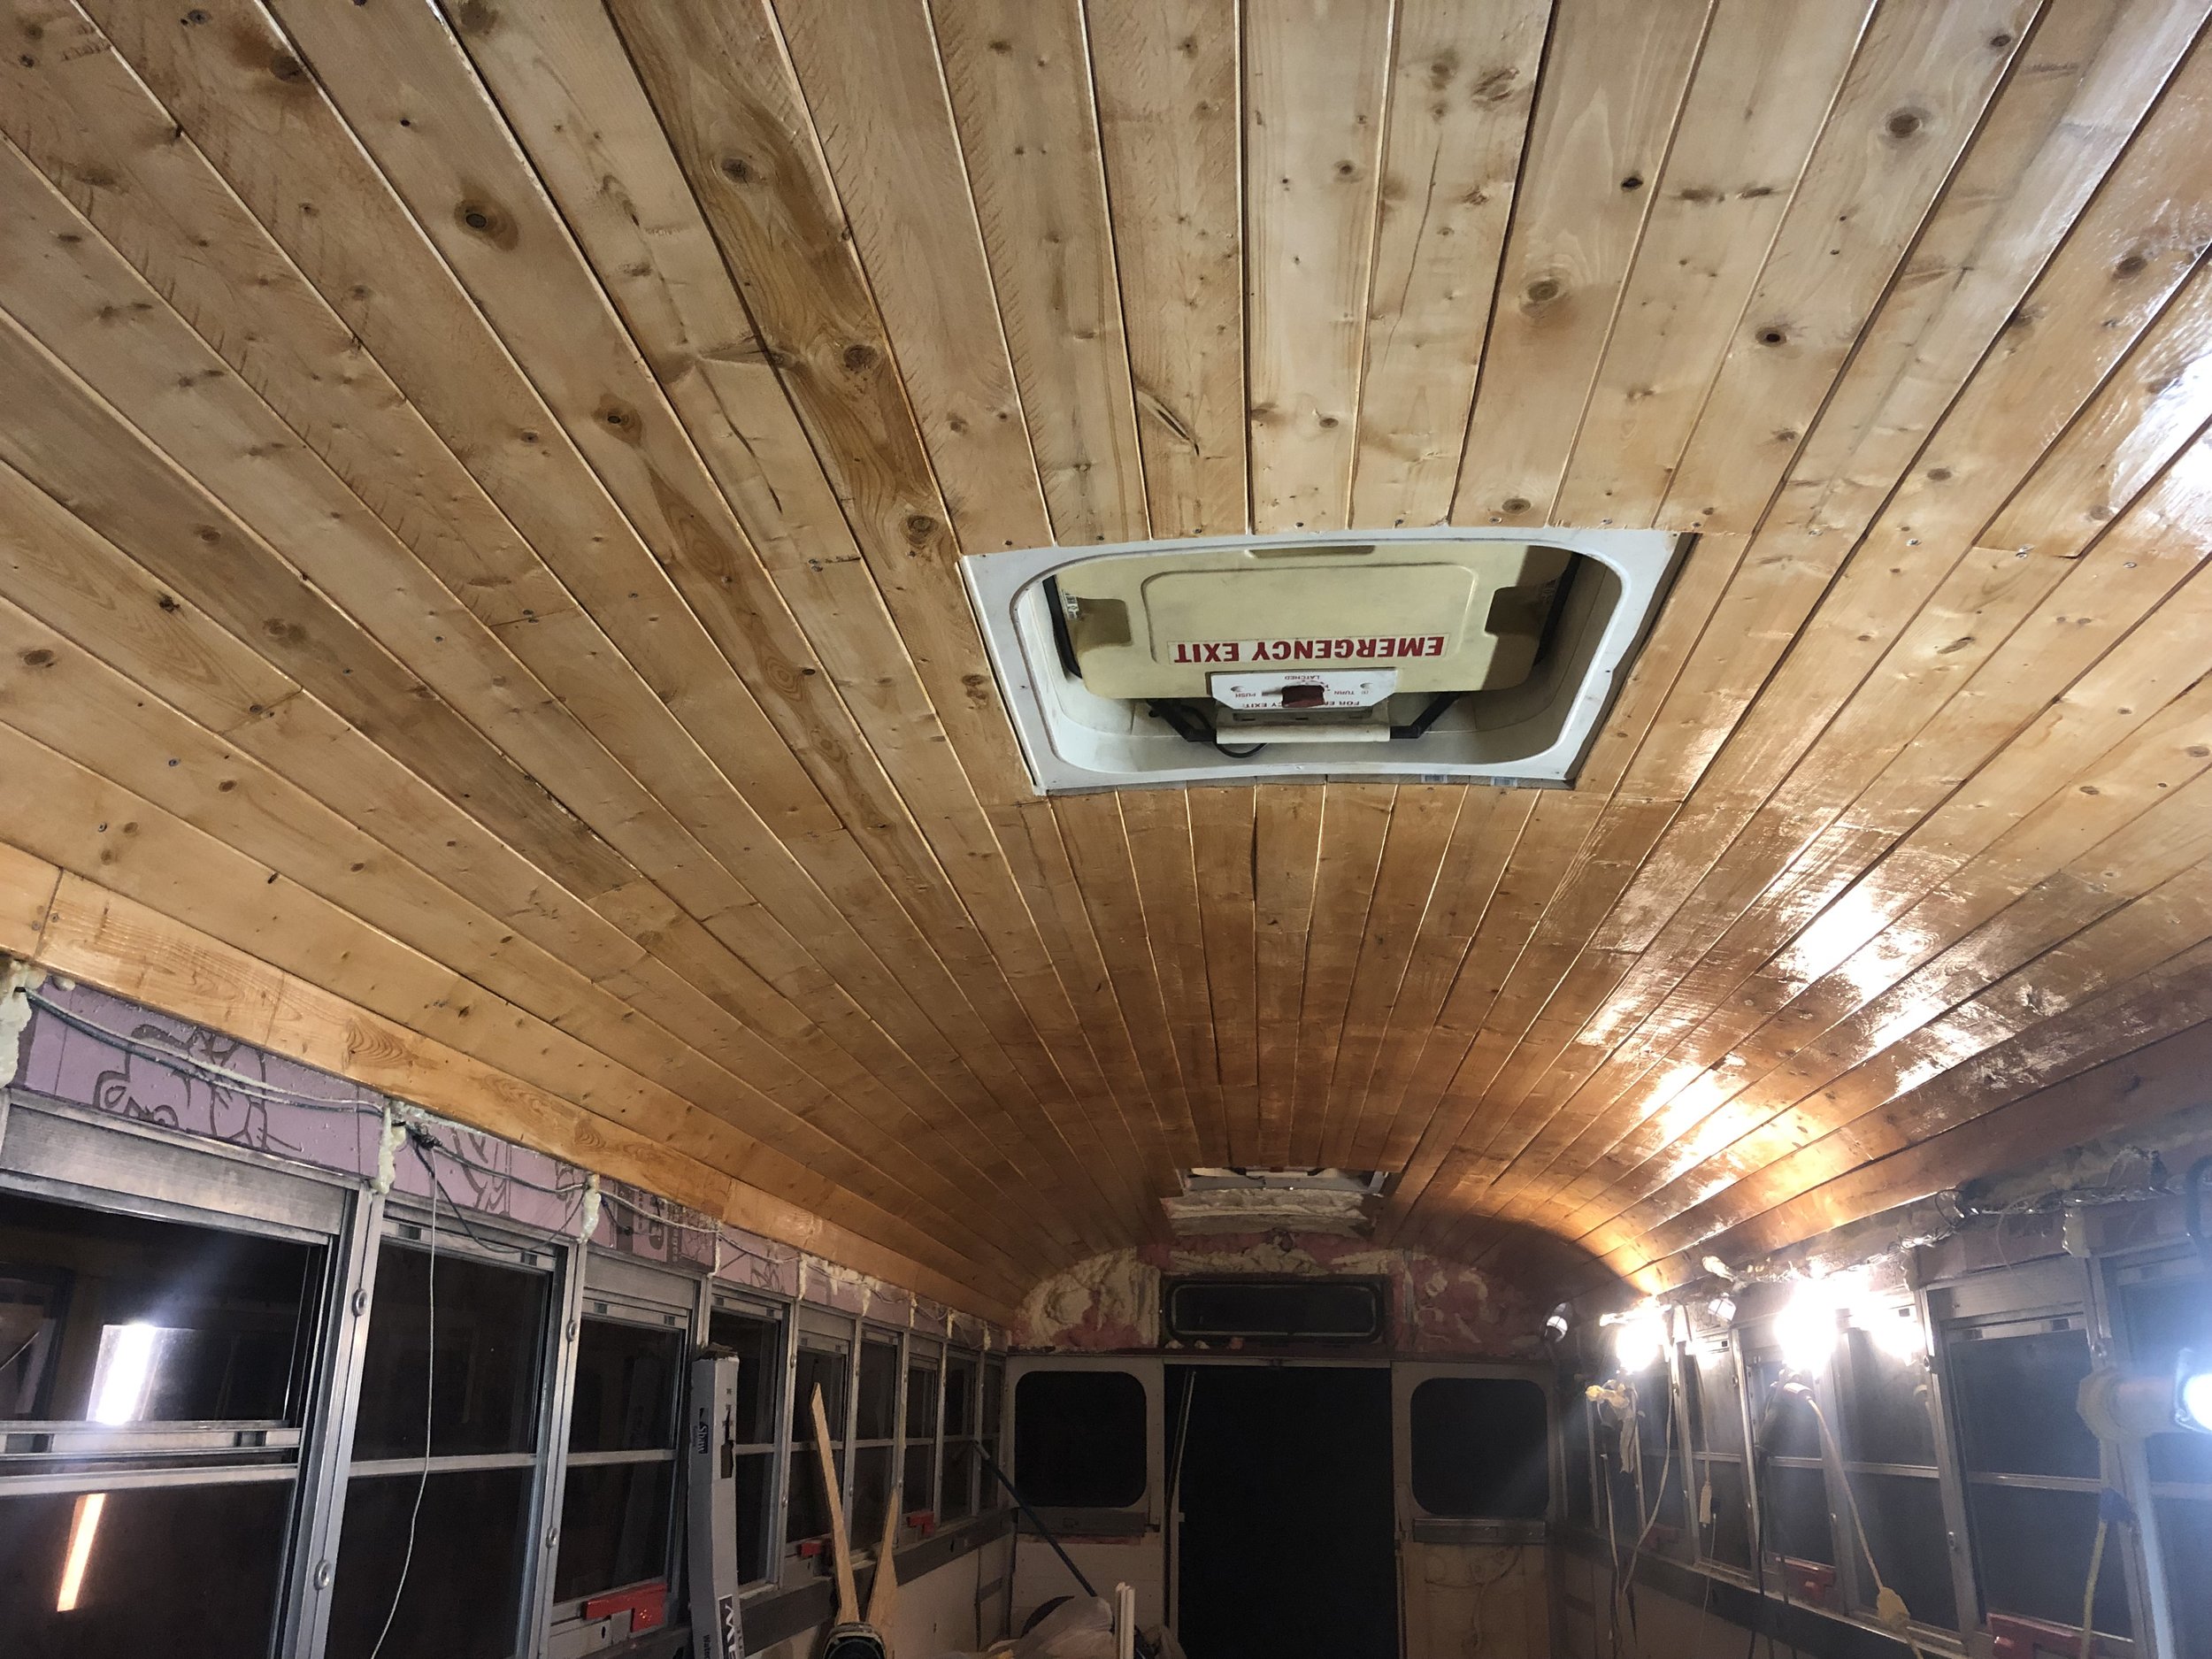
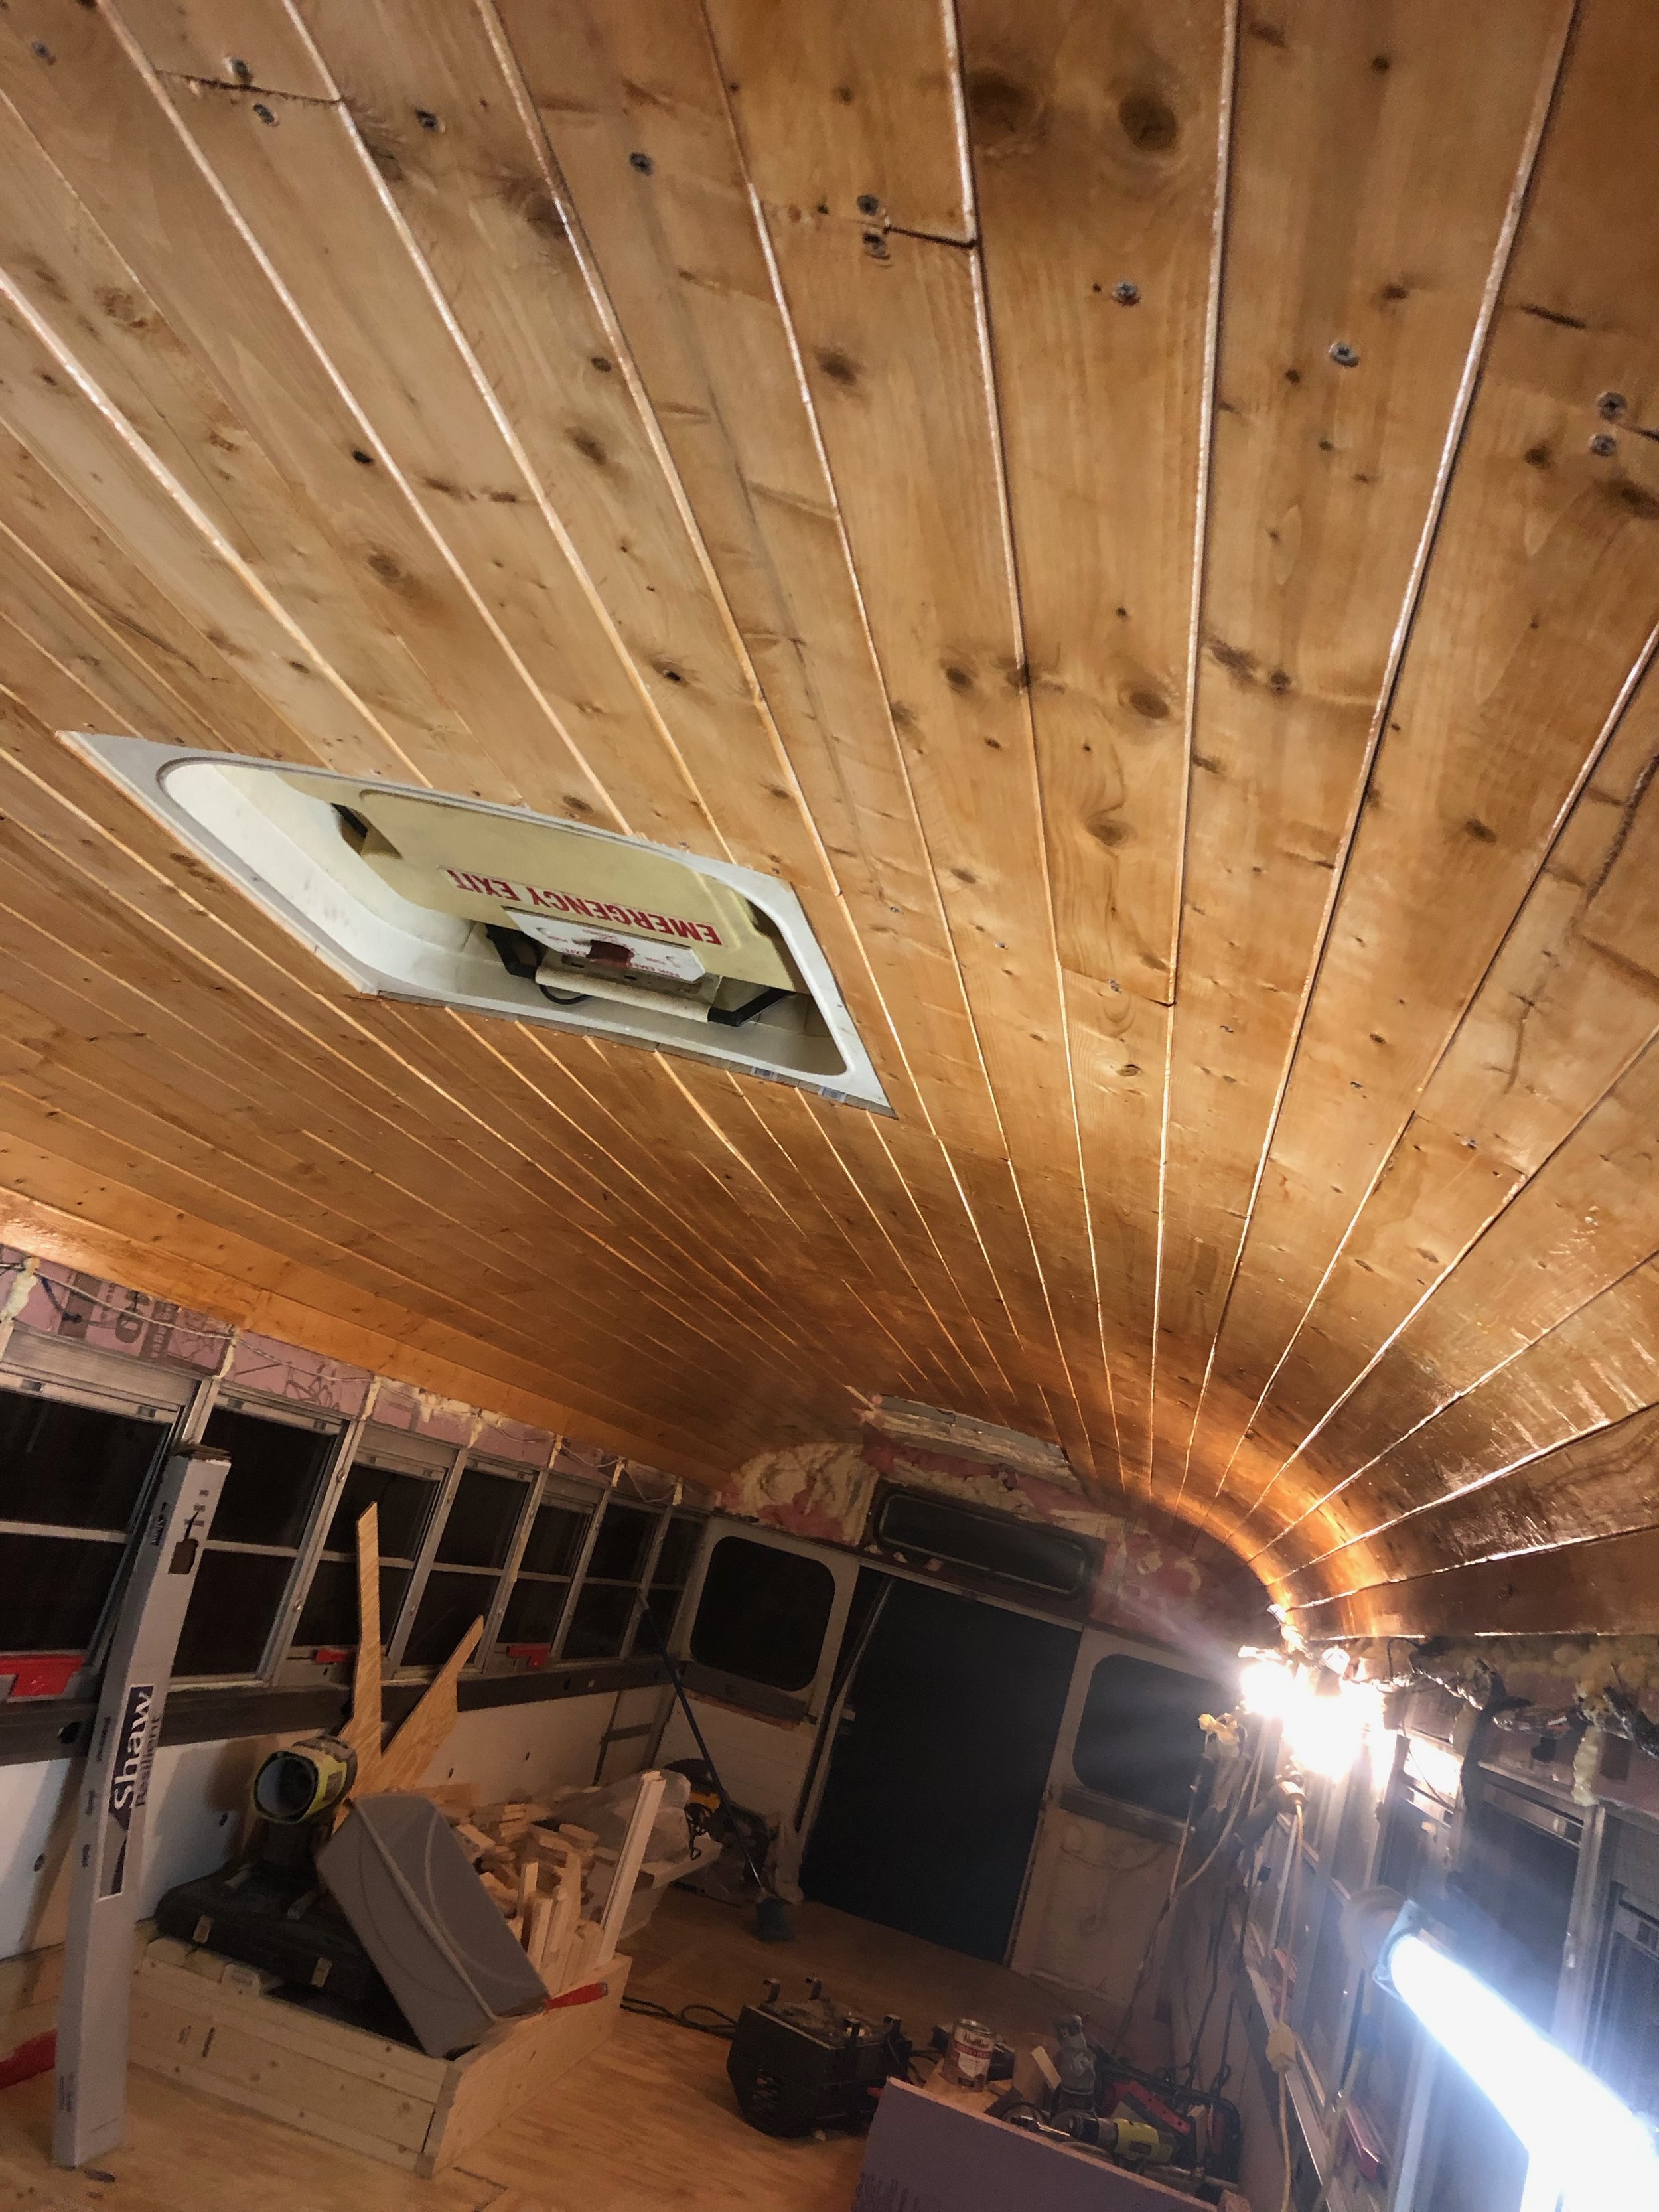
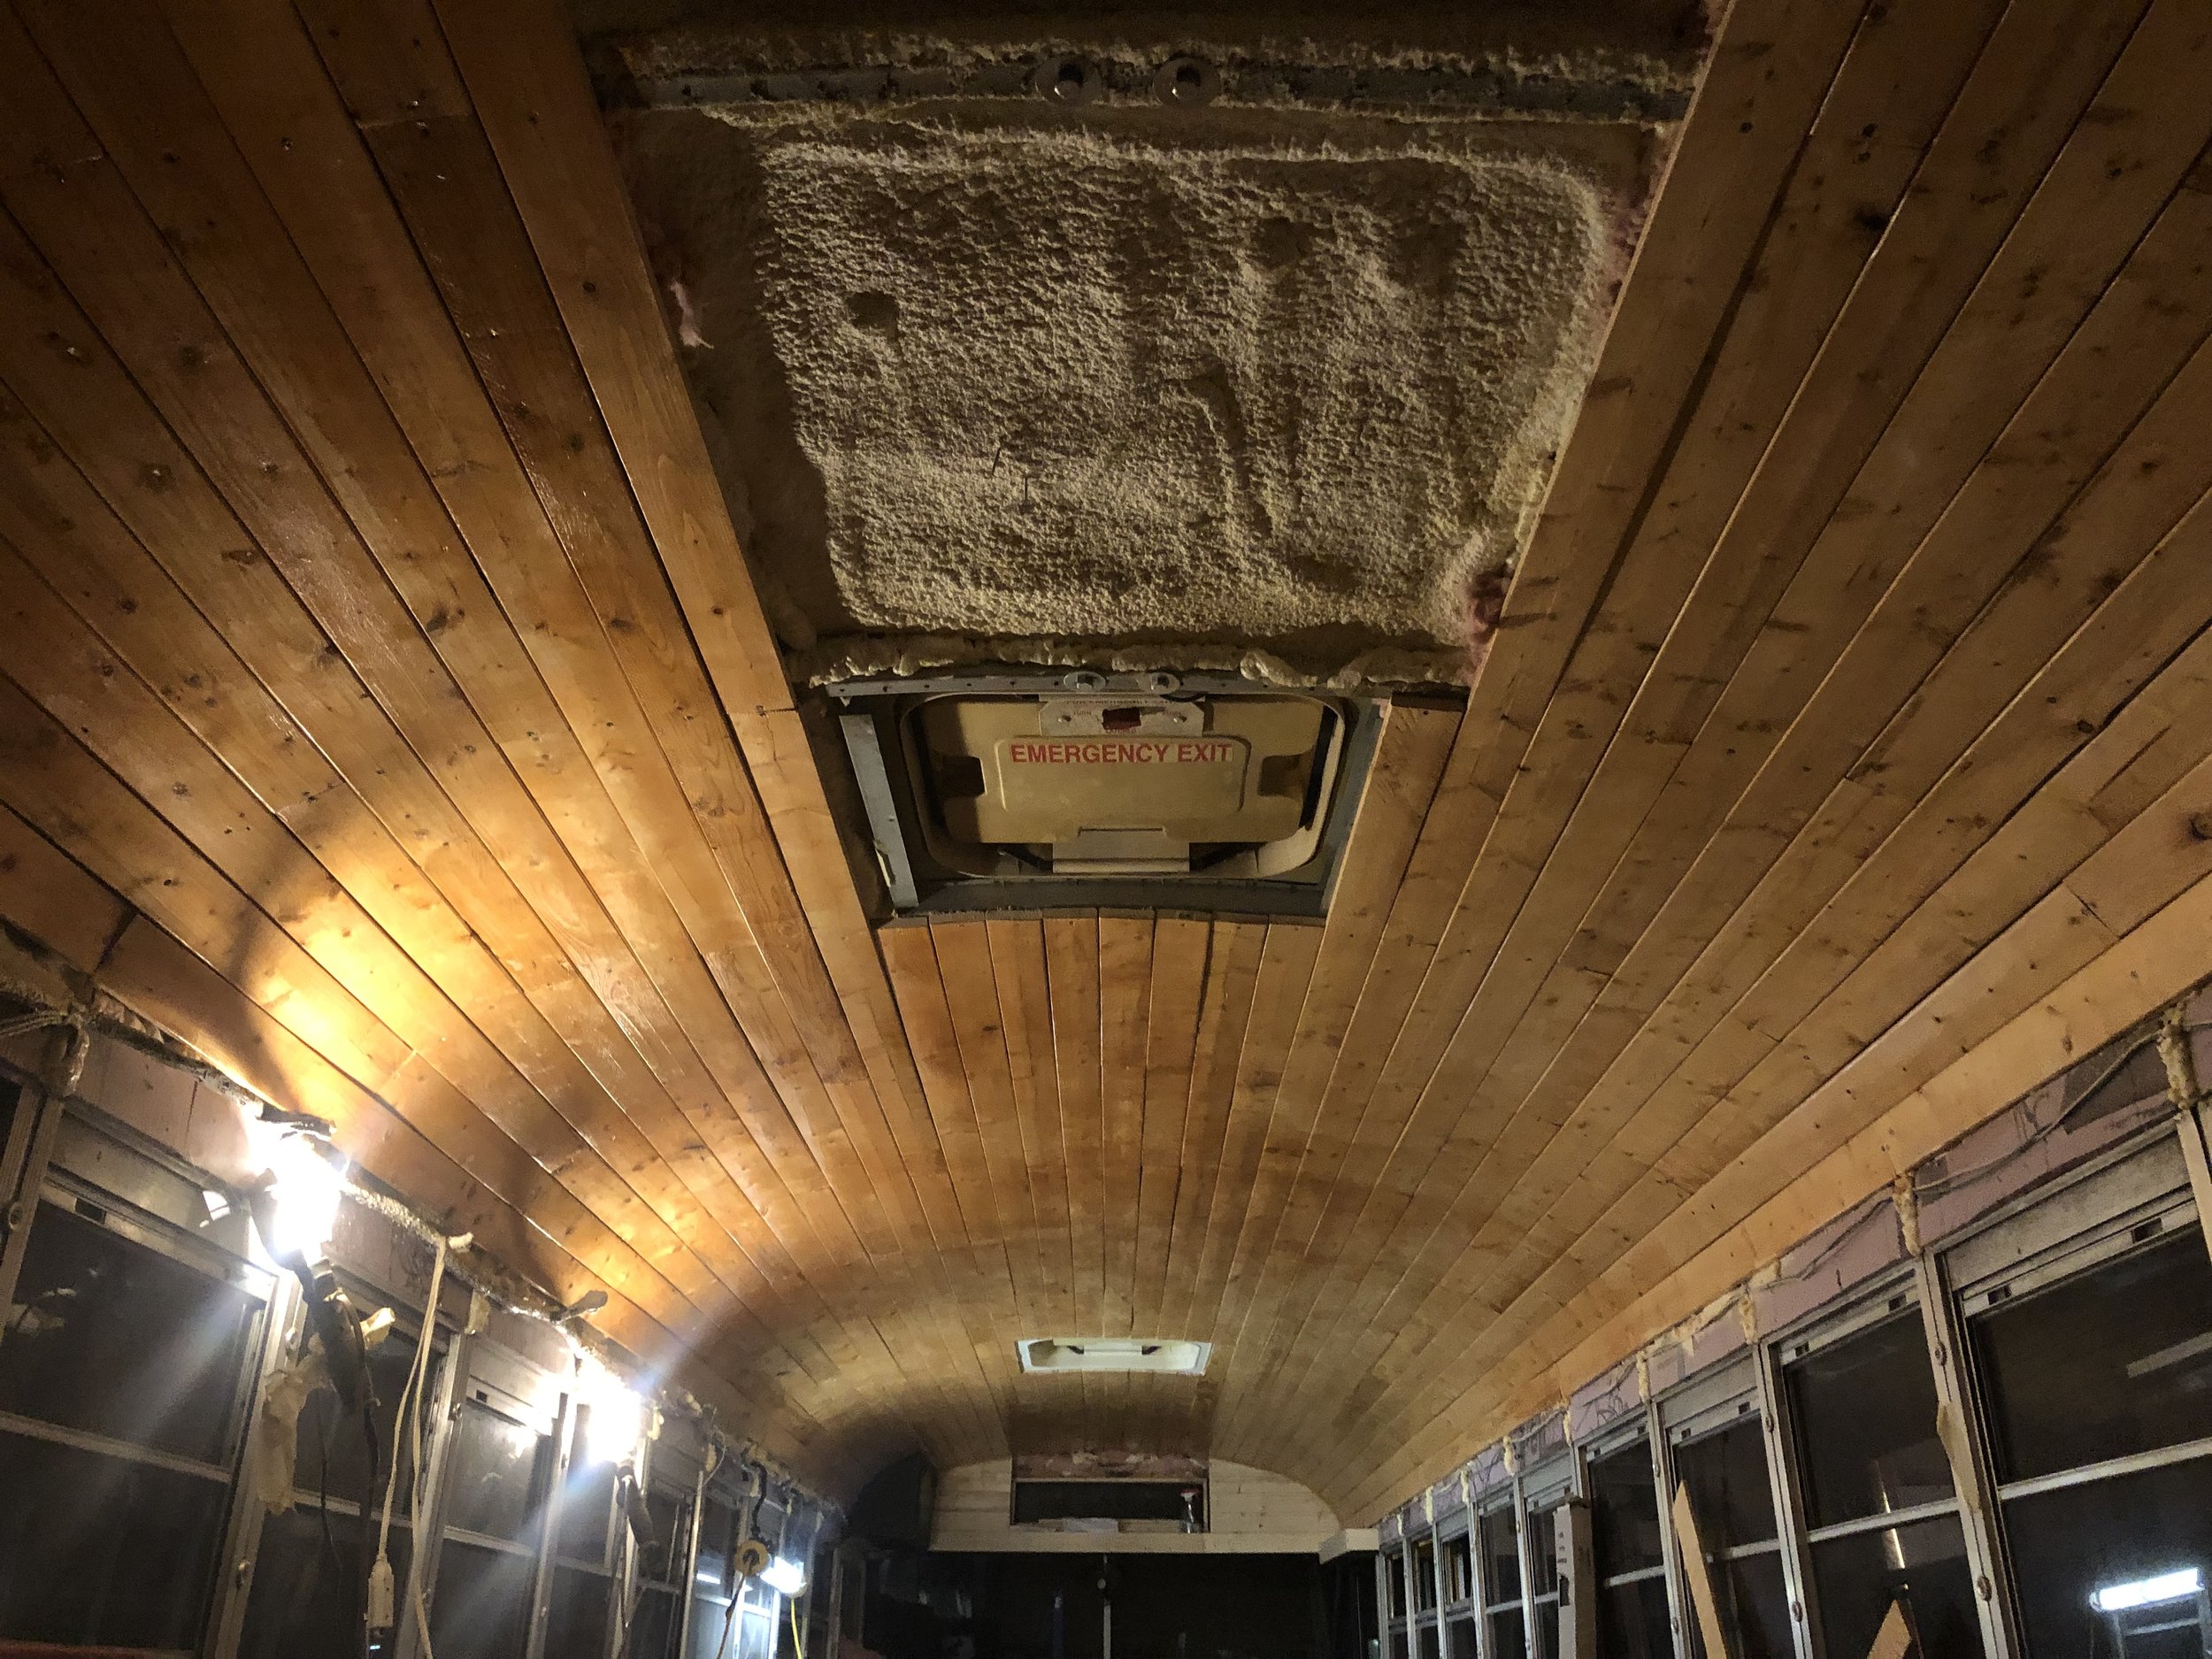
The ceiling and flooring came next. We wanted to go with an earthy feel in our bus so we decided to dark vinyl plank floors with a wooden plank ceiling. The wood for the ceiling was only found at Lowes and they were 1 x 4 x 8ft long furring strips. At $1.98 a plank they were super cheap and we would come to learn extremely versatile. After pre-drilling each hole with a drill these planks were screwed directly into the ribs of the bus which are about 3 feet apart for the length of the bus. We cannot stress enough how important it is to pre-drill the holes. It makes for much easier application of the intended screw. If you plan on doing something similar just make sure to check the length of the screws you want to use or else you could end up going through the skin of the bus and I shouldn’t need to tell you how or why that would be bad!
We left a small section towards the rear of the bus without ceiling planks so we could install the roof deck. Once the deck was installed we used the same planks, sanded, and finished the ceiling up. I learned something here and that was how to apply stain correctly. I started with a brush and got about halfway through the ceiling before switching to a roller. The roller was applying the stain at a much quicker rate as well as being more even. I may even end up sanding over the "brushed” half of the ceiling and re-staining with a roller.
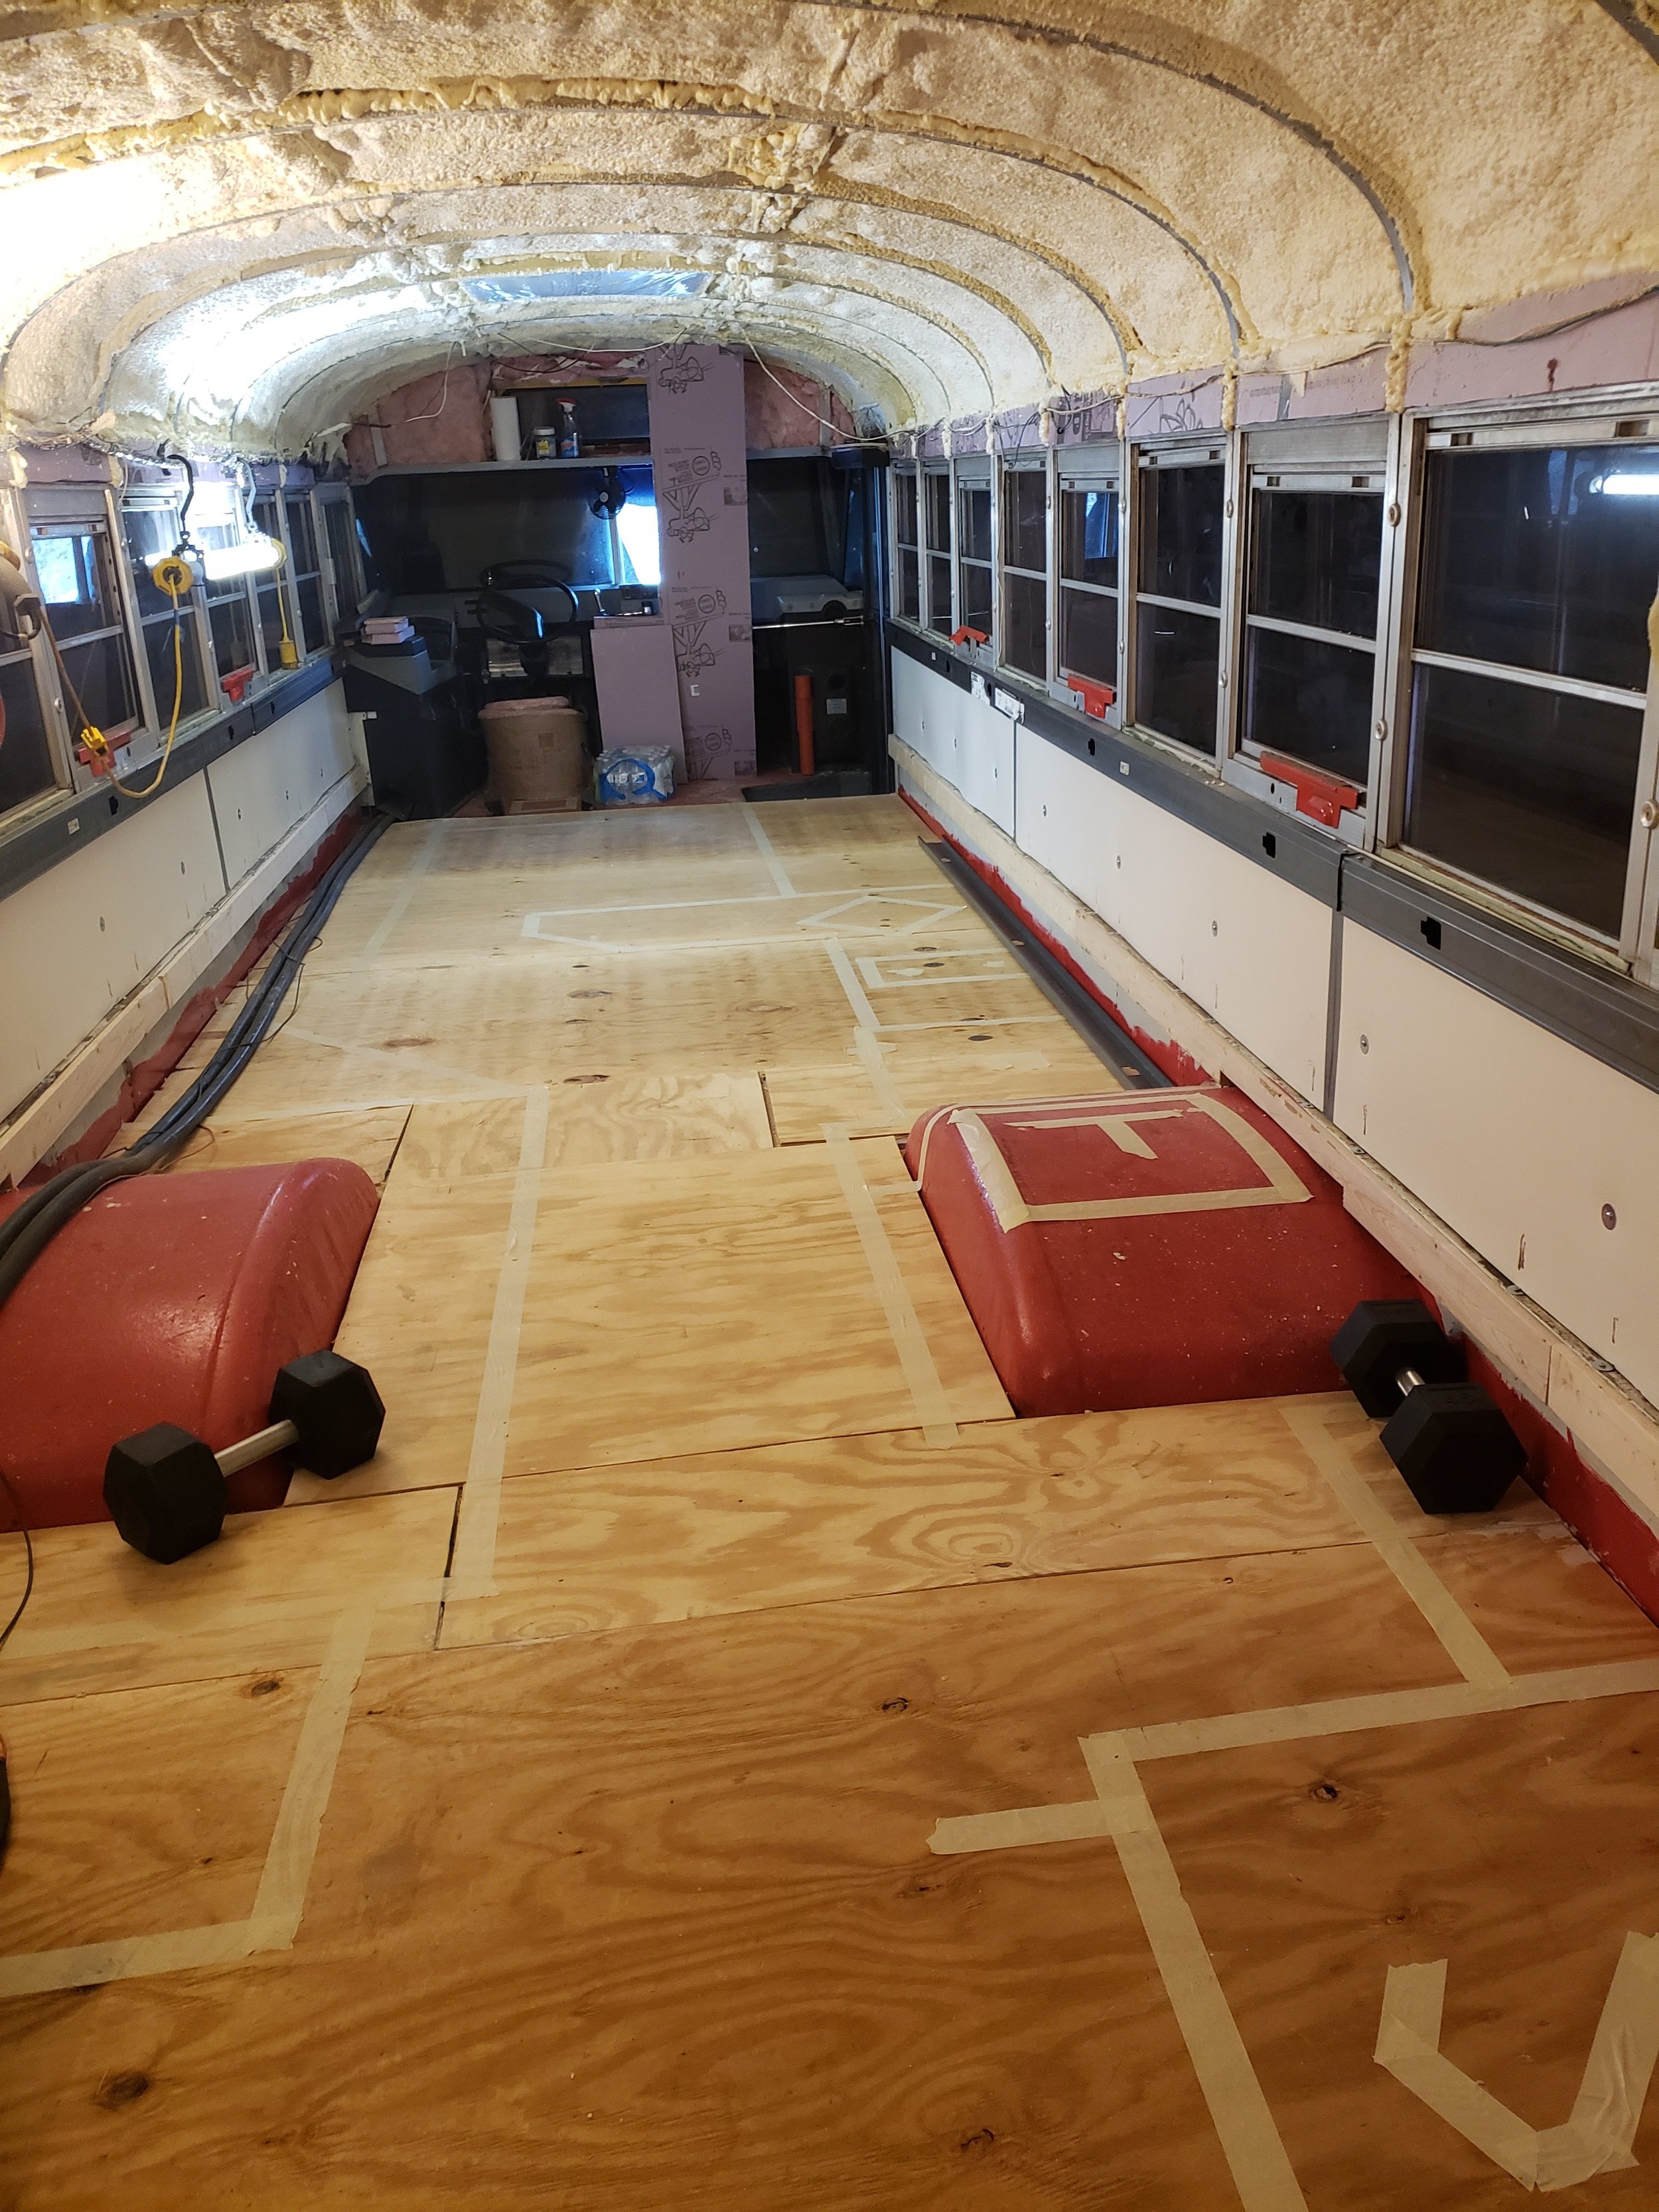
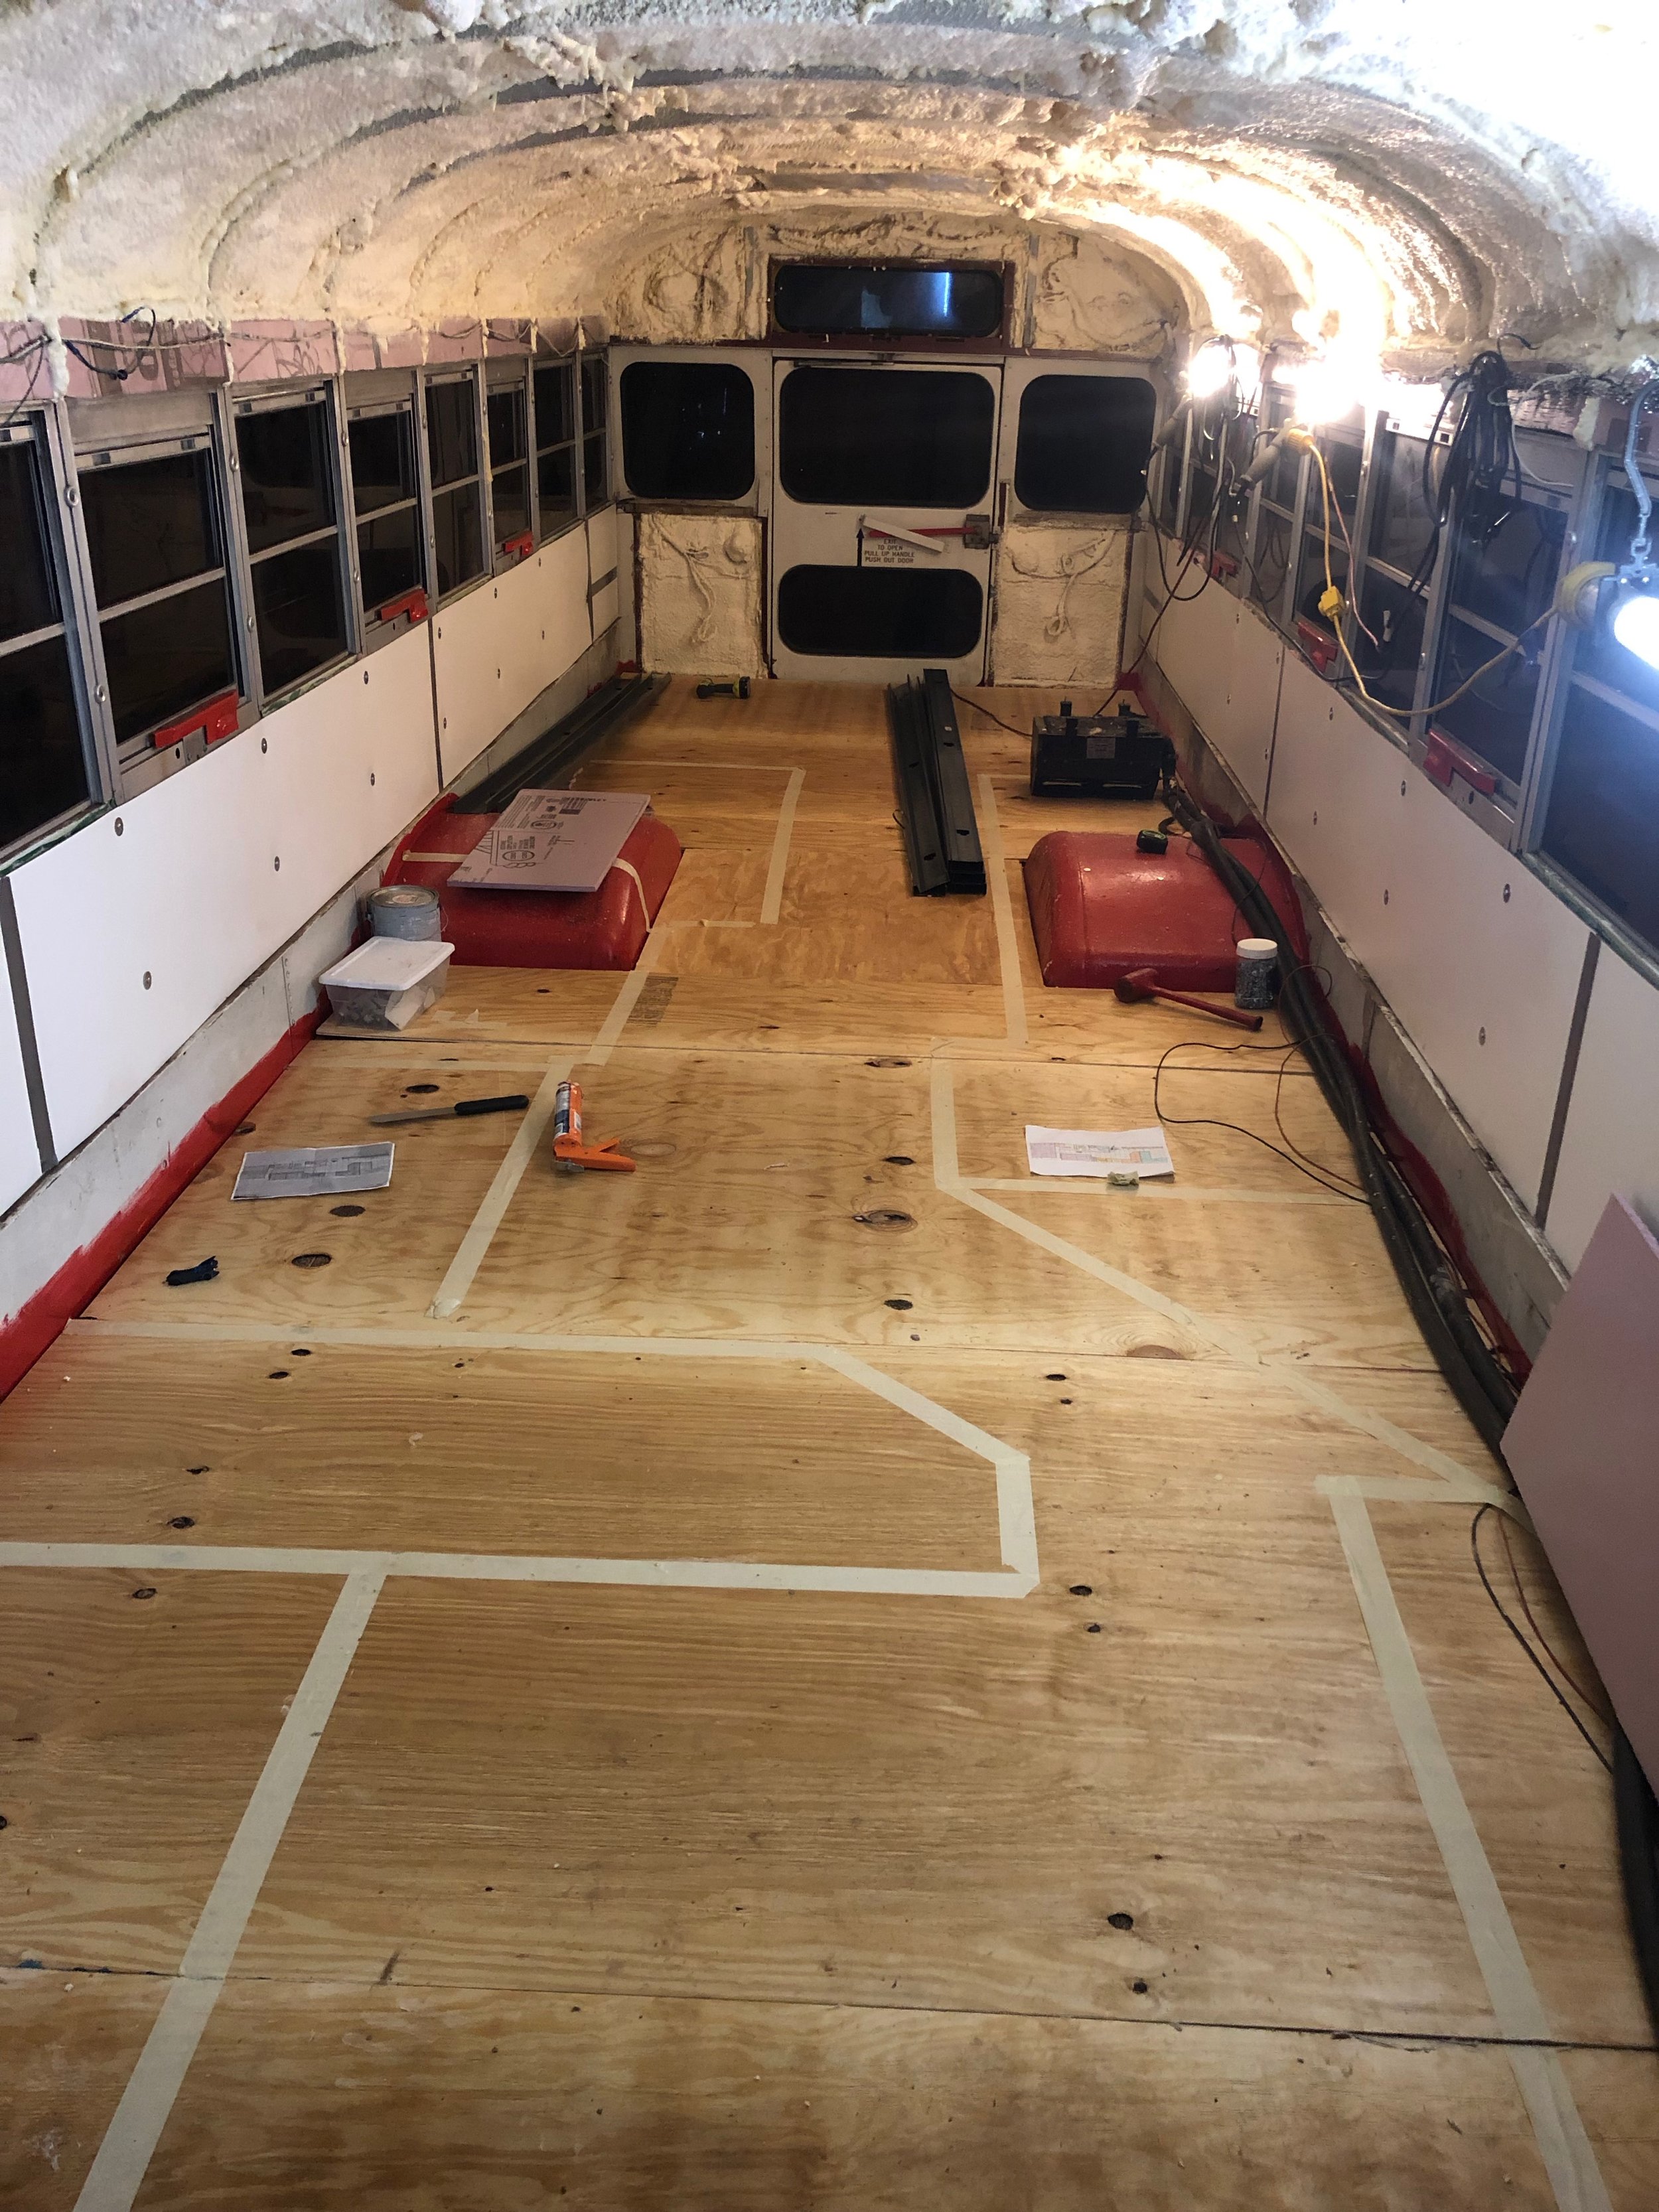
There were a few different things that happened simultaneously at this stage in the build. Prior to putting down the flooring we used masking tape to tape out our entire floor plan so we could do a walkthrough. This helped us get a feel for what our floor-plan would be like which is good because we ended up making some pretty big changes.
Wheel Wells and Rust Patching
This is also where we boxed off the wheel wells in the rear of the bus. Above one would be part of the bathroom and above the other the kid’s bunk beds. If you are hesitant about taking the factory floor up this is where I would strongly recommend taking it up, no matter how good of a condition you might think the floor is in. From inside the bus we felt no “crunchy” spots and there were no indications of rust but when we peeled the rubber/laminate factory flooring up we found some spots up against the wheel wells that needed repair. It makes sense though with all of the salt and moisture that the wheels kick up that these spots would need some TLC. We had a couple holes roughly the size of a softball or a dollar. We didn’t have a welding machine at this point so we decided to use a carbon fiber kit. It couldn’t have been simpler. First the area of rust needs to be grinded or cut out. Then all we had to do was cut the fiber mat to size (1’’ larger than that of the hole it was going to cover) and coat it in the provided epoxy. It’s moldable when still wet so using disposable gloves it’s very malleable. Once the current layer was dry we added a few more layers and viola, good as new.
Materials we used:
1 x 4 x 8 Furring Strips - Lowes only (Home Depot doesn’t carry these in our area)
Home Decorators Luxury Vinyl Plank Flooring - Java Hickory color - Home Depot
4 x 8 Plywood - (over the insulation boards) - Home Depot
Tools we used:
Ryobi 18v power drill - Amazon
Ryobi 18v Circular Saw - Amazon
Dewalt Miter Saw - Our awesome neighbor, Doug! Thanks, Doug!