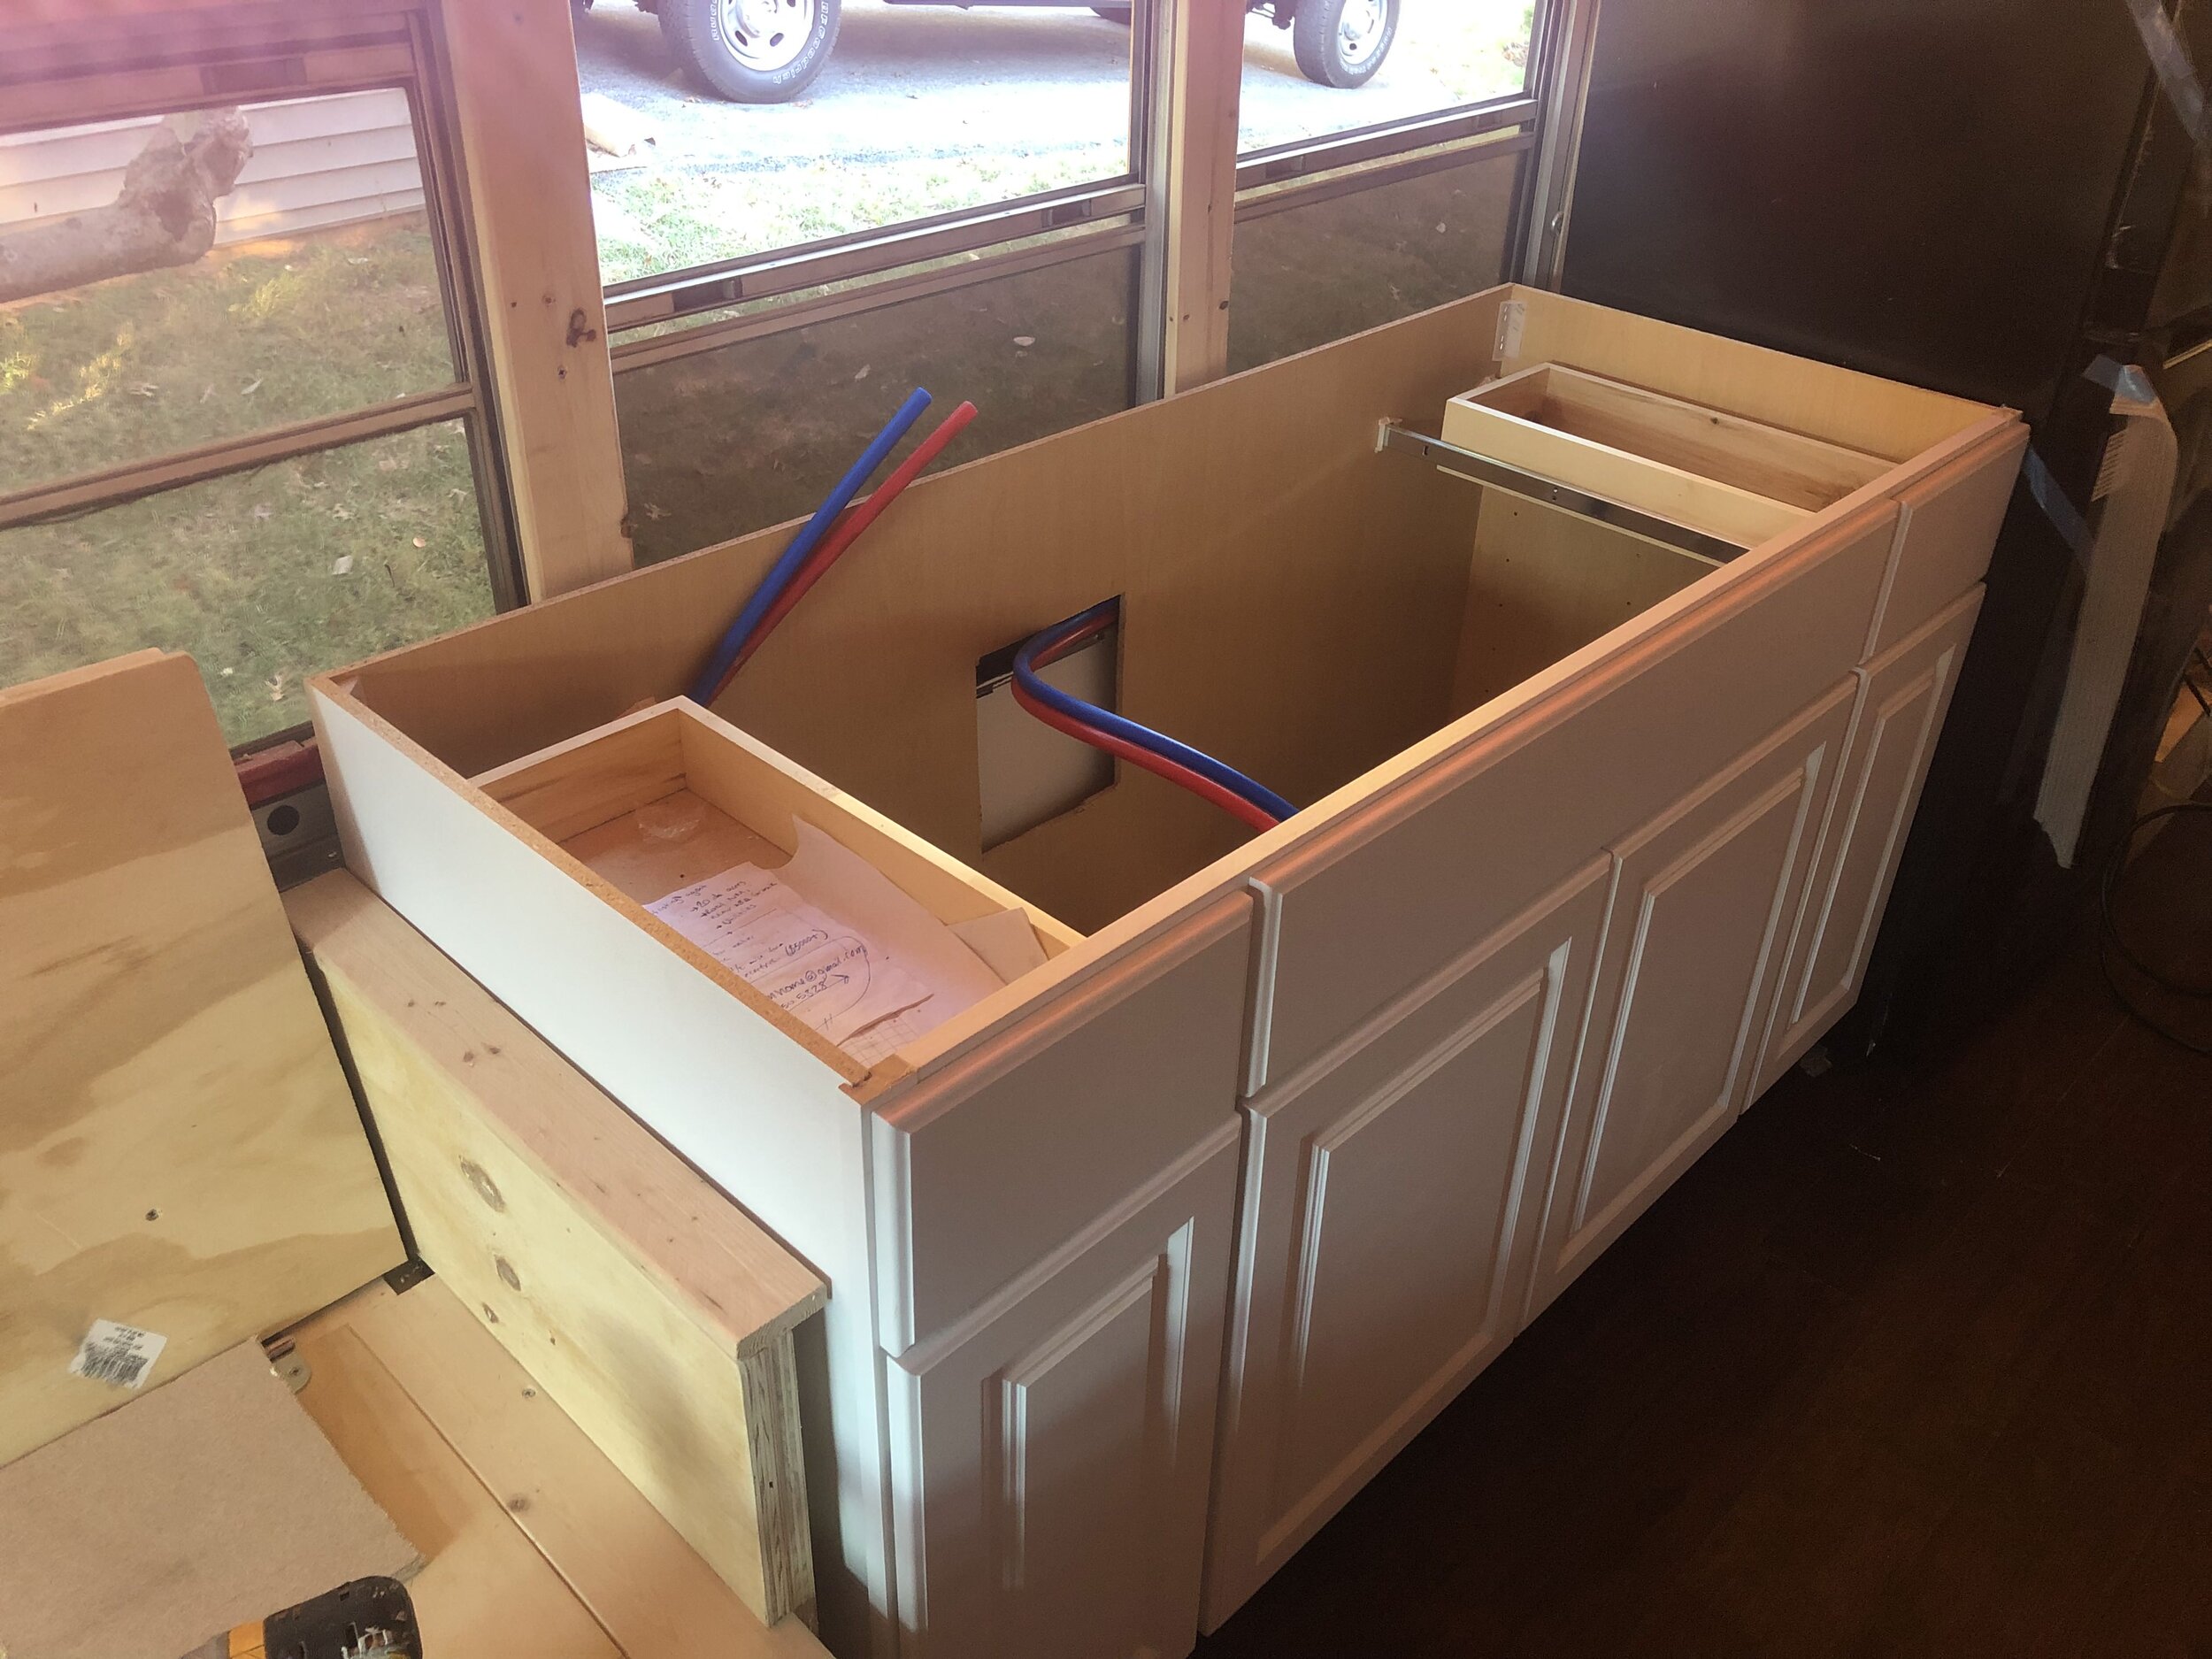
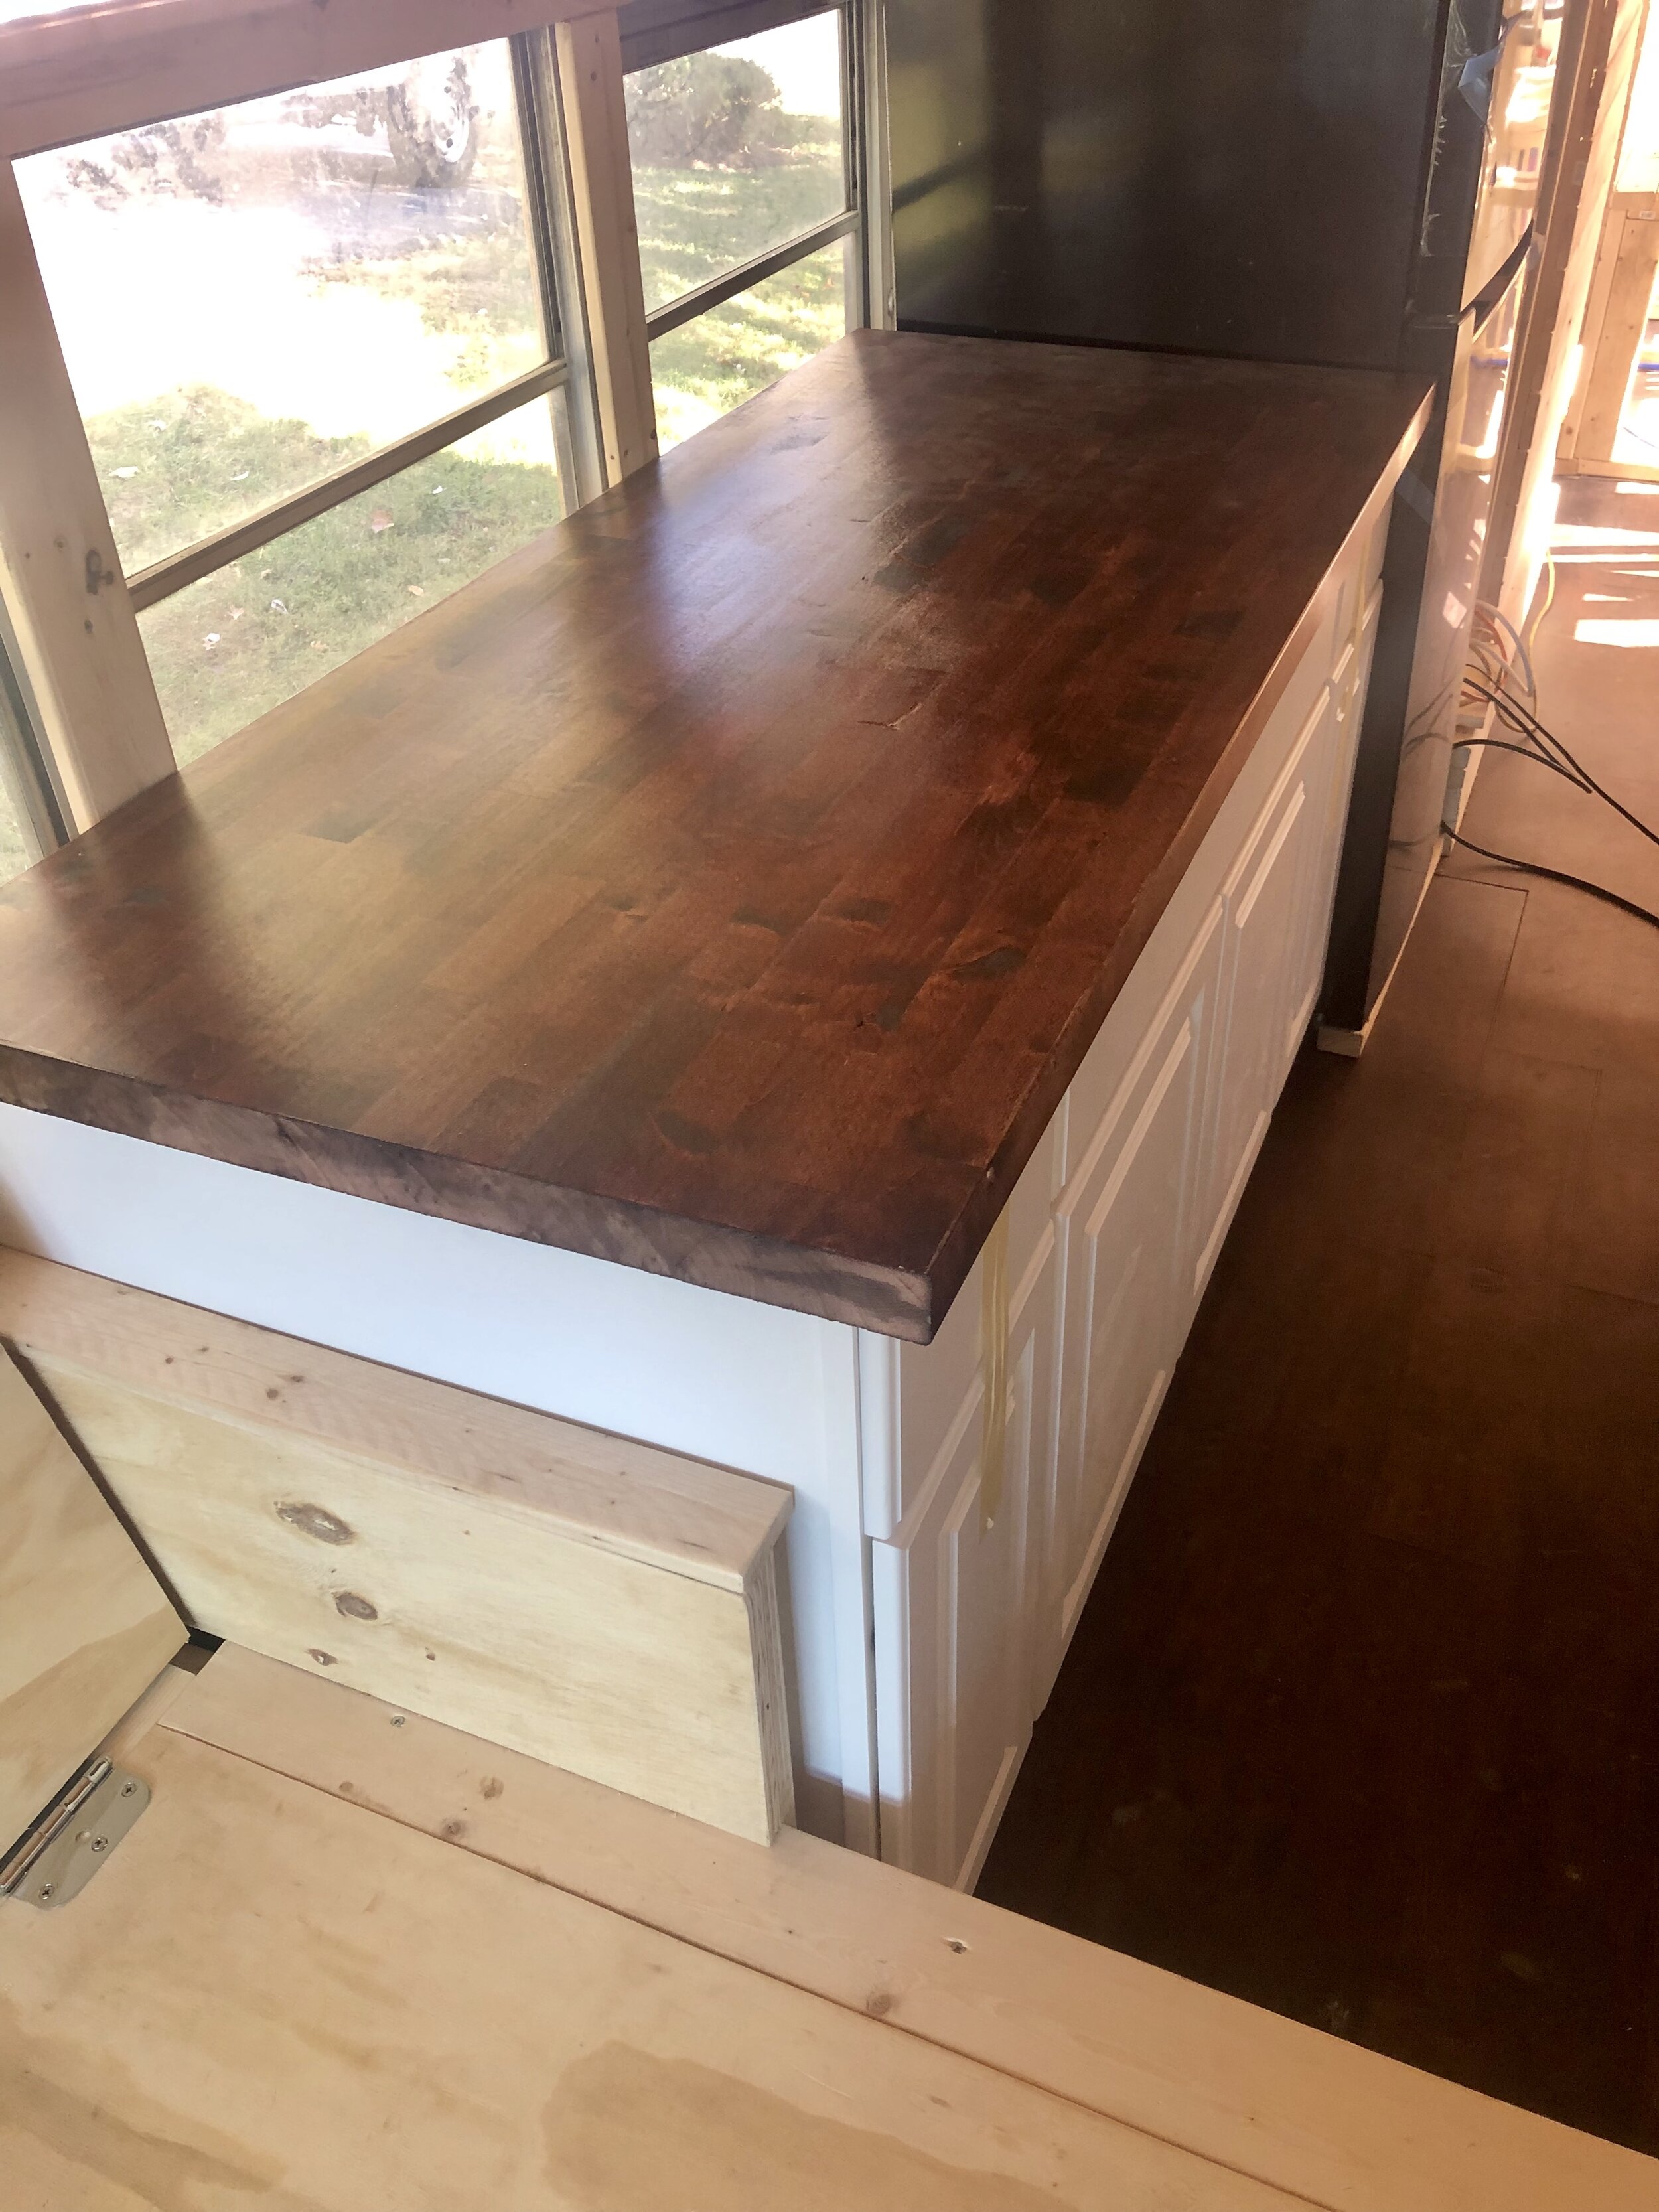
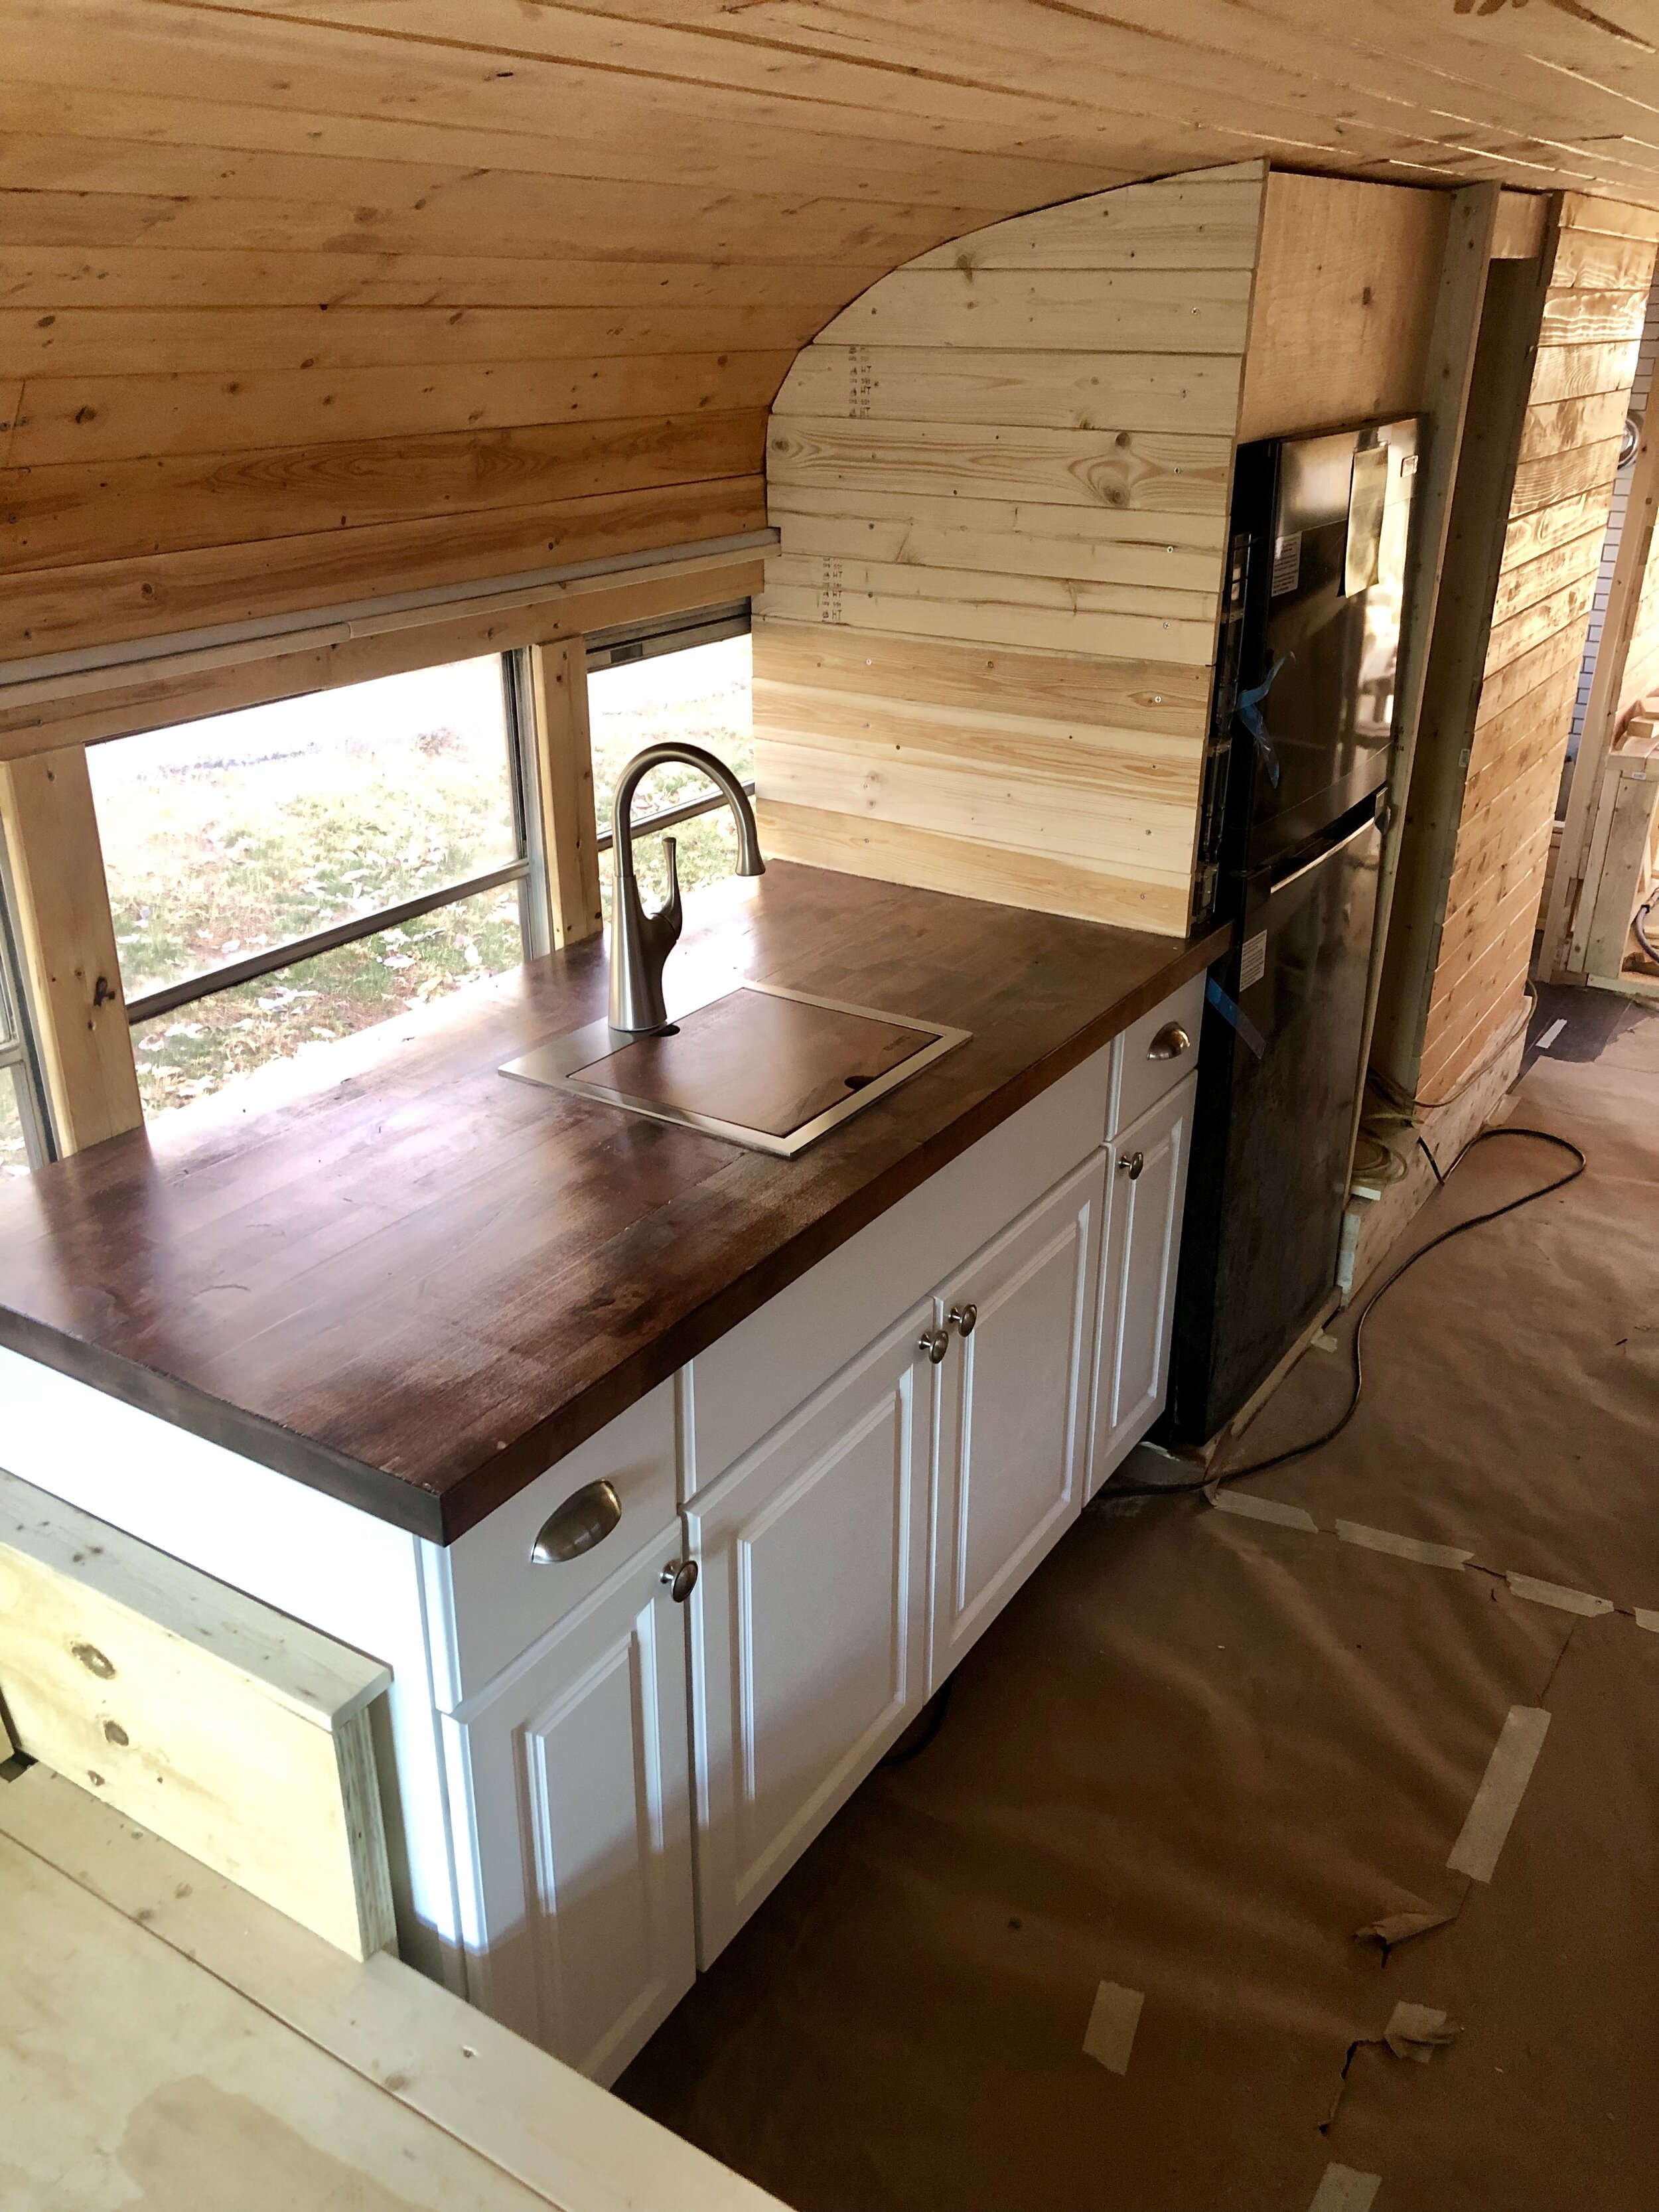
The first part of our kitchen that we started was the long countertop on the passenger side of the bus. We wanted to buy this slightly ahead of time in order to make sure we’d be able to fit it through the backdoor (over the bed) before any other walls went up. Although a lot of folks build their own cabinets we decided to go with plain prebuilt cabinets from Lowes. This would be the easiest option and allow us to focus on other parts of the build and they even had them in white. Before we permenantly secured the cabinets to the 2x4 running along the bus we cut out a smallish hole for the hot and cold water lines. These lines are running through an aluminum “2x4” that runs the length of the bus on both sides as a sort of conduit.
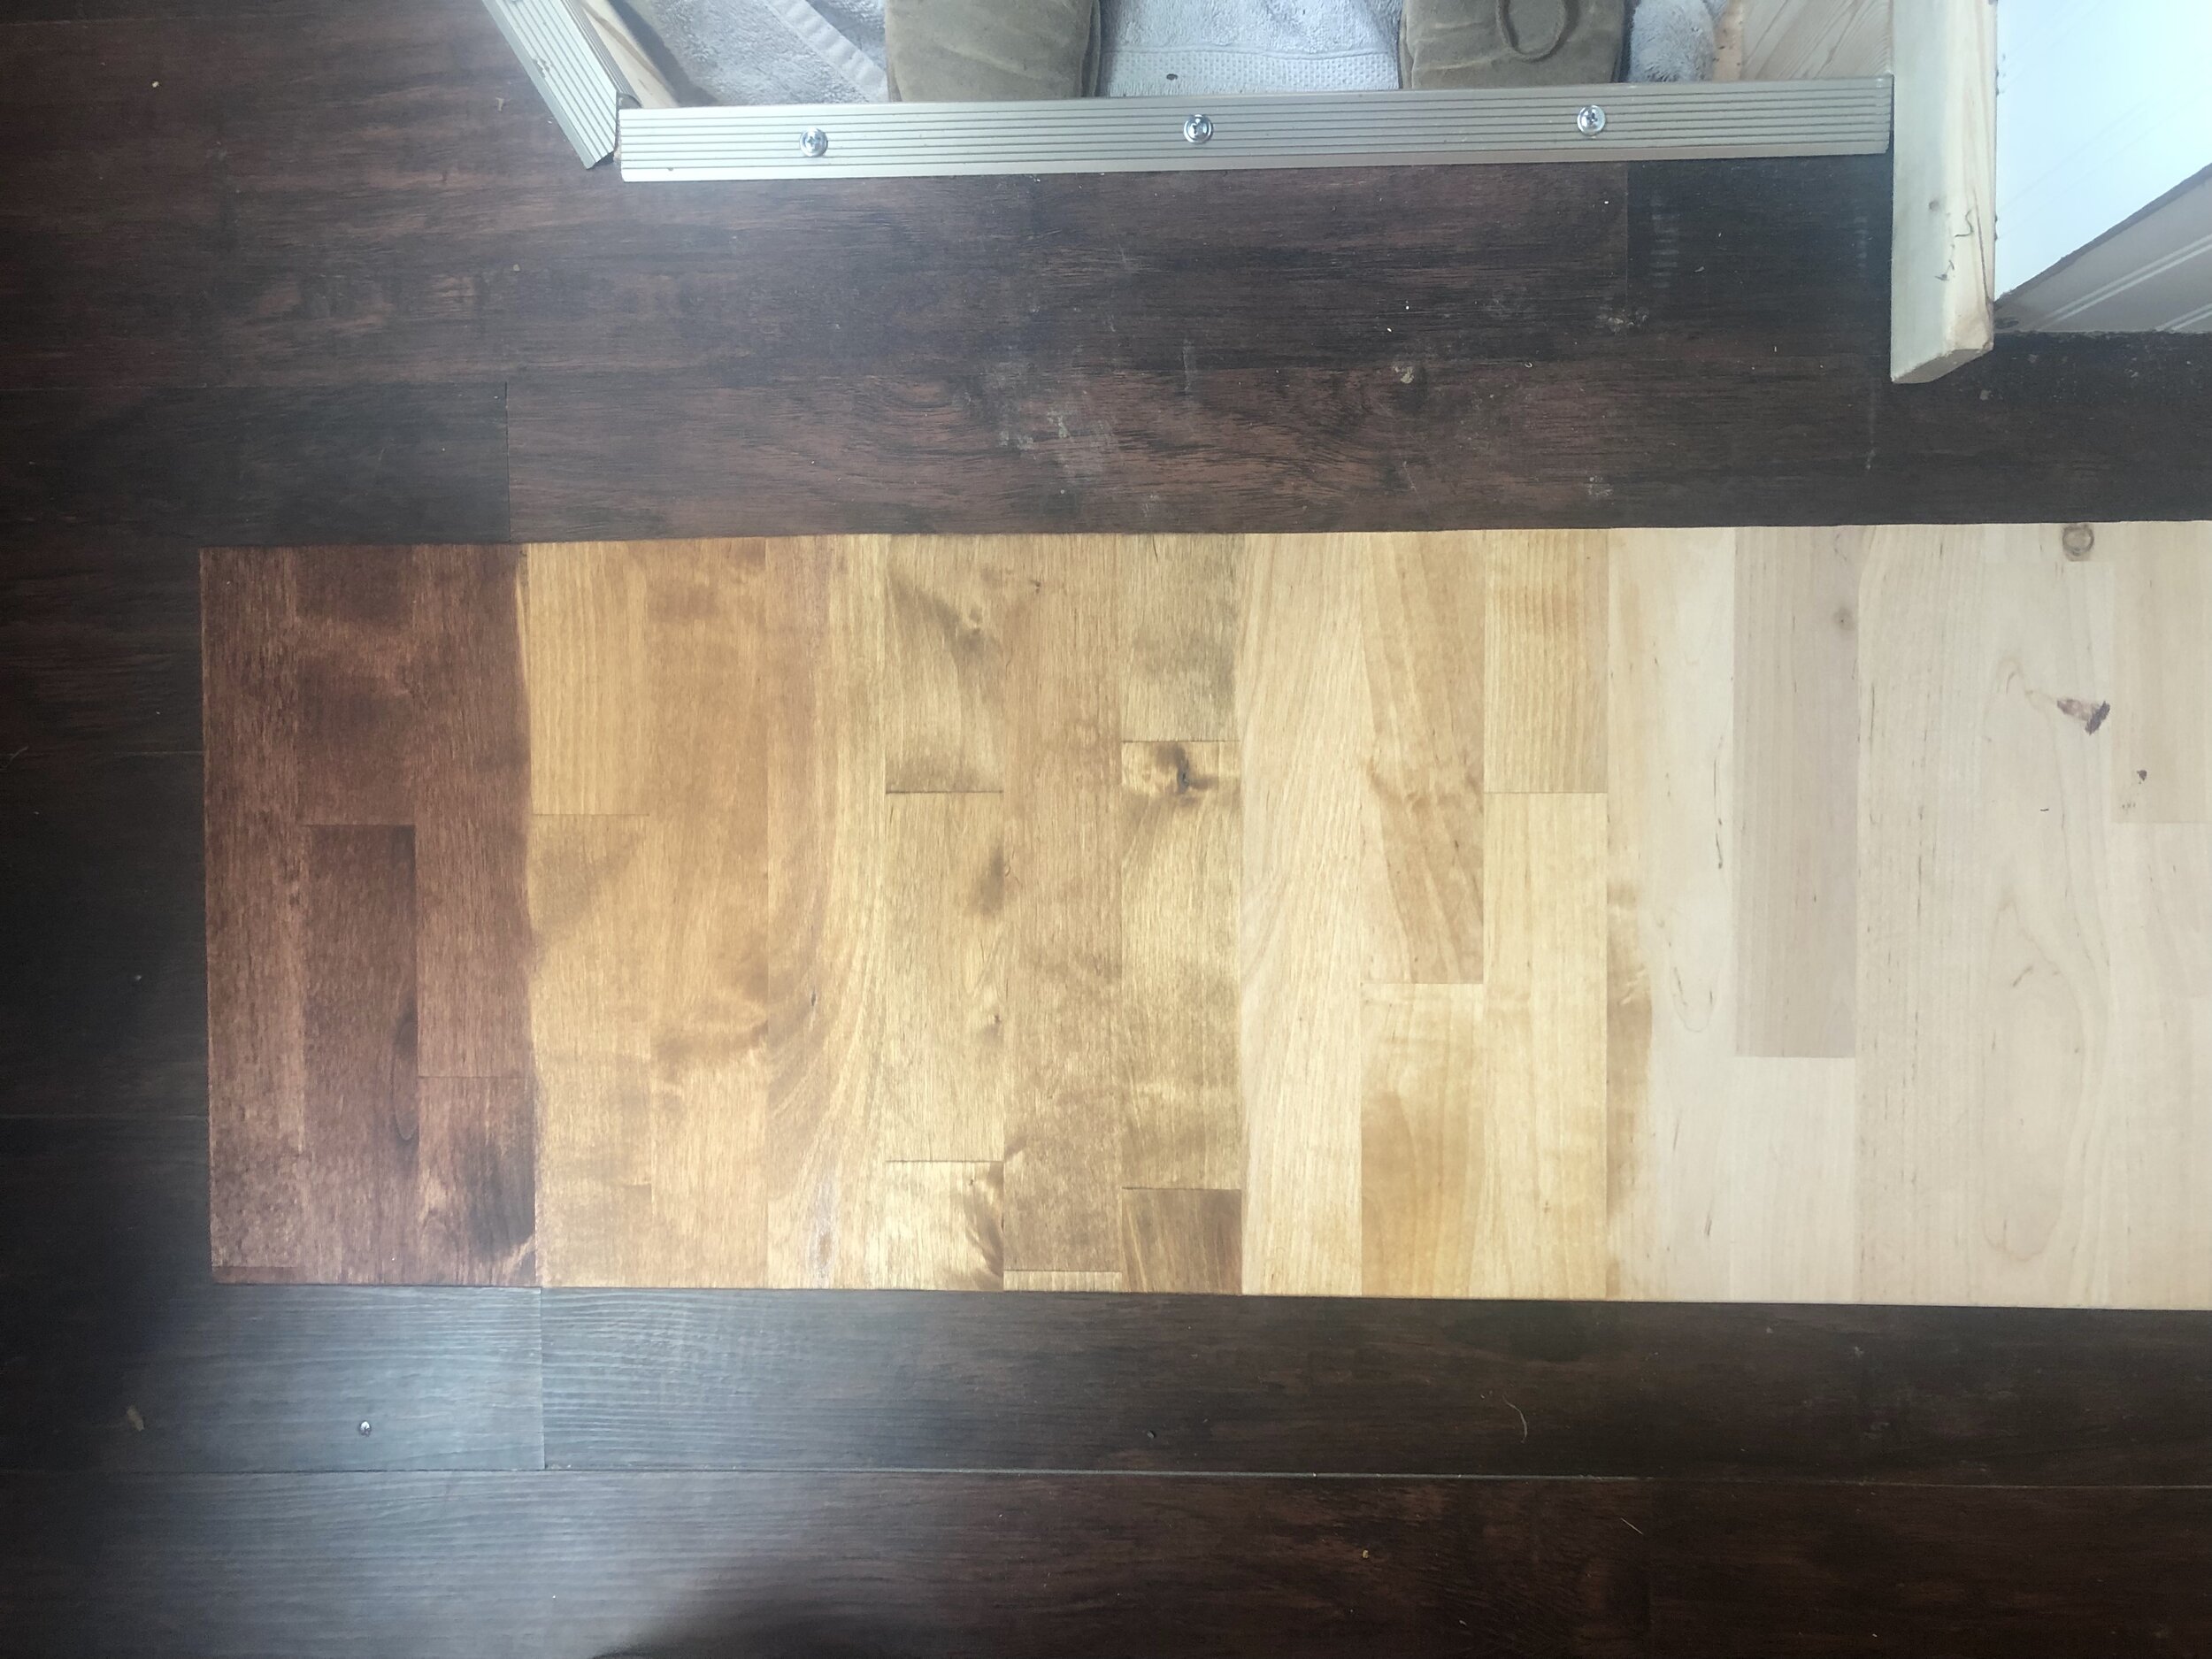
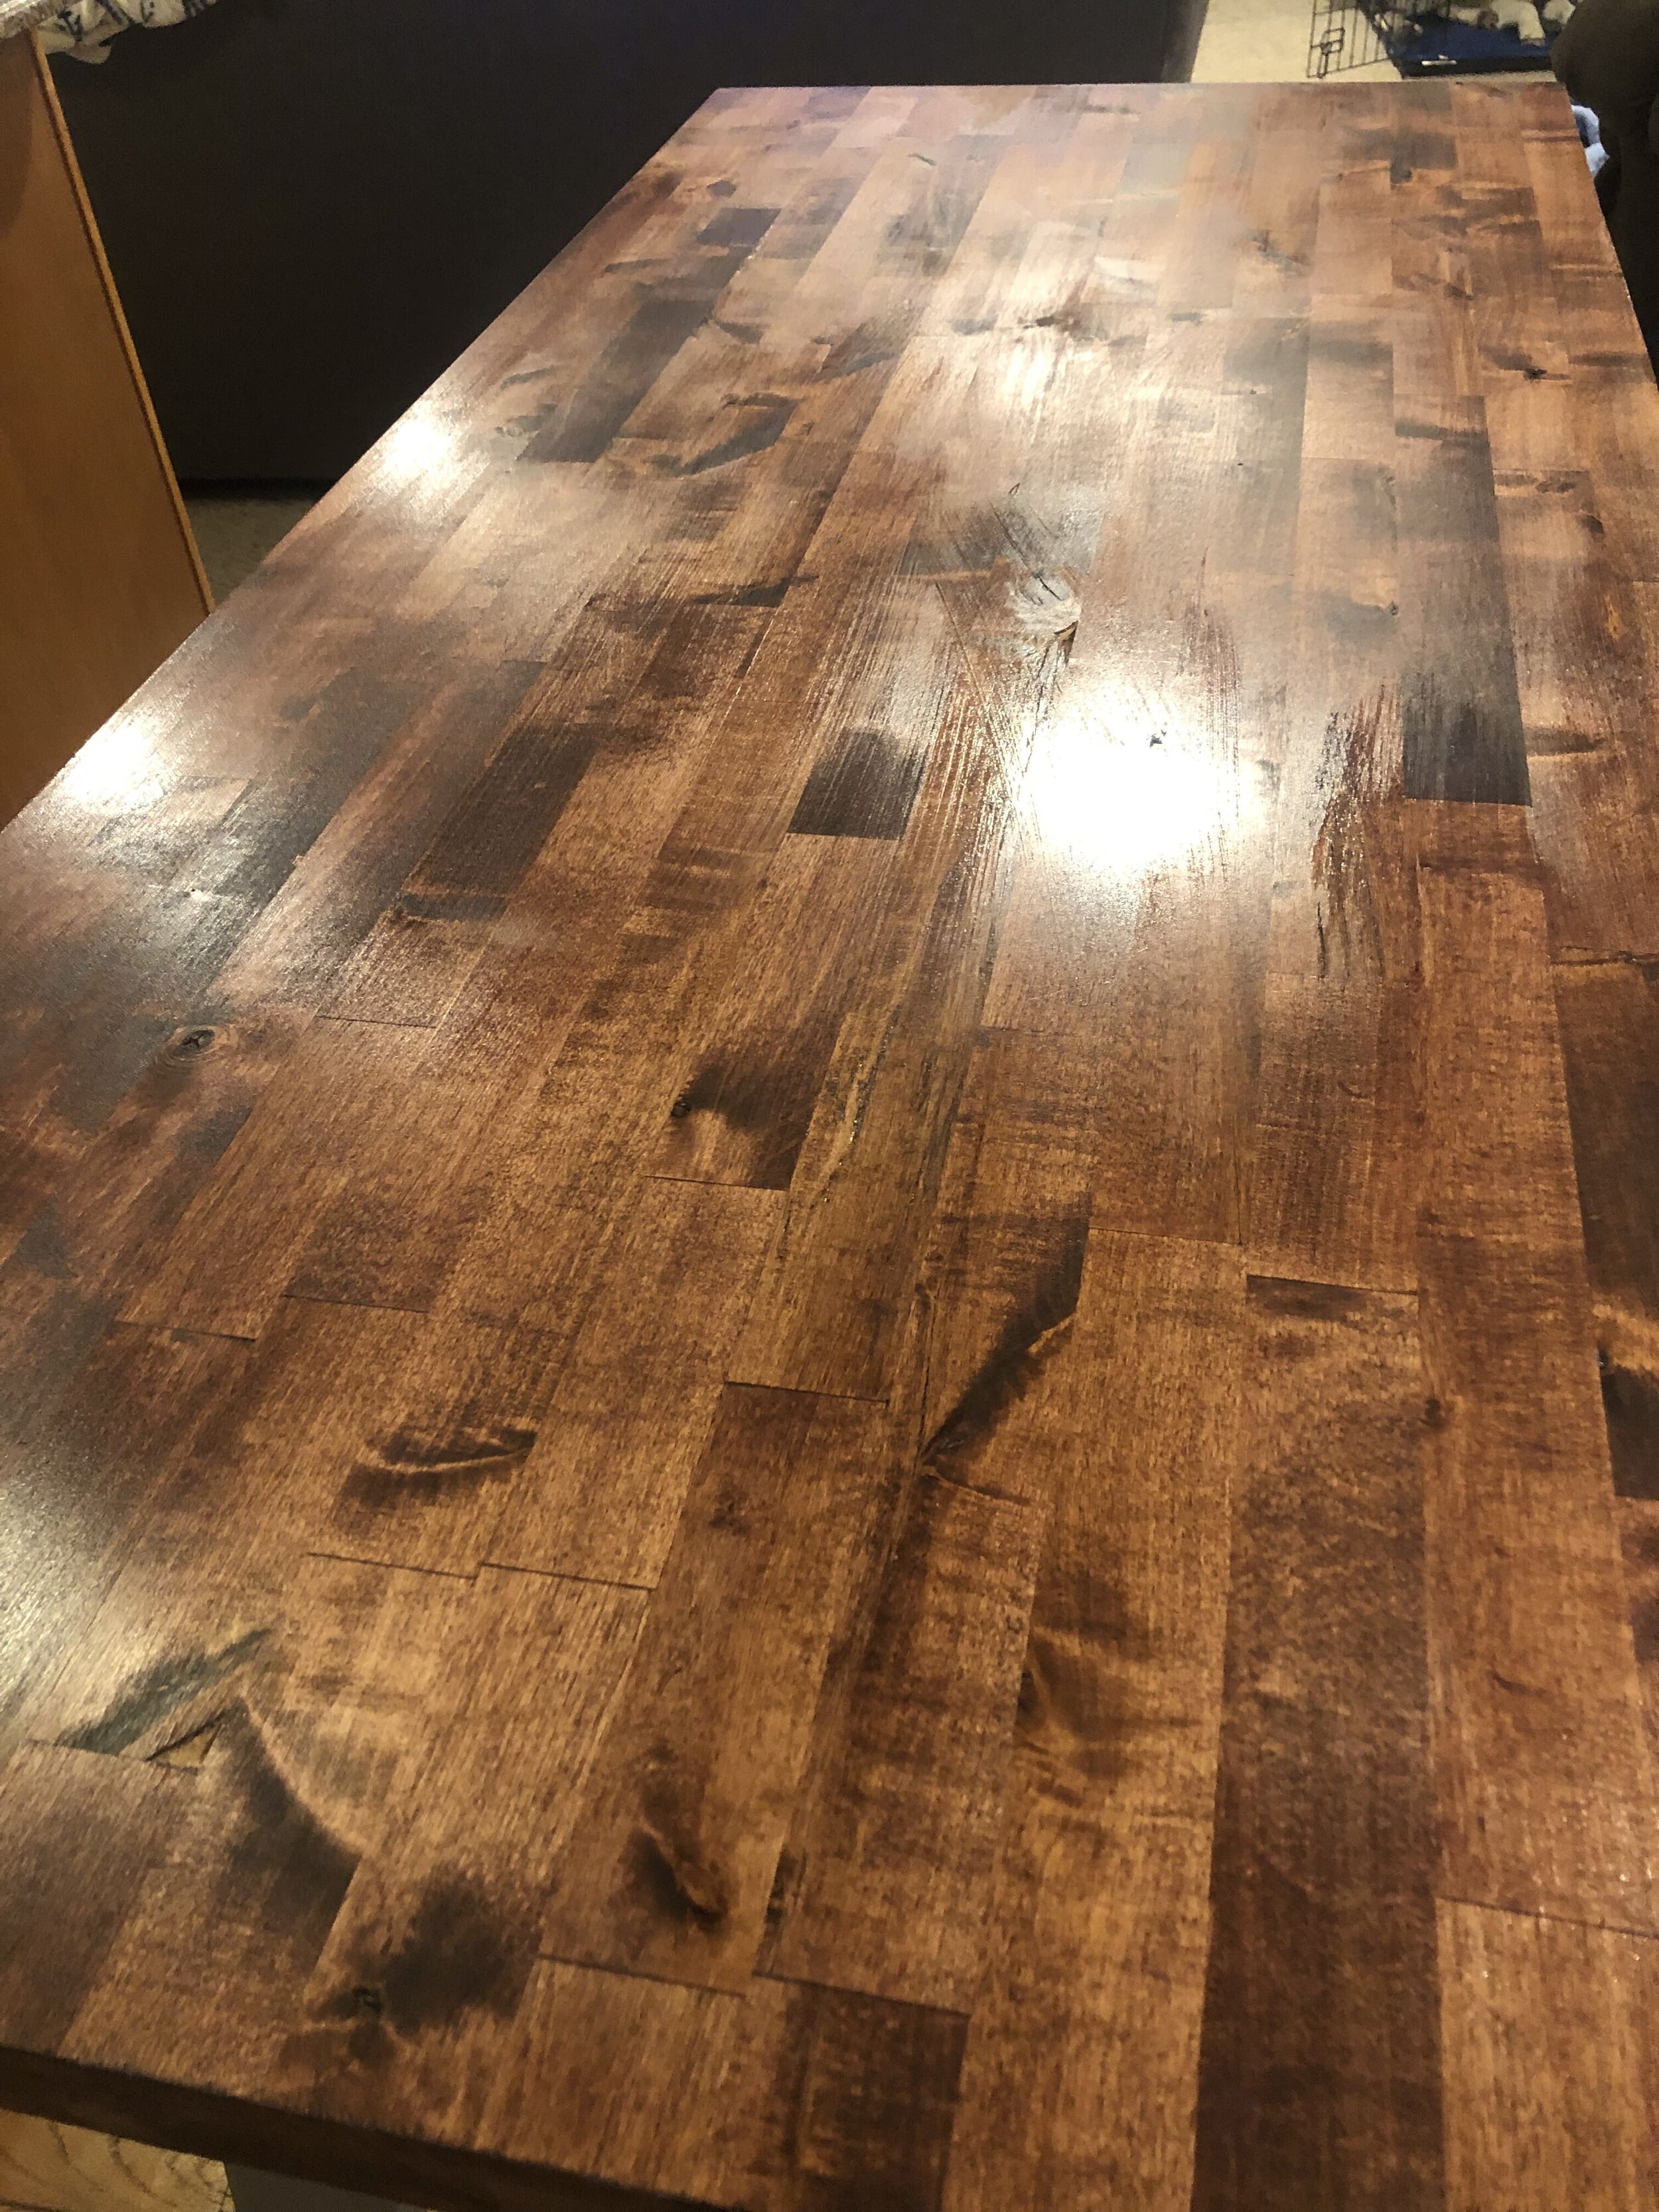
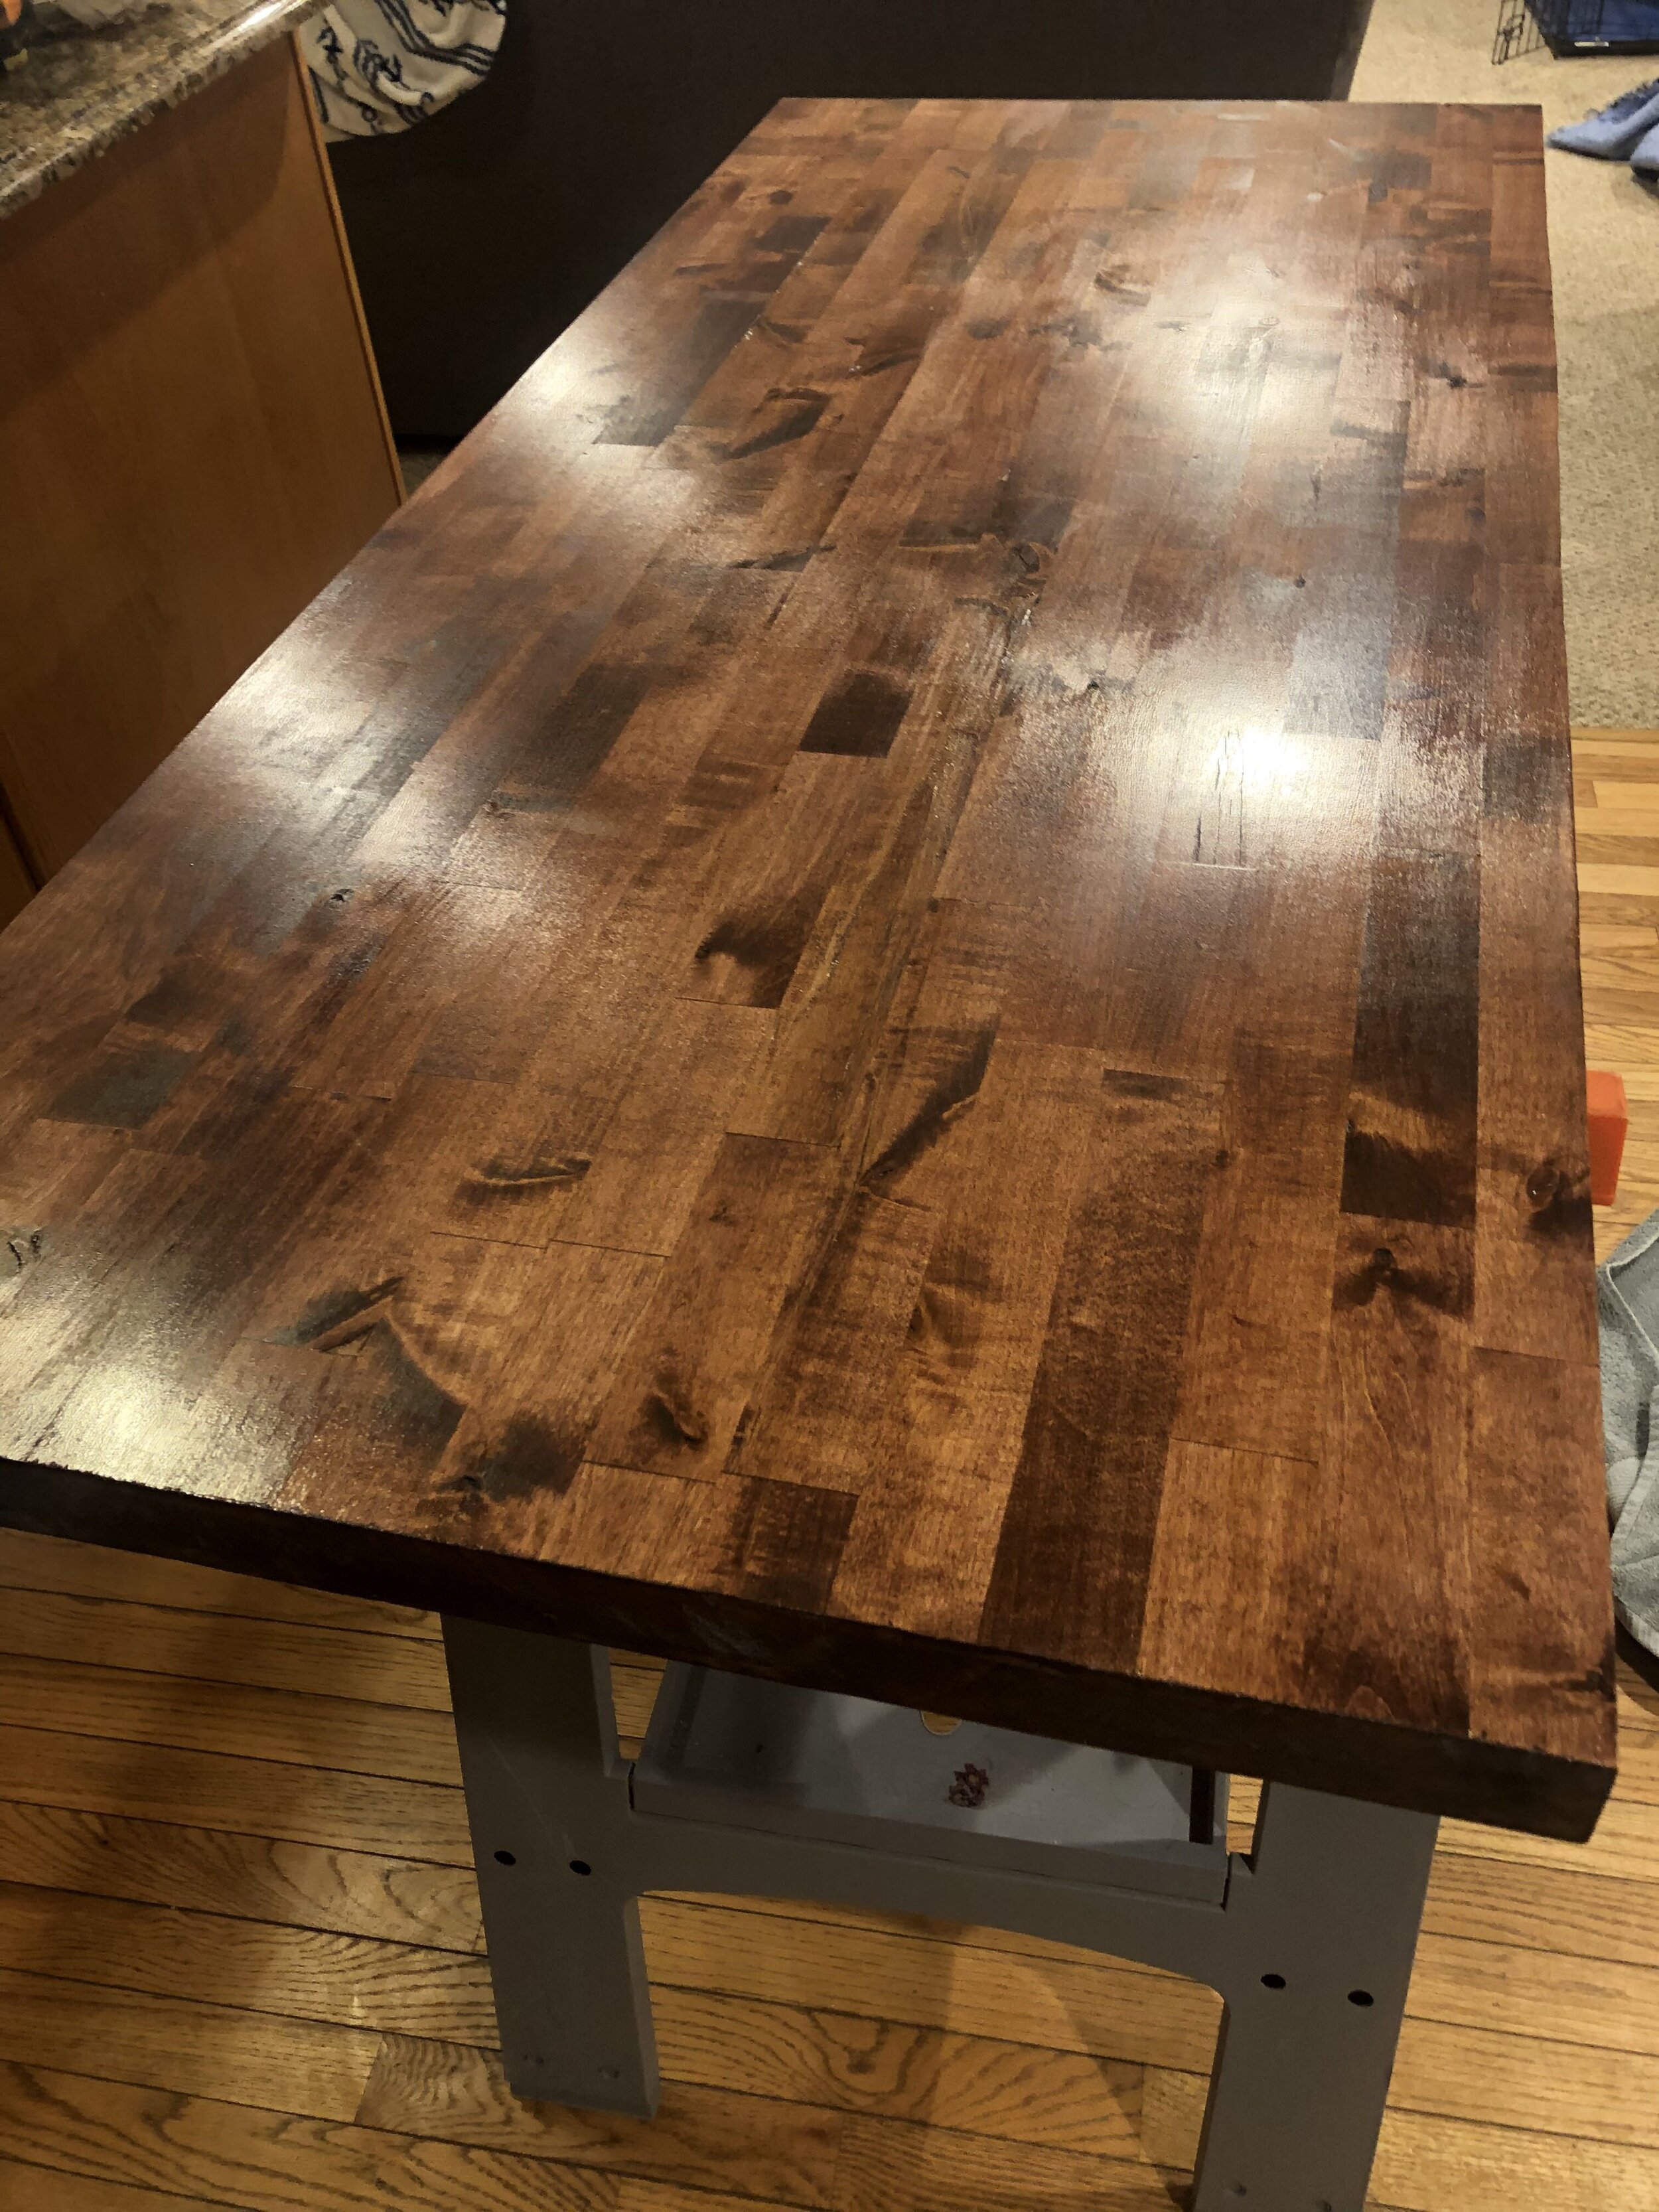
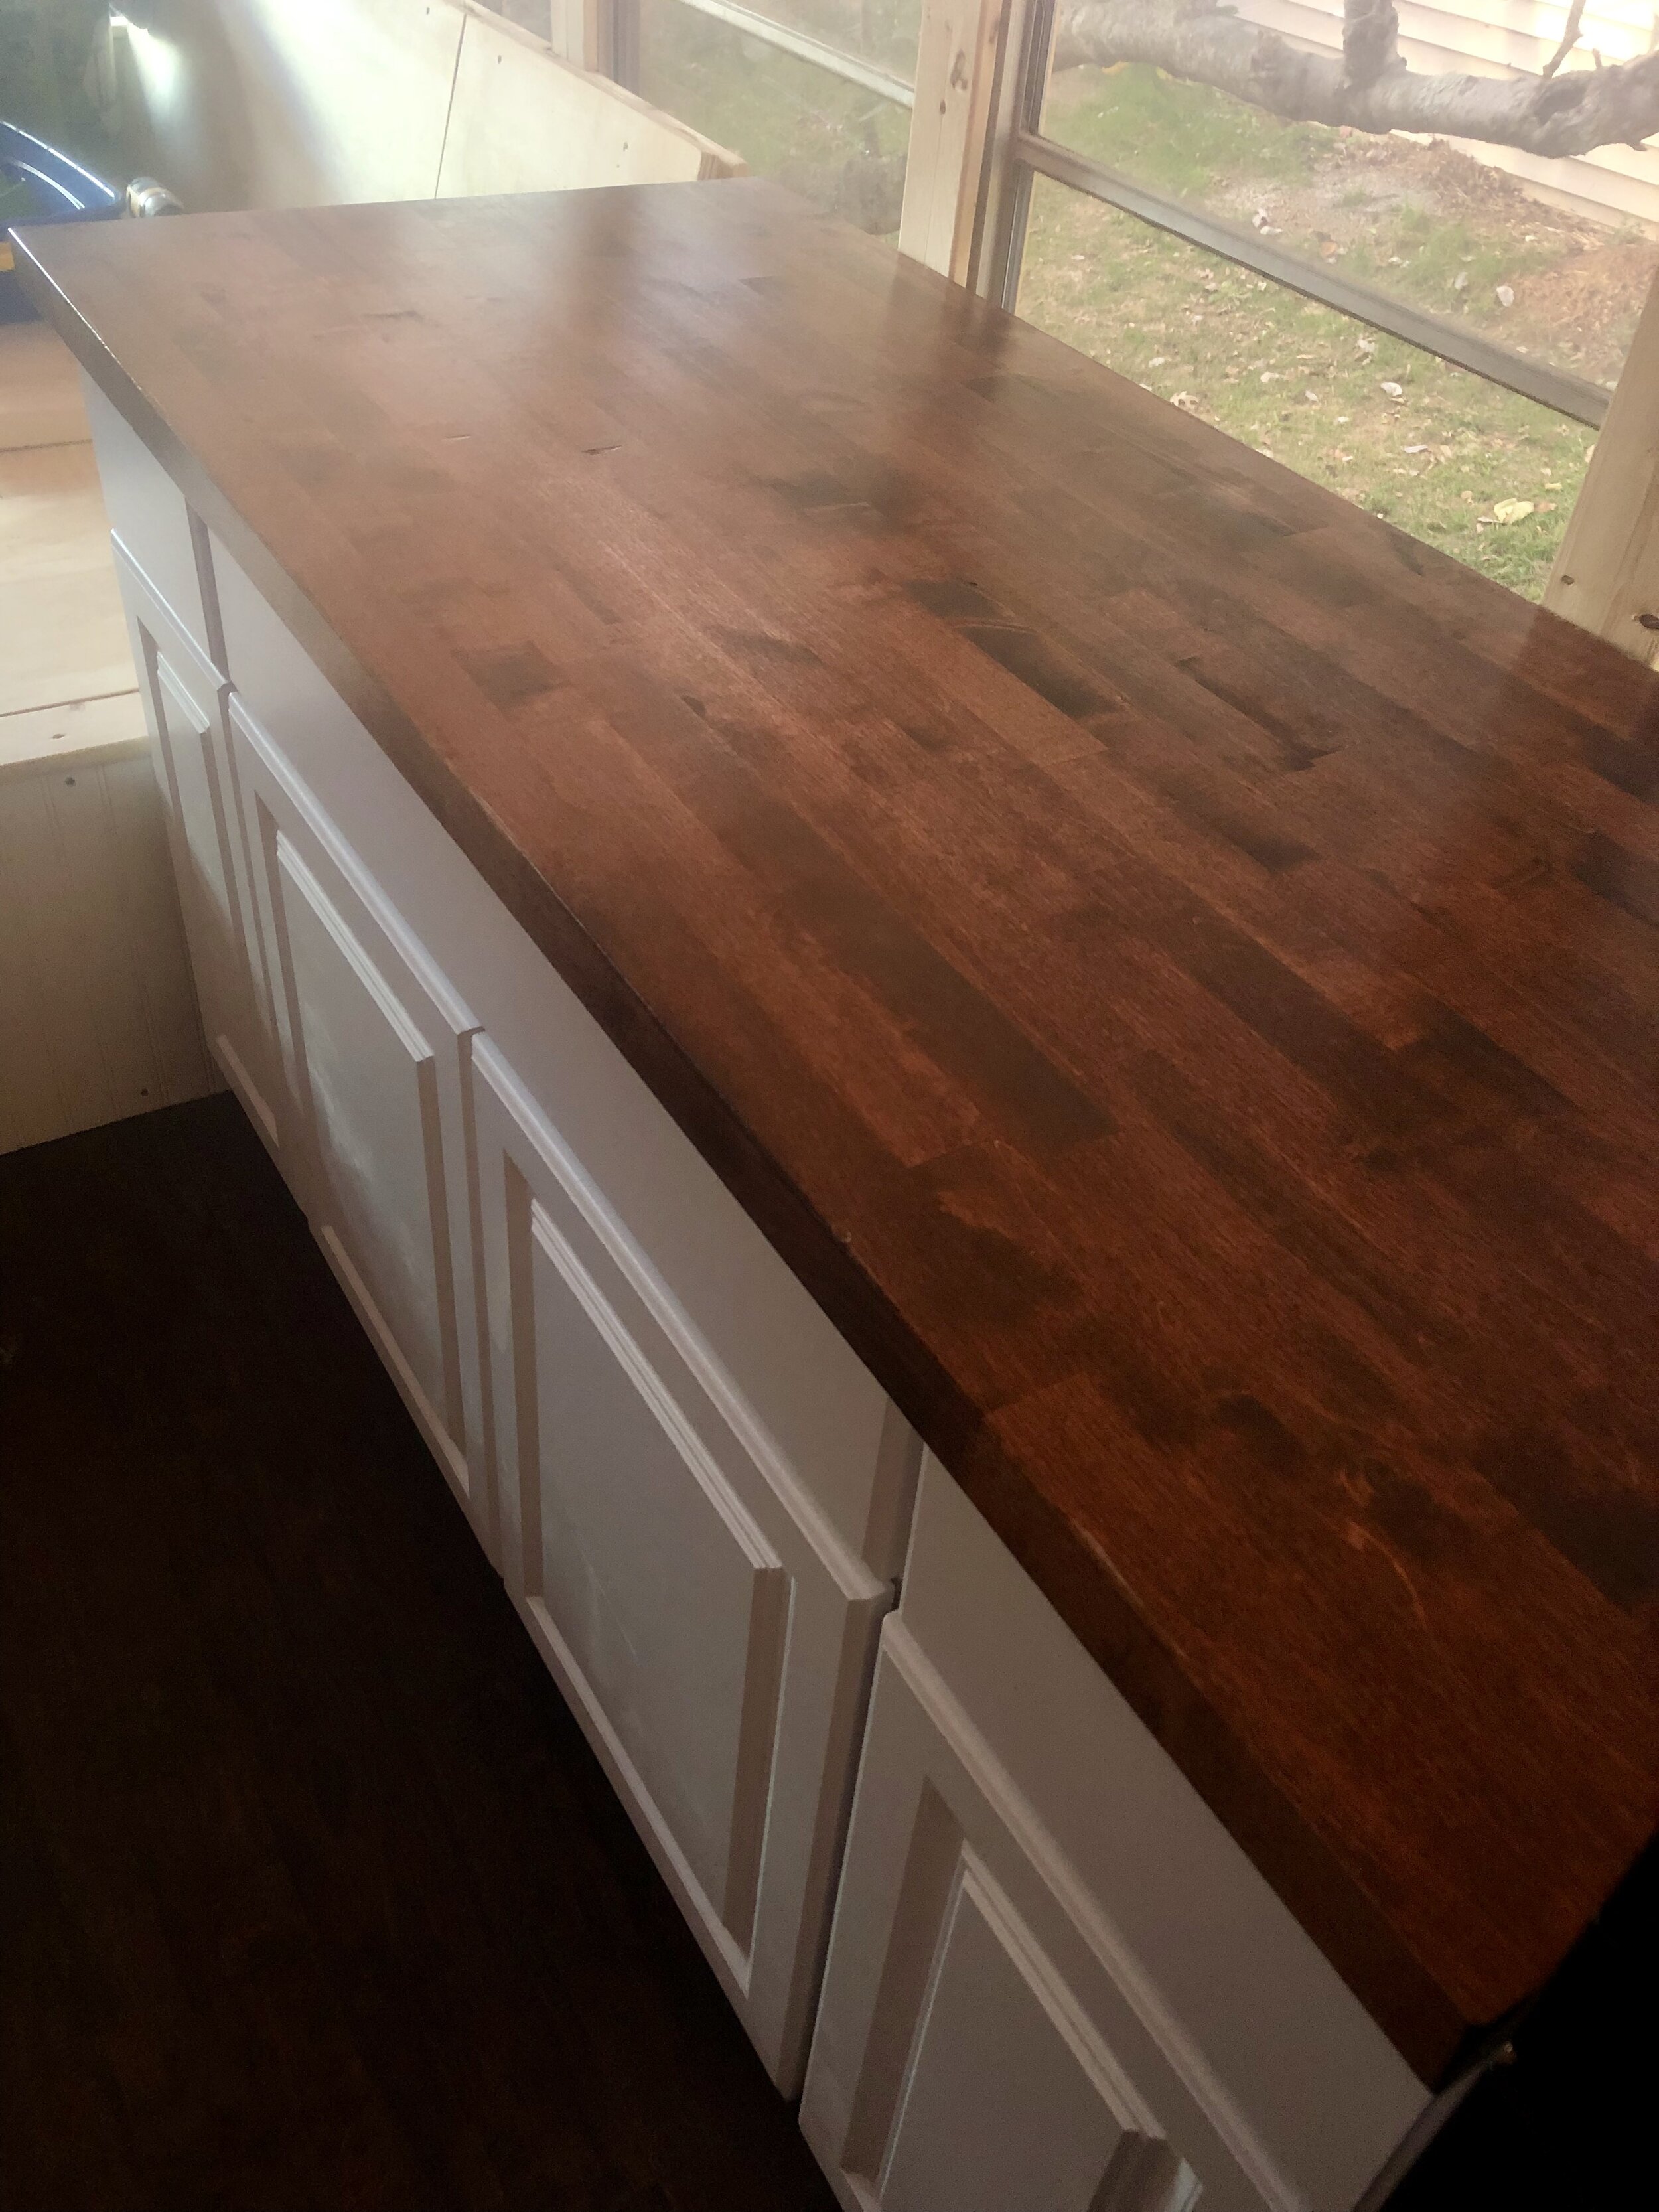
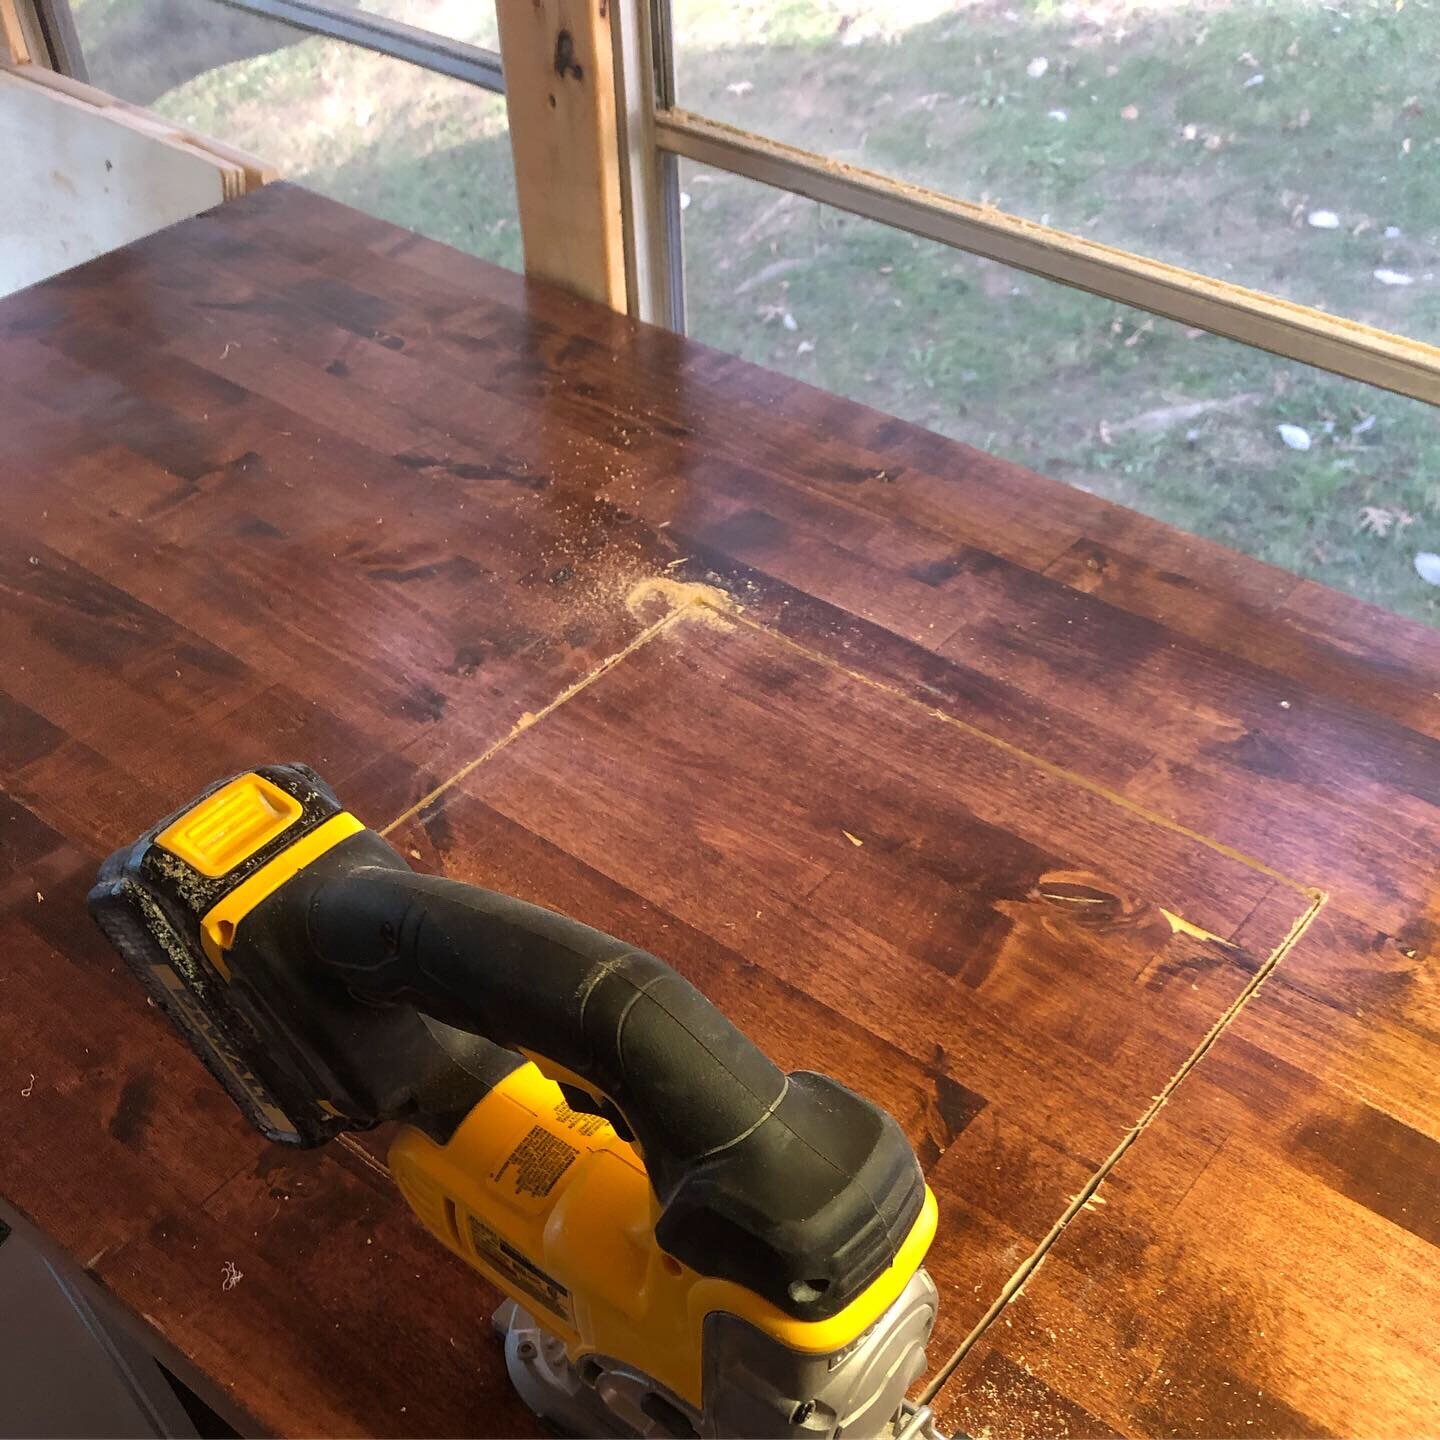
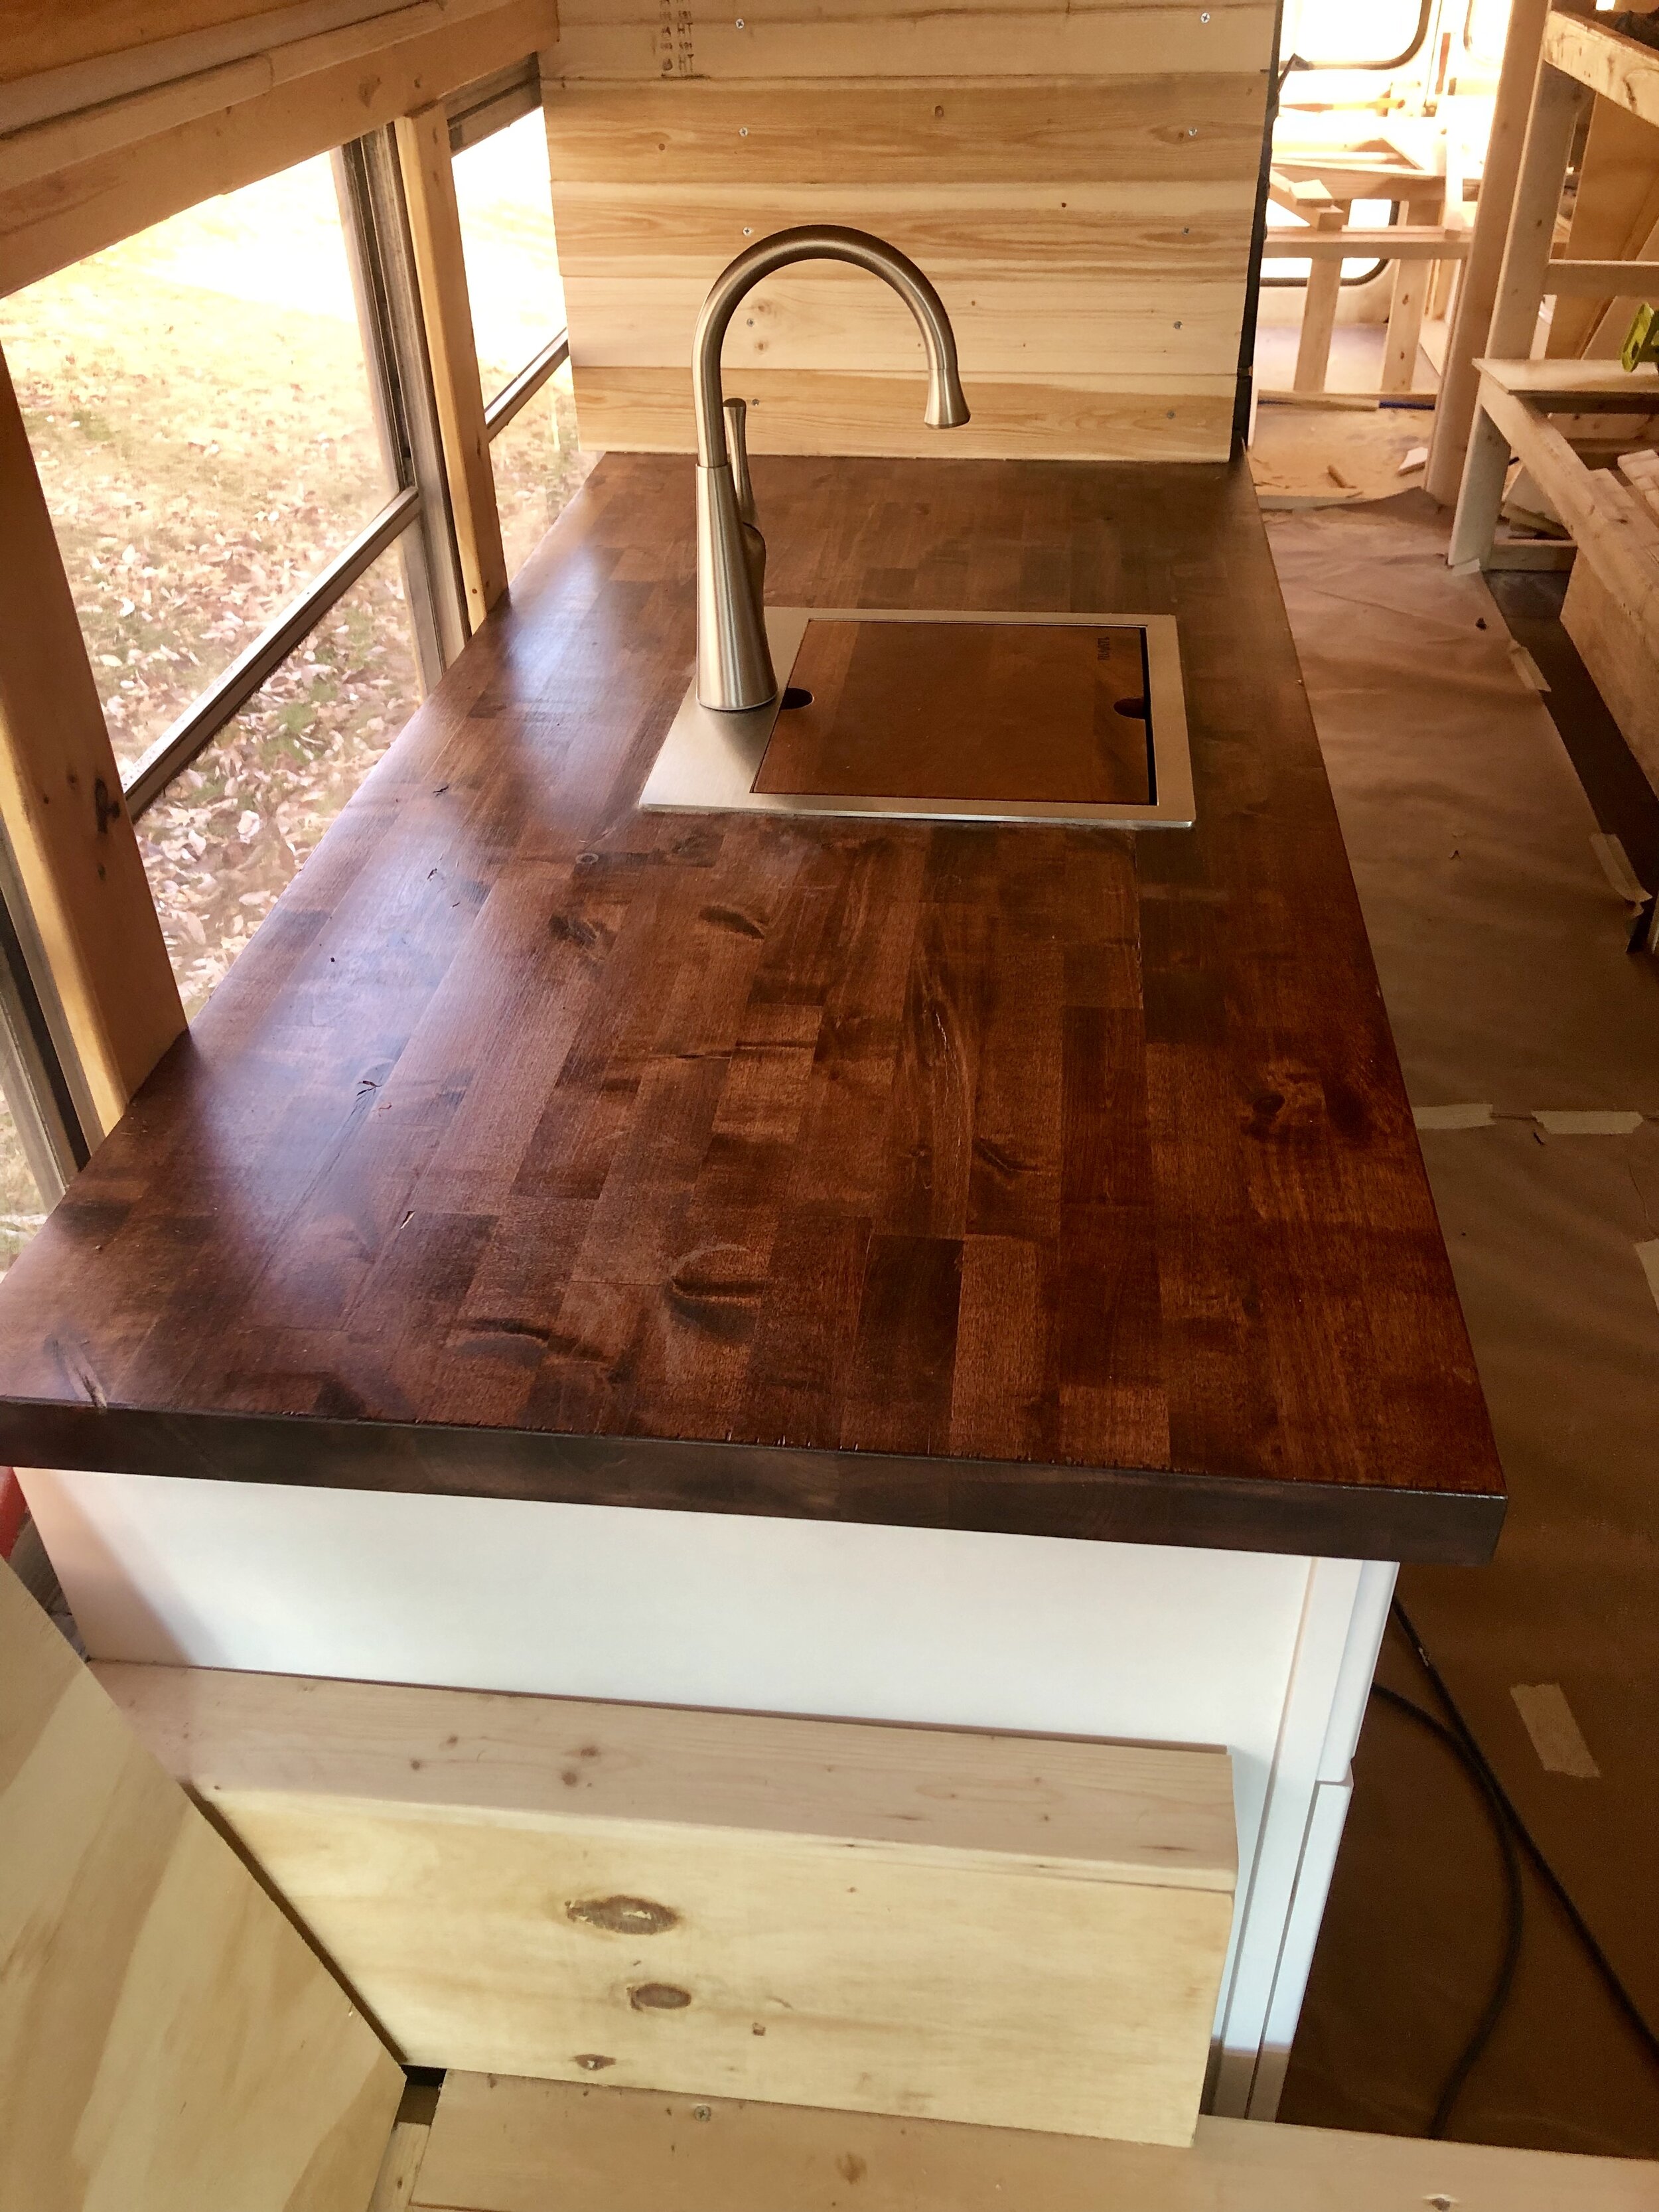
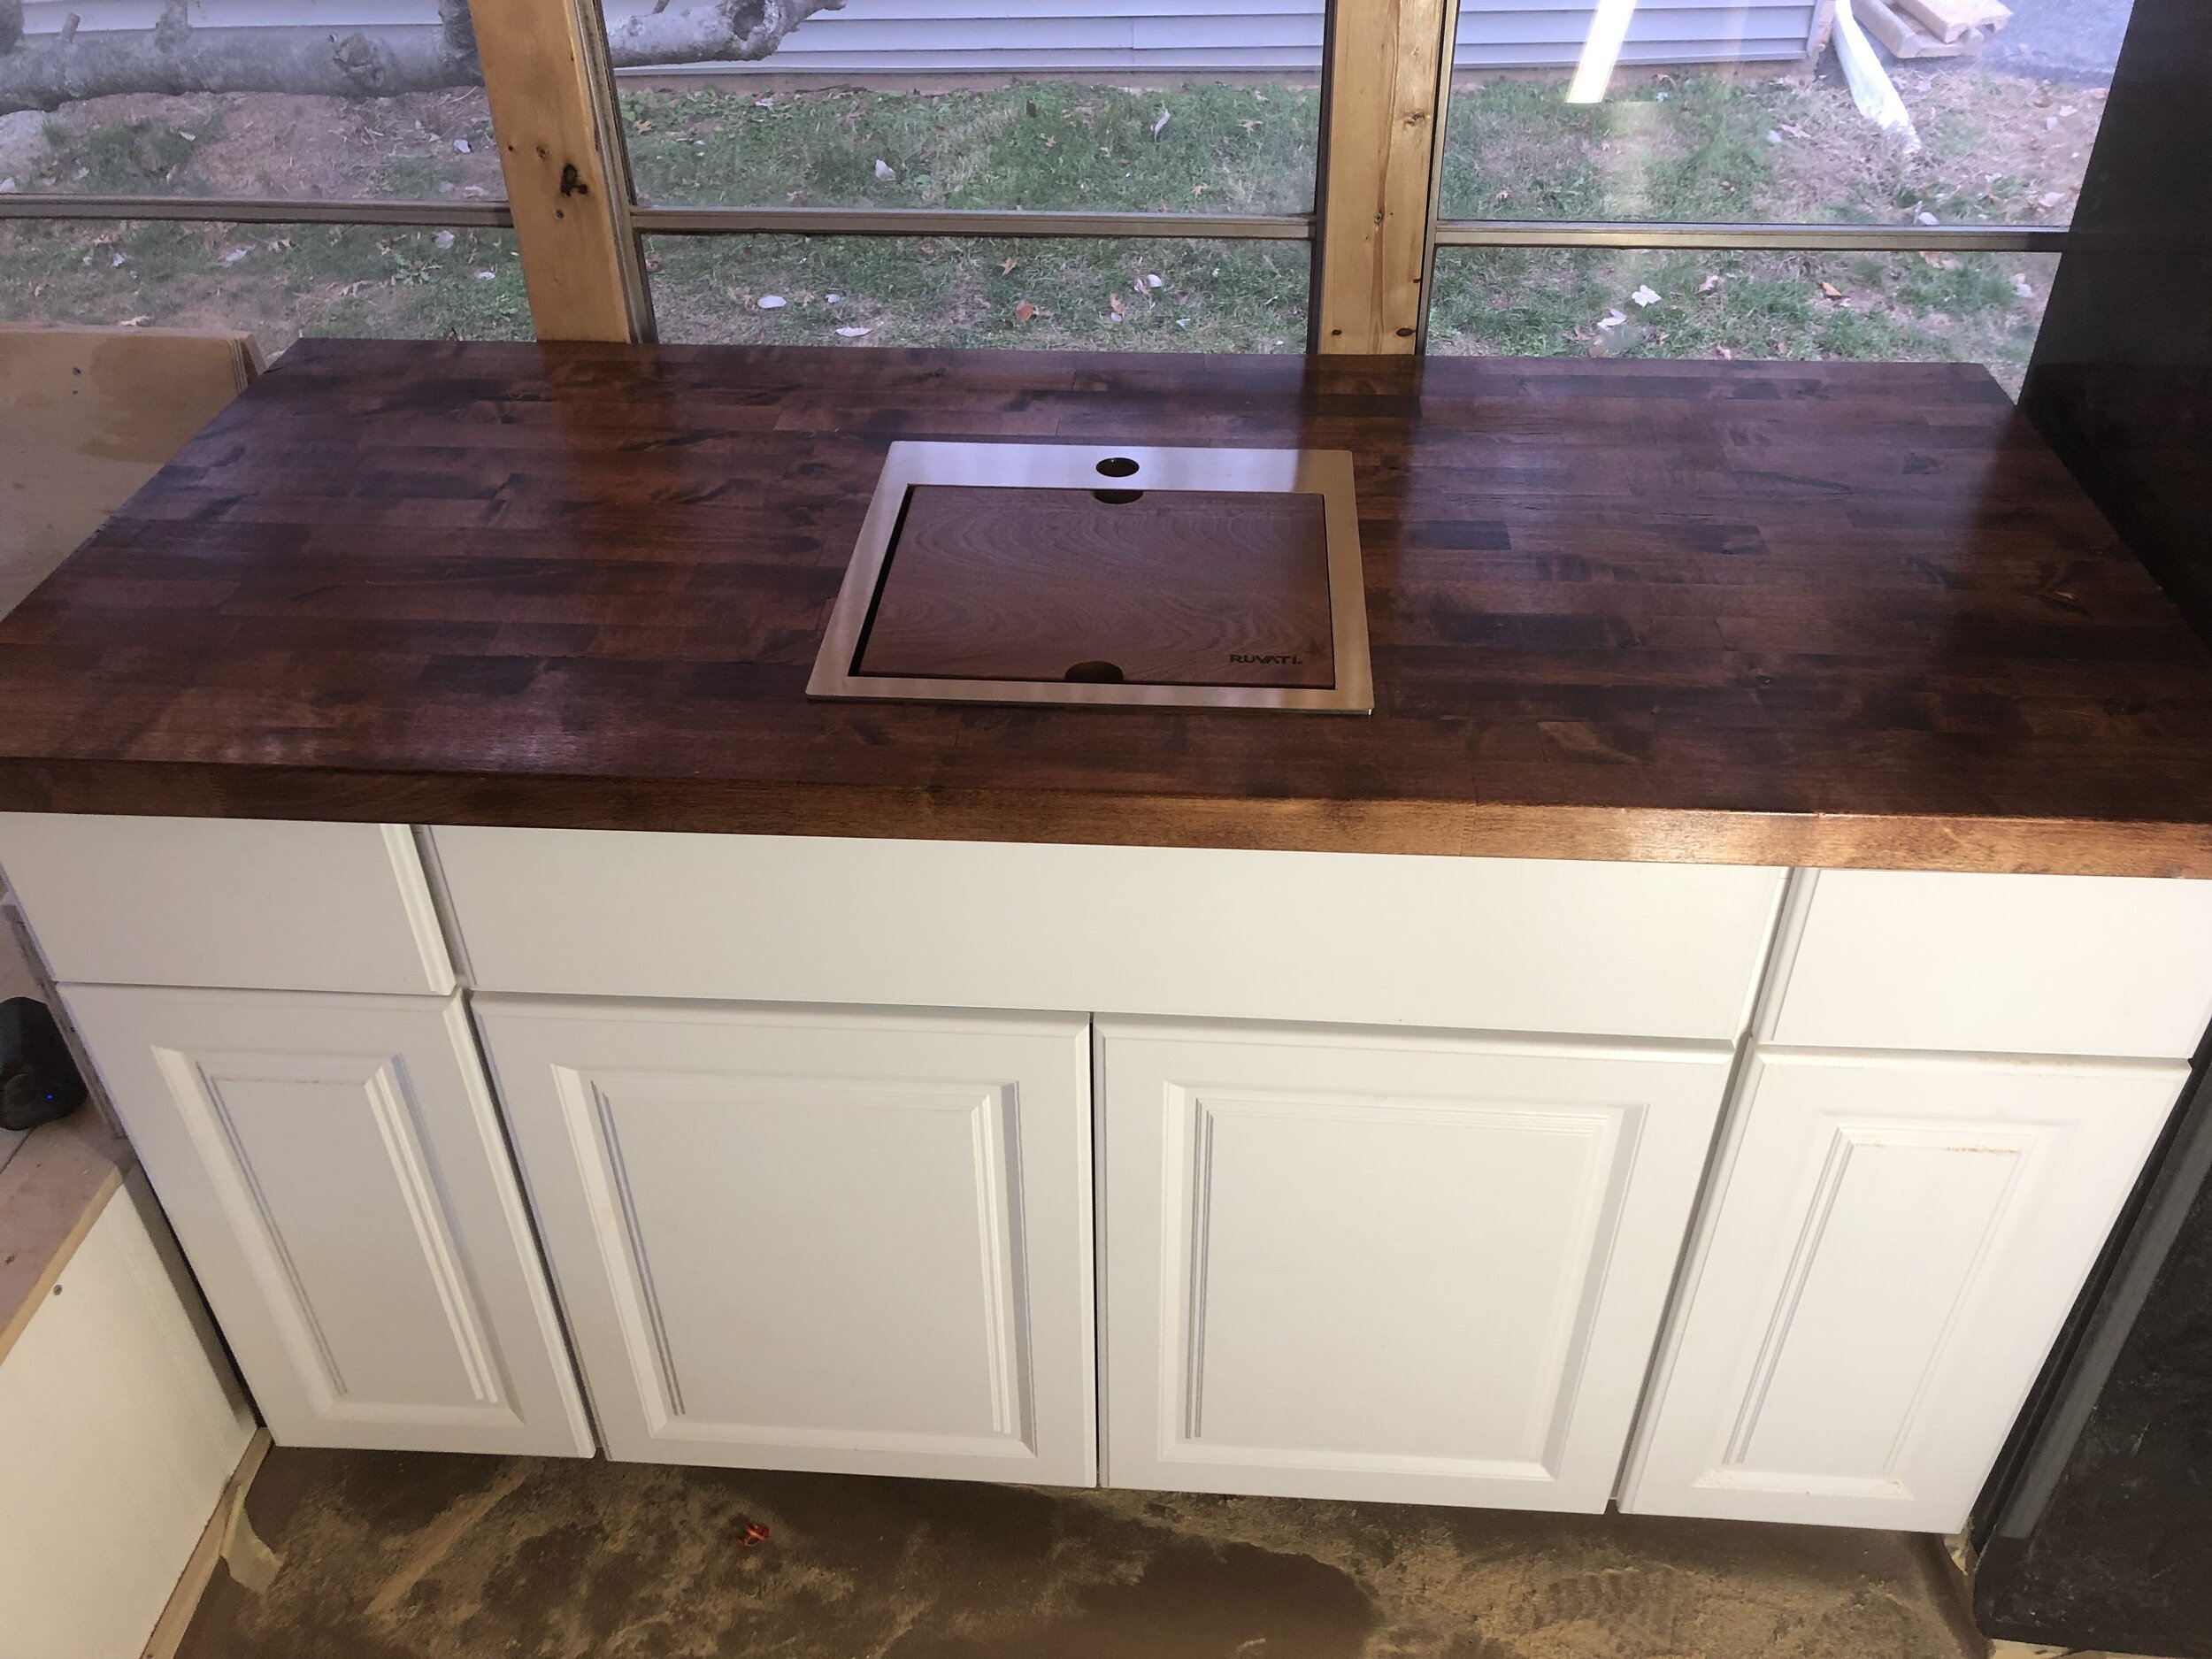
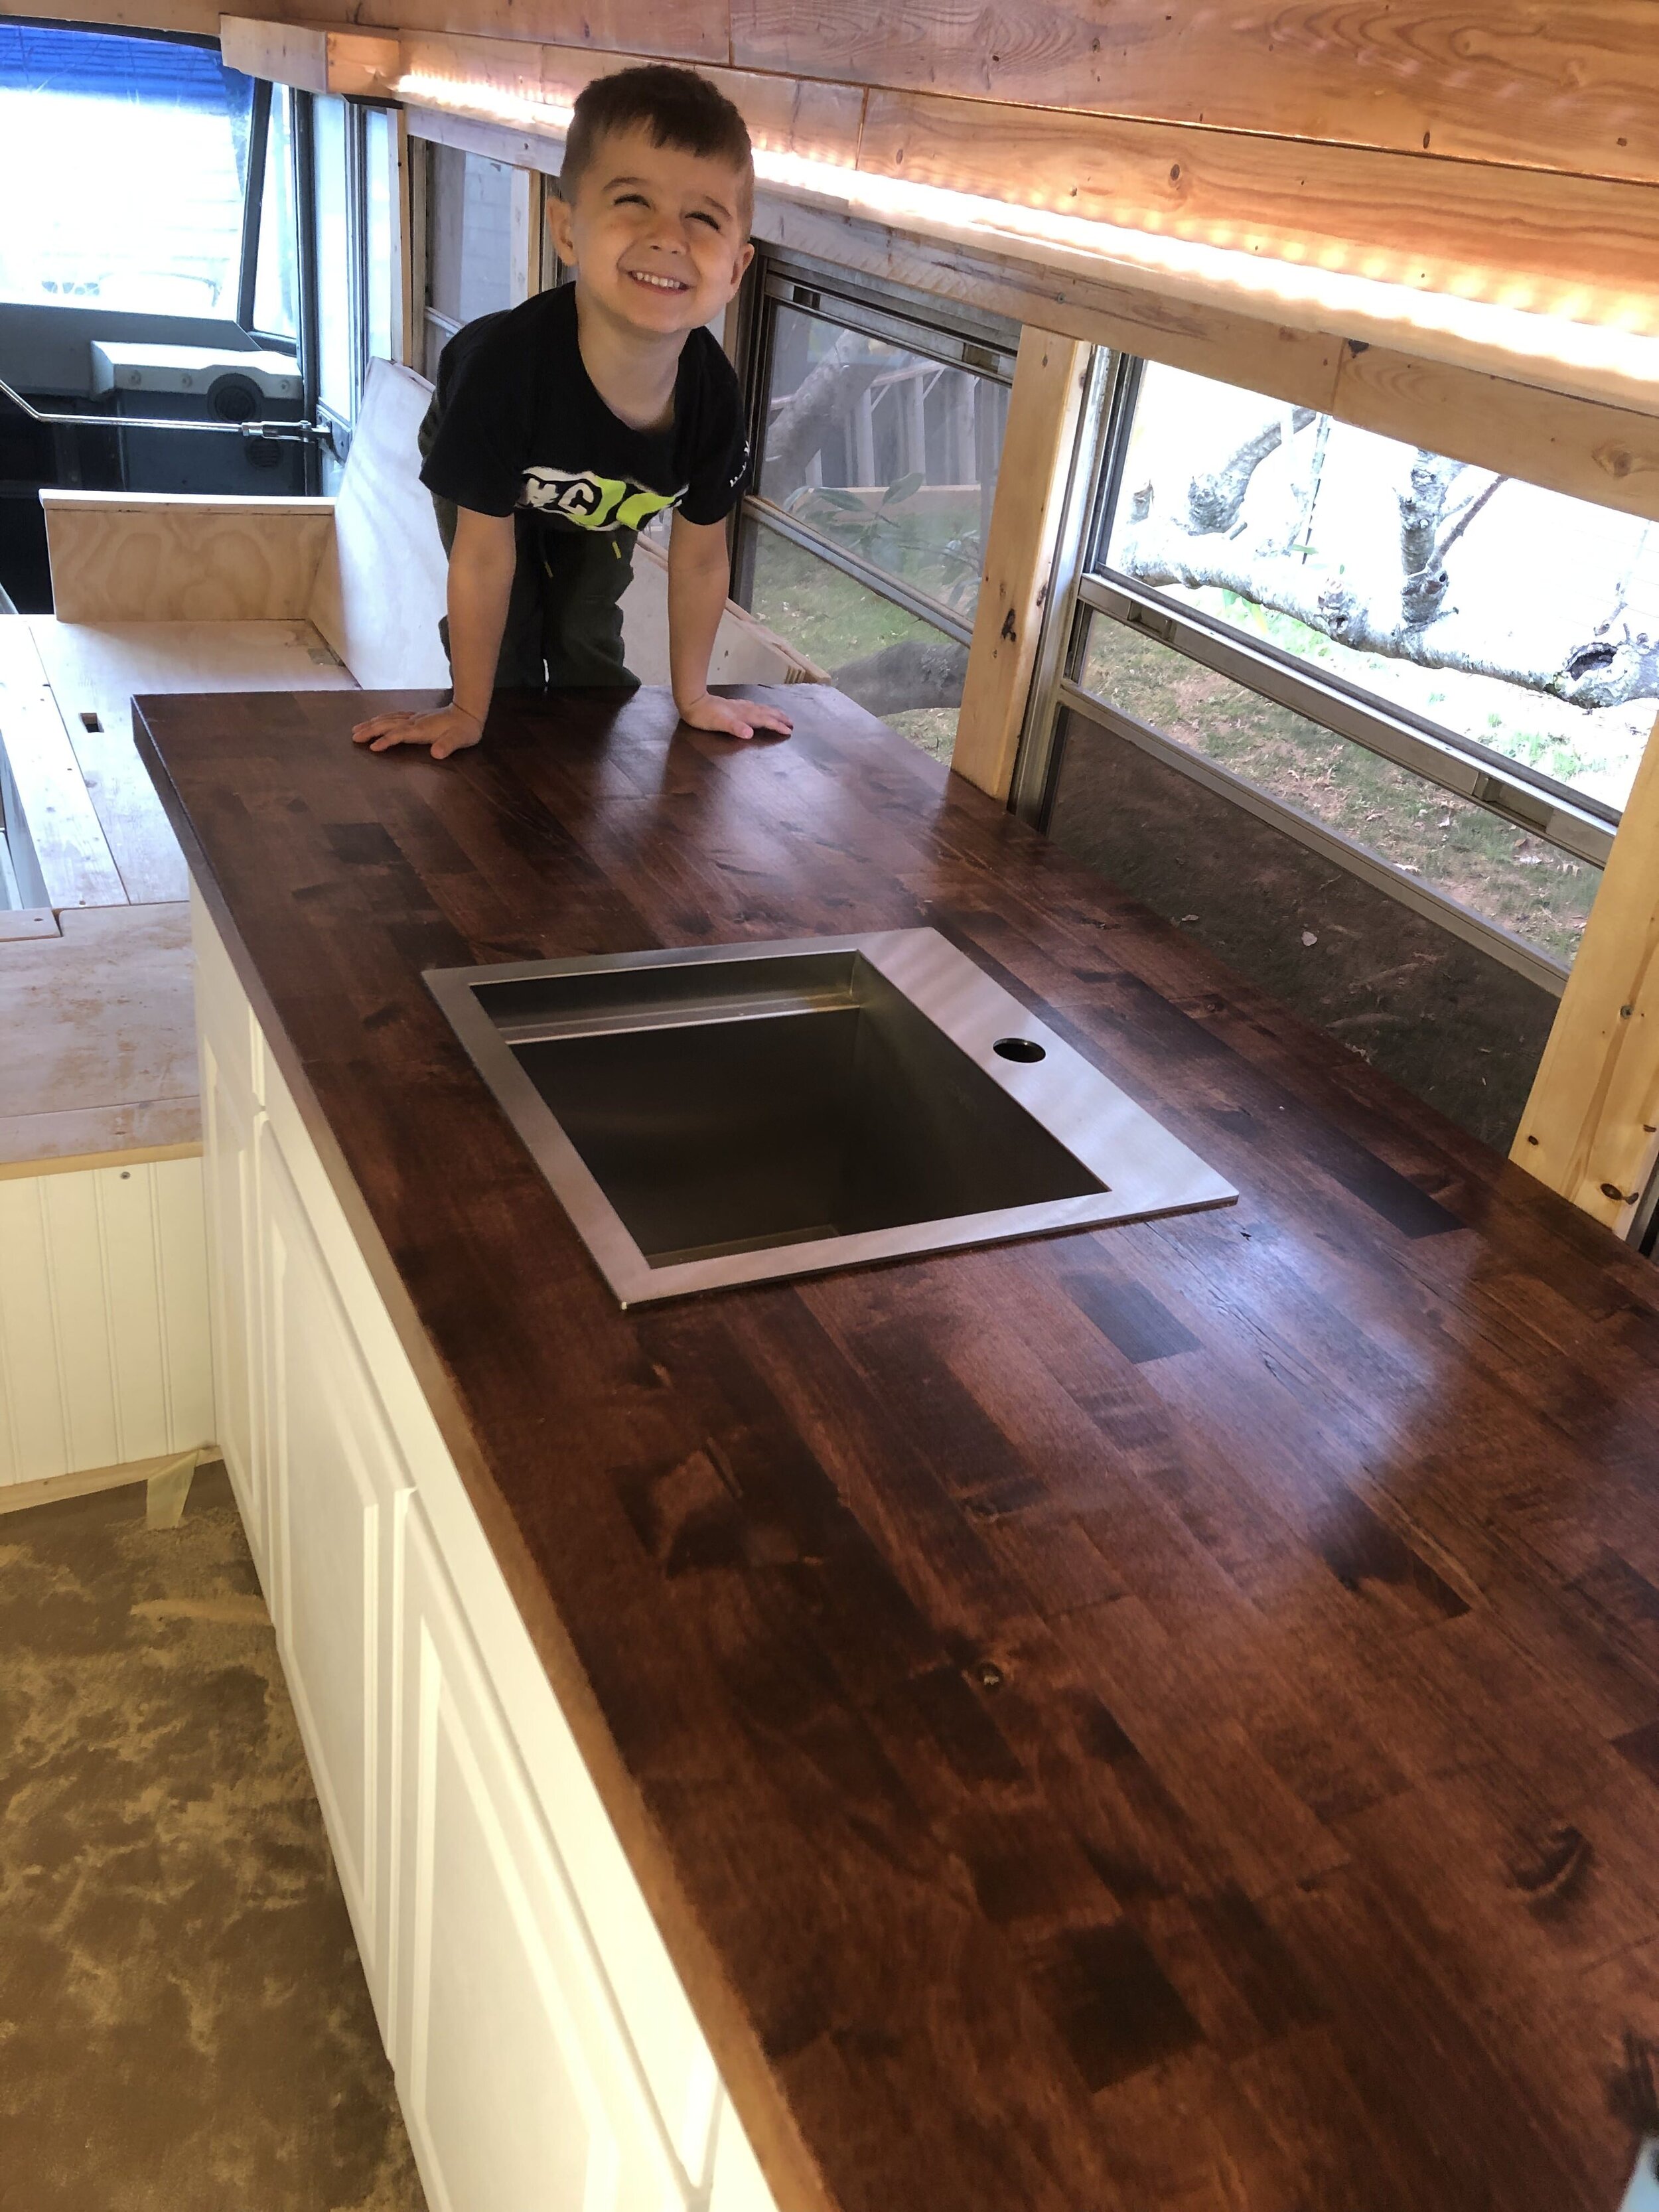
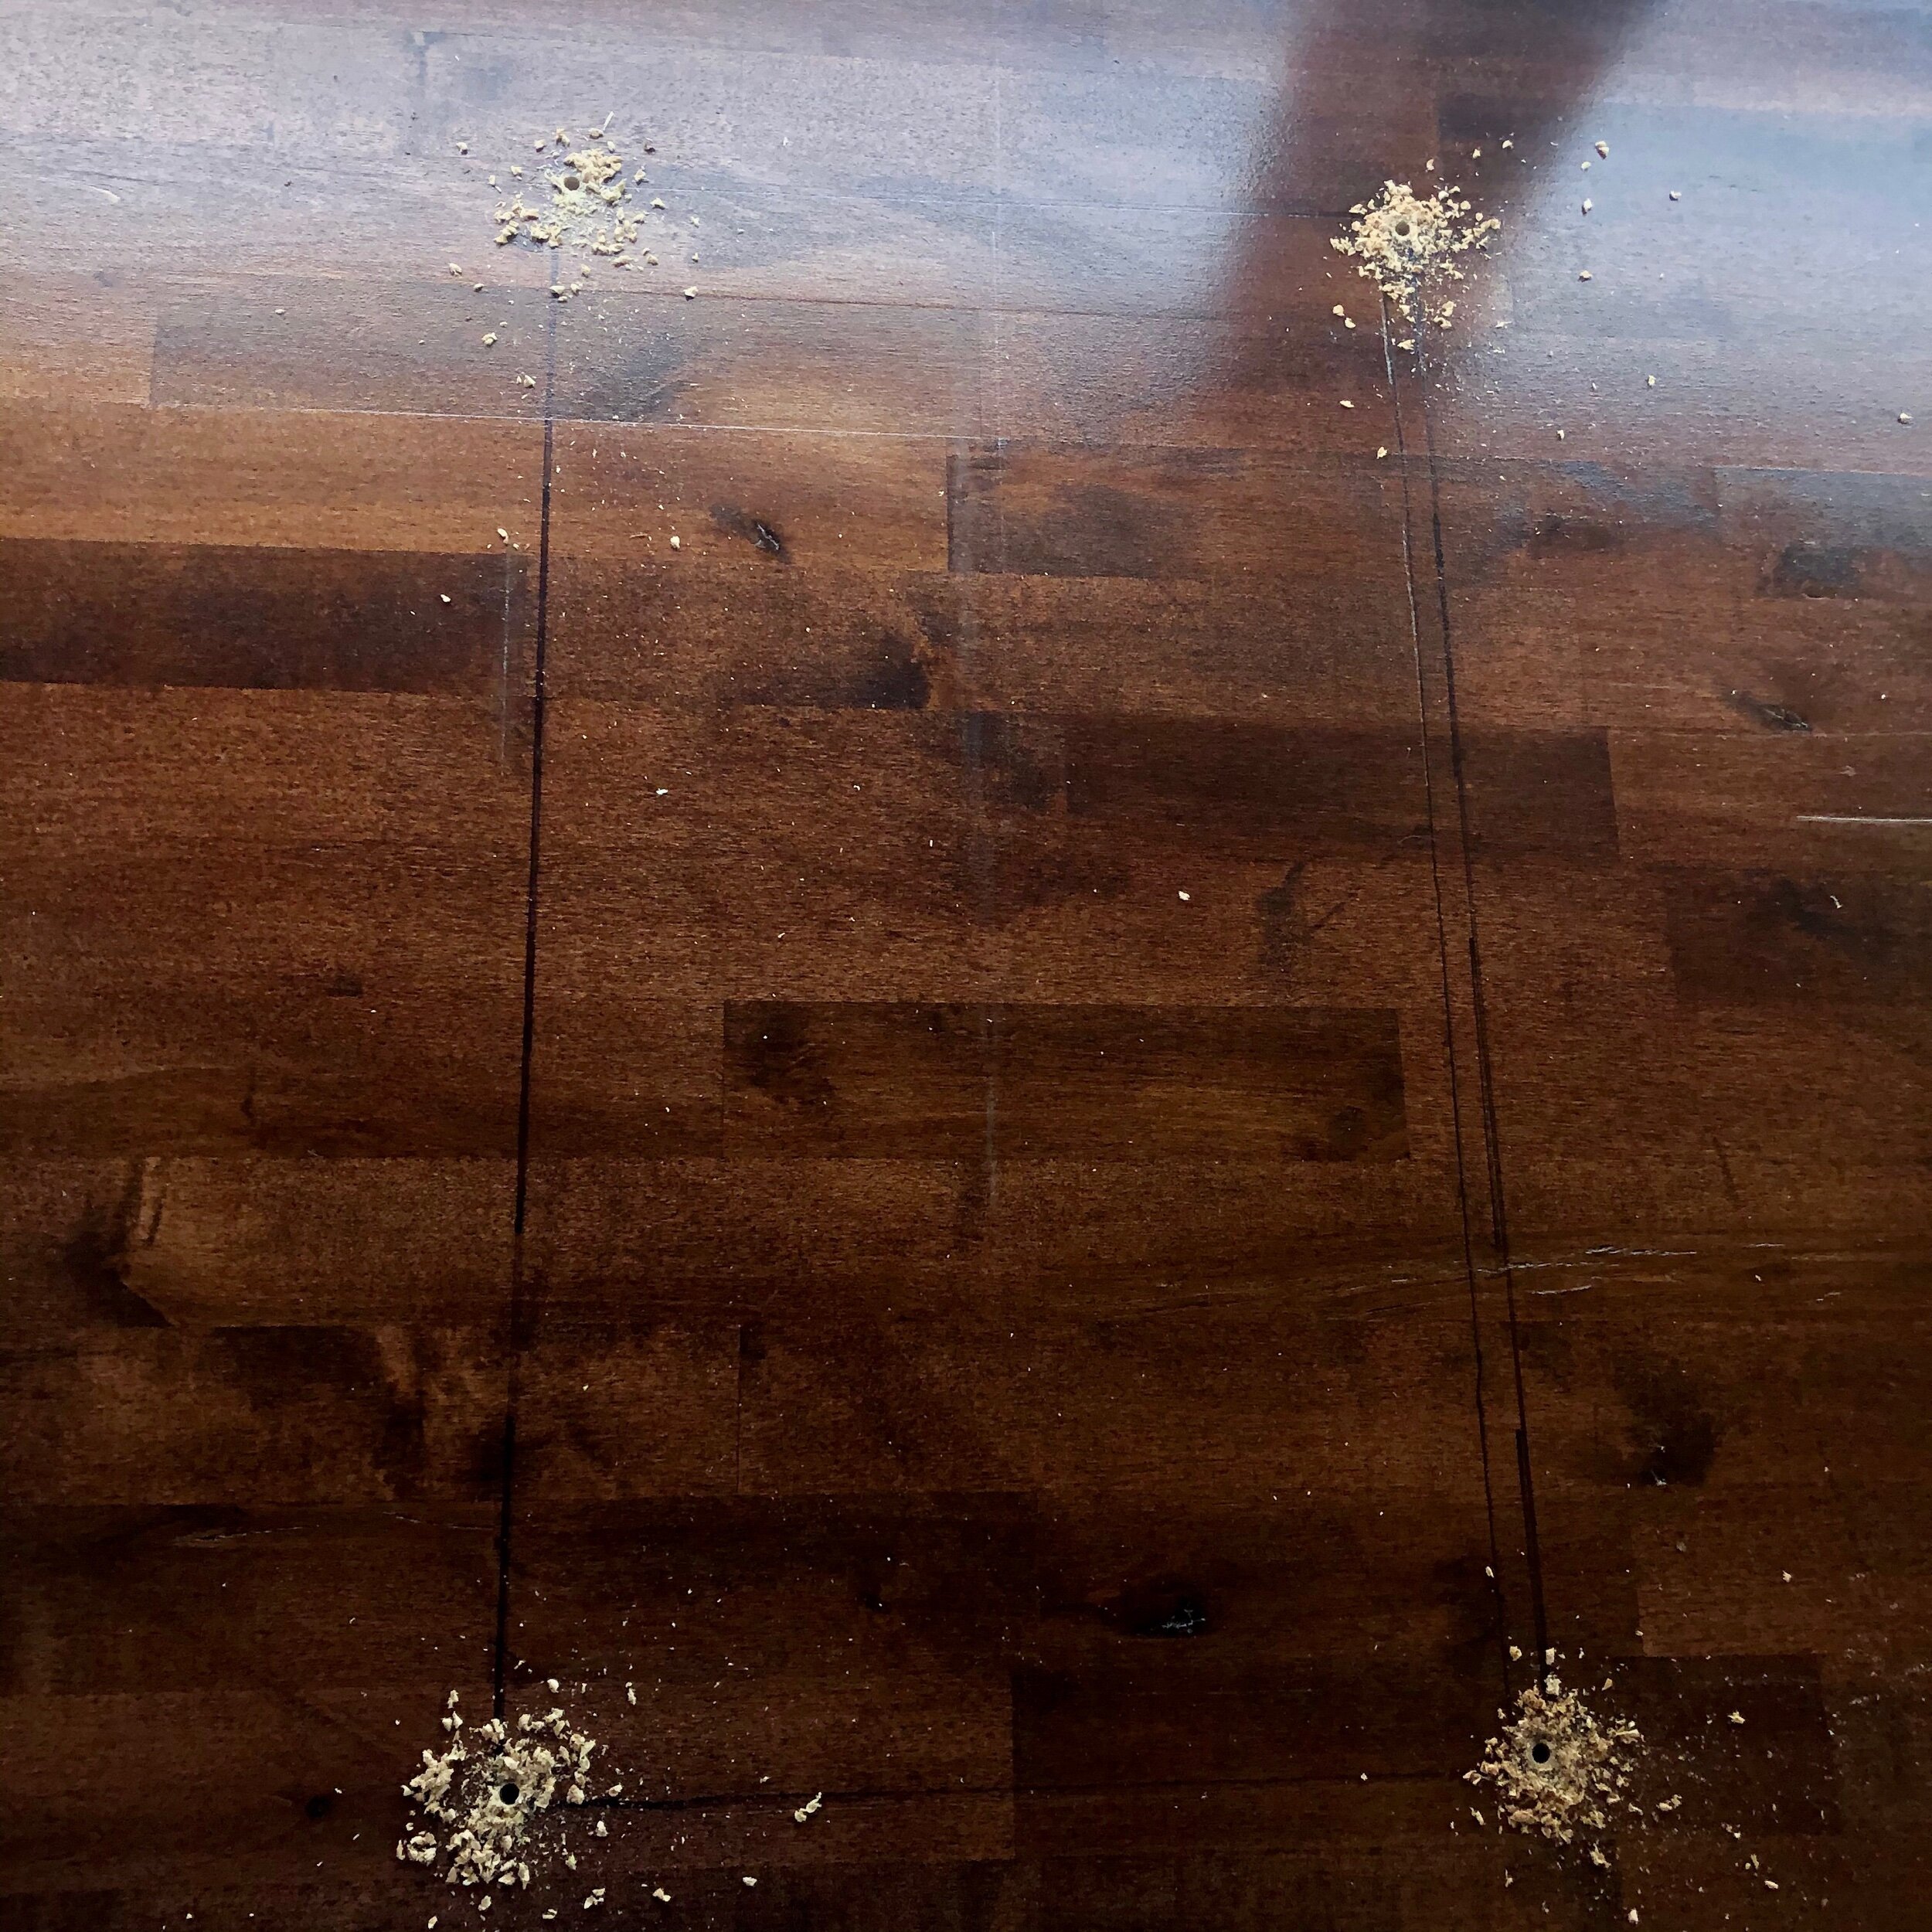
Once we were ready for countertops we bought some plain Birch butcher block from Lowes. We measured and cut it down to size and then and tested out a few colors of stain. We ended up going with a “Red Mahogany” color and added a layer of clear poly to the top to protect it from water and give it a nice shine plus it matched our flooring. Then came the scary part….cutting a GIANT hole in the freshly stained and sealed countertop for our sink…
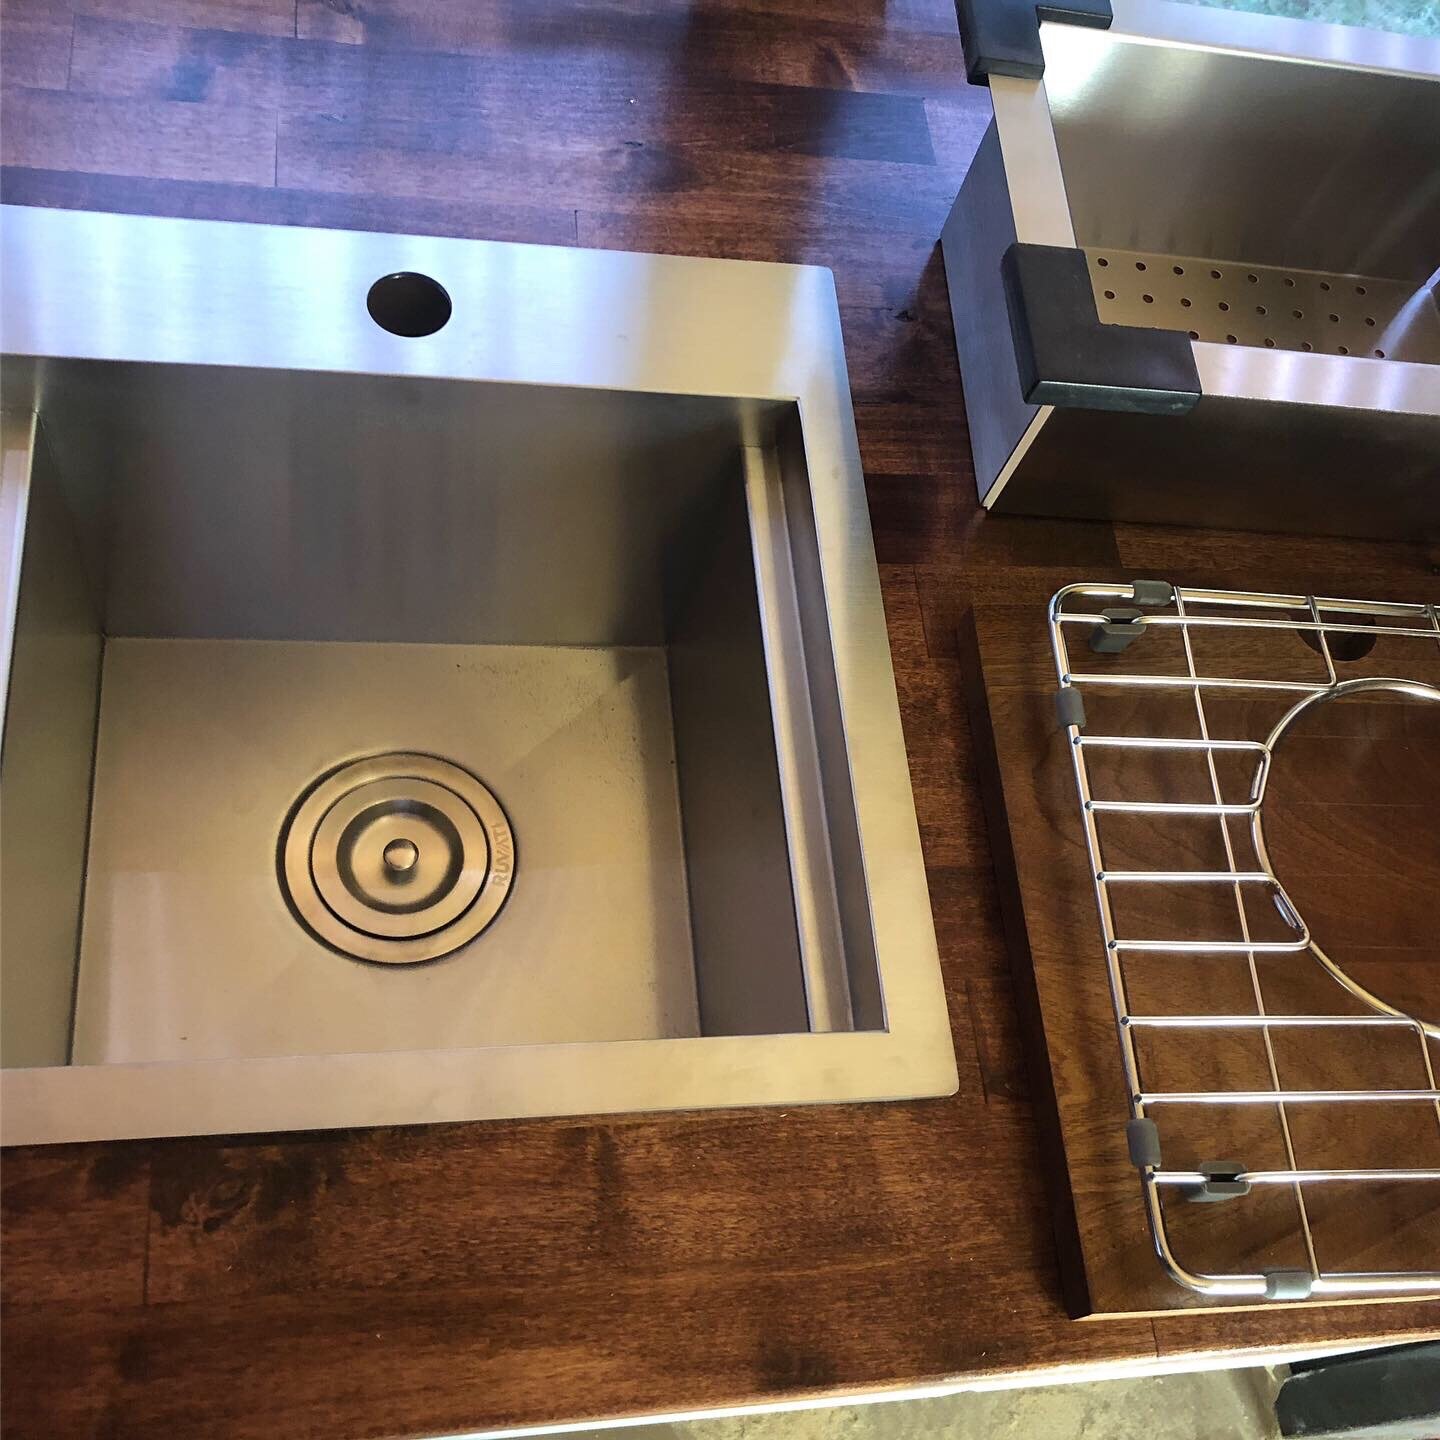
To install the sink we outlined the dimensions with the provided cut-out template (THANKS RUVATI!!) and used a drill to make the corners a bit easier to cut. Our holes were also large enough to start our jigsaw blade for the rest of the cuts. It worked out well and we were able to drop in our sink! The bottom of the sink clamps to the countertop and it was on to the smaller cabinet.
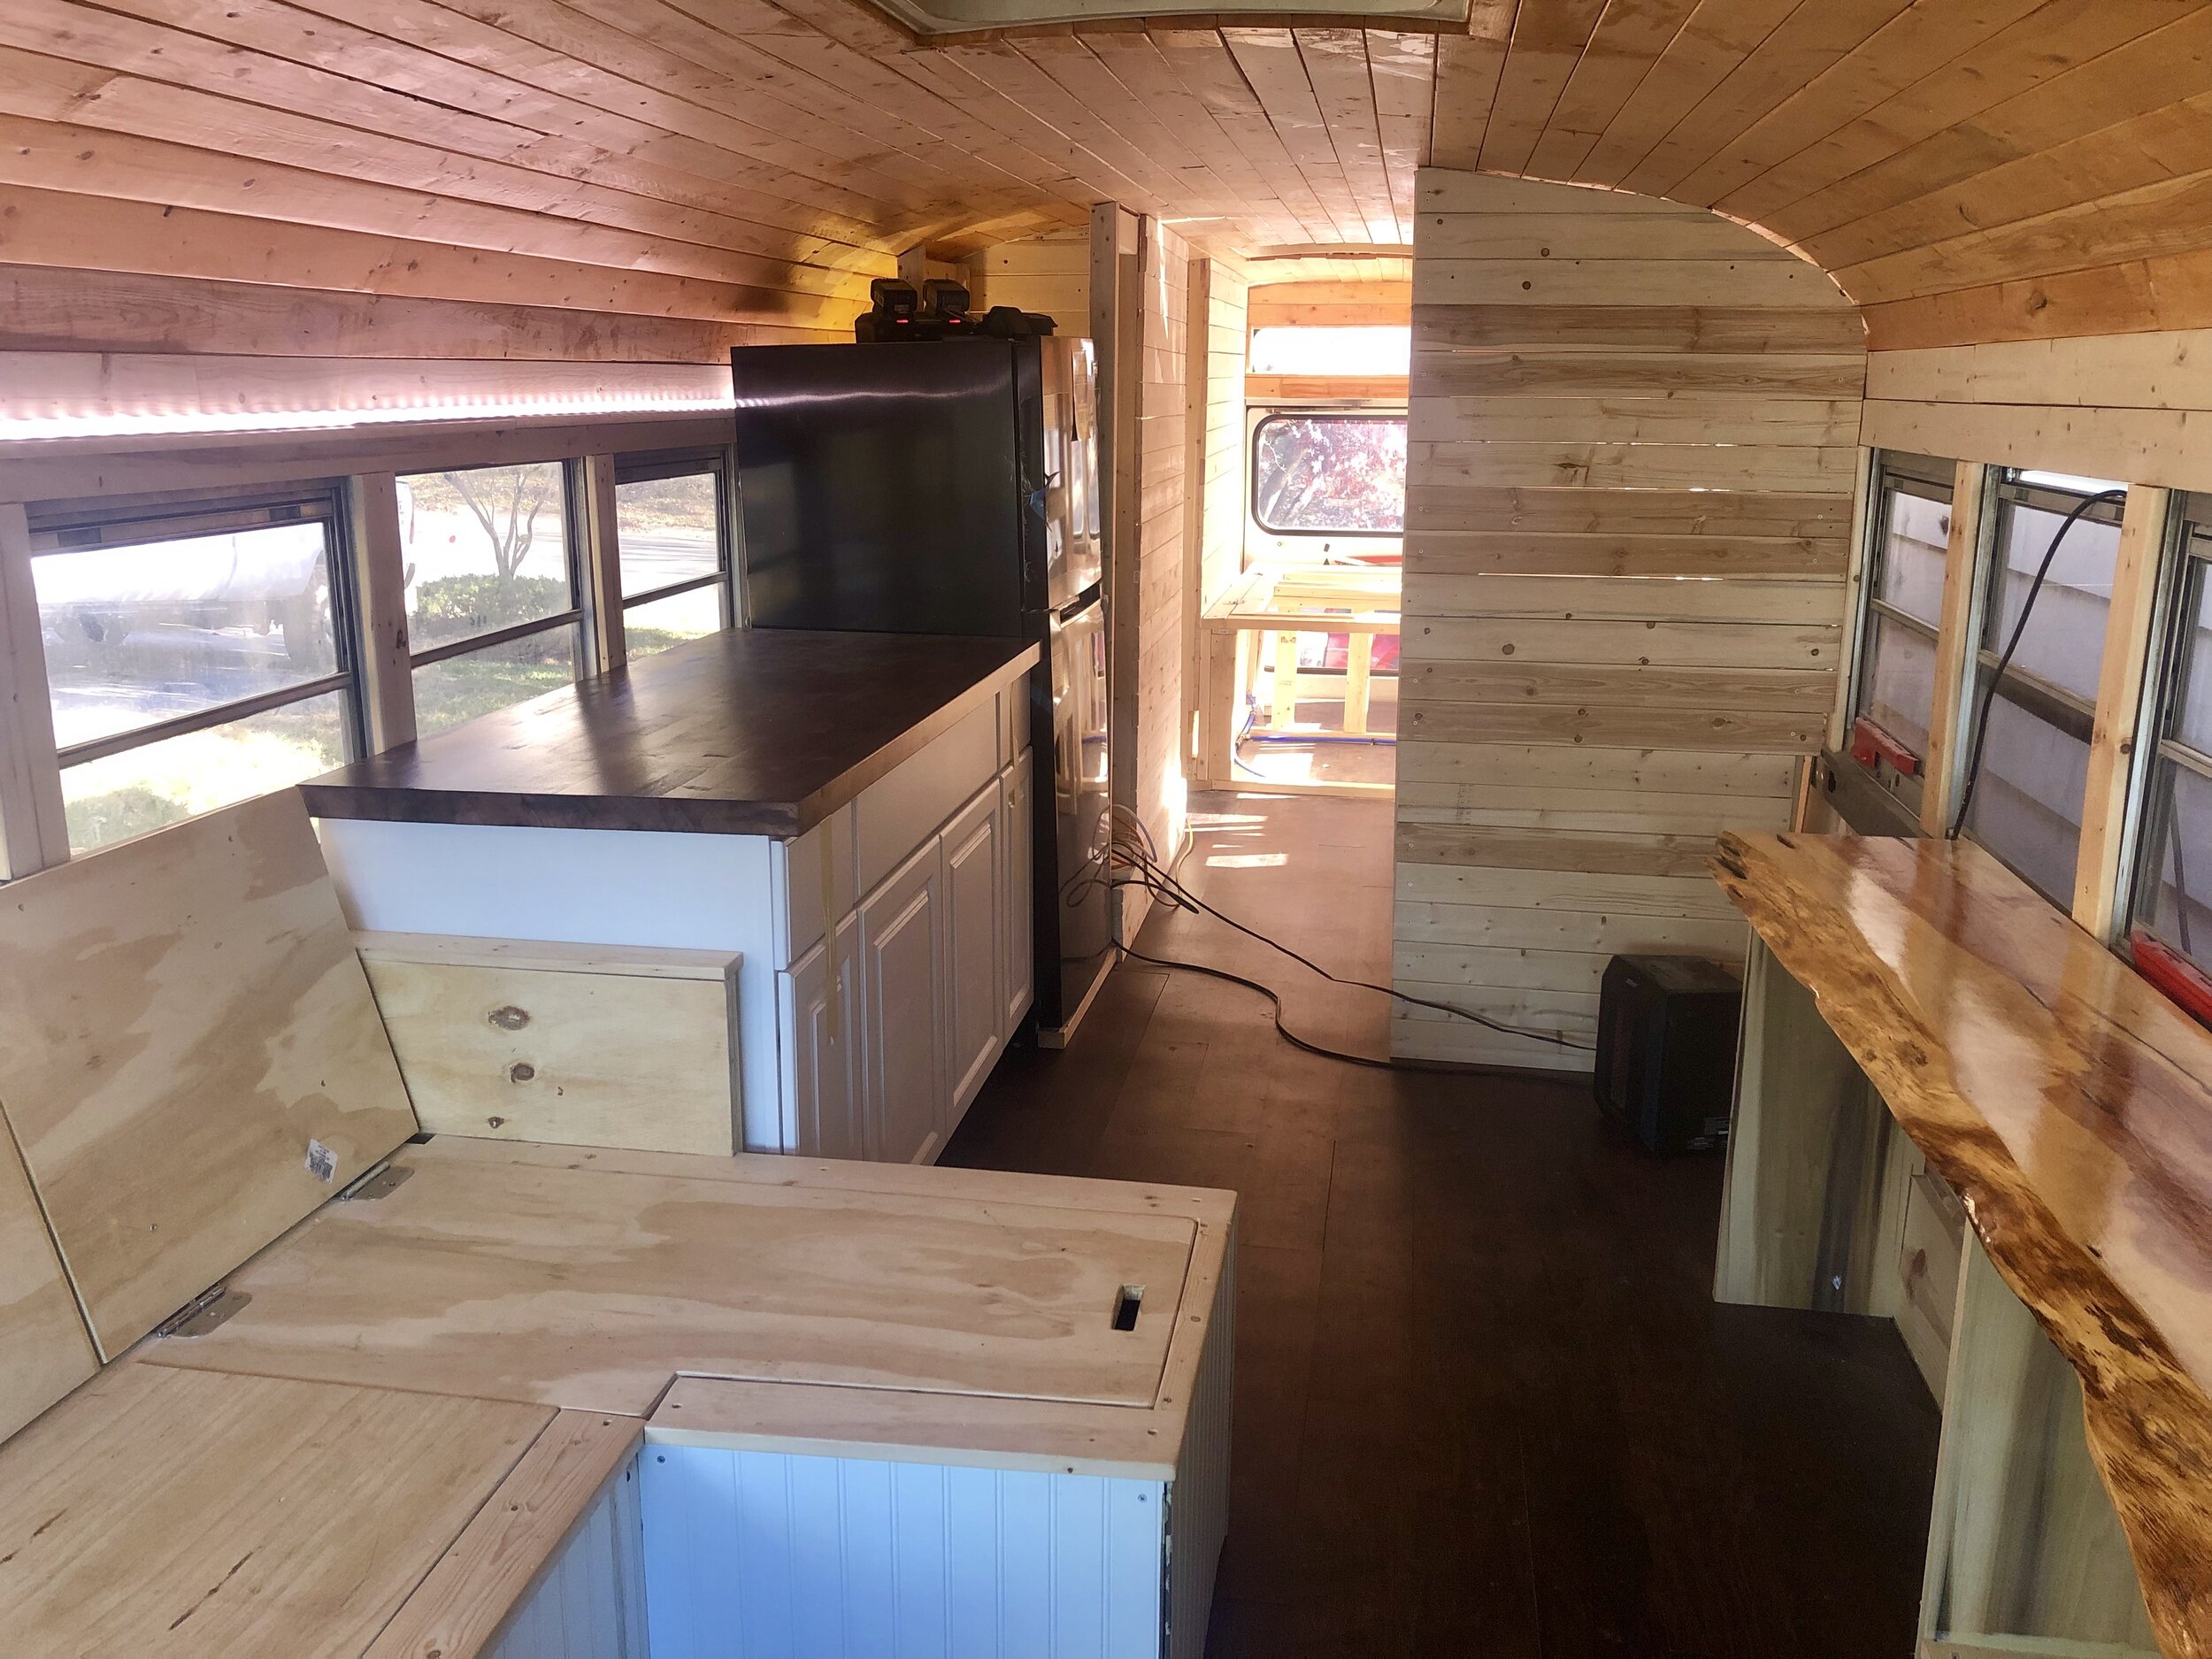
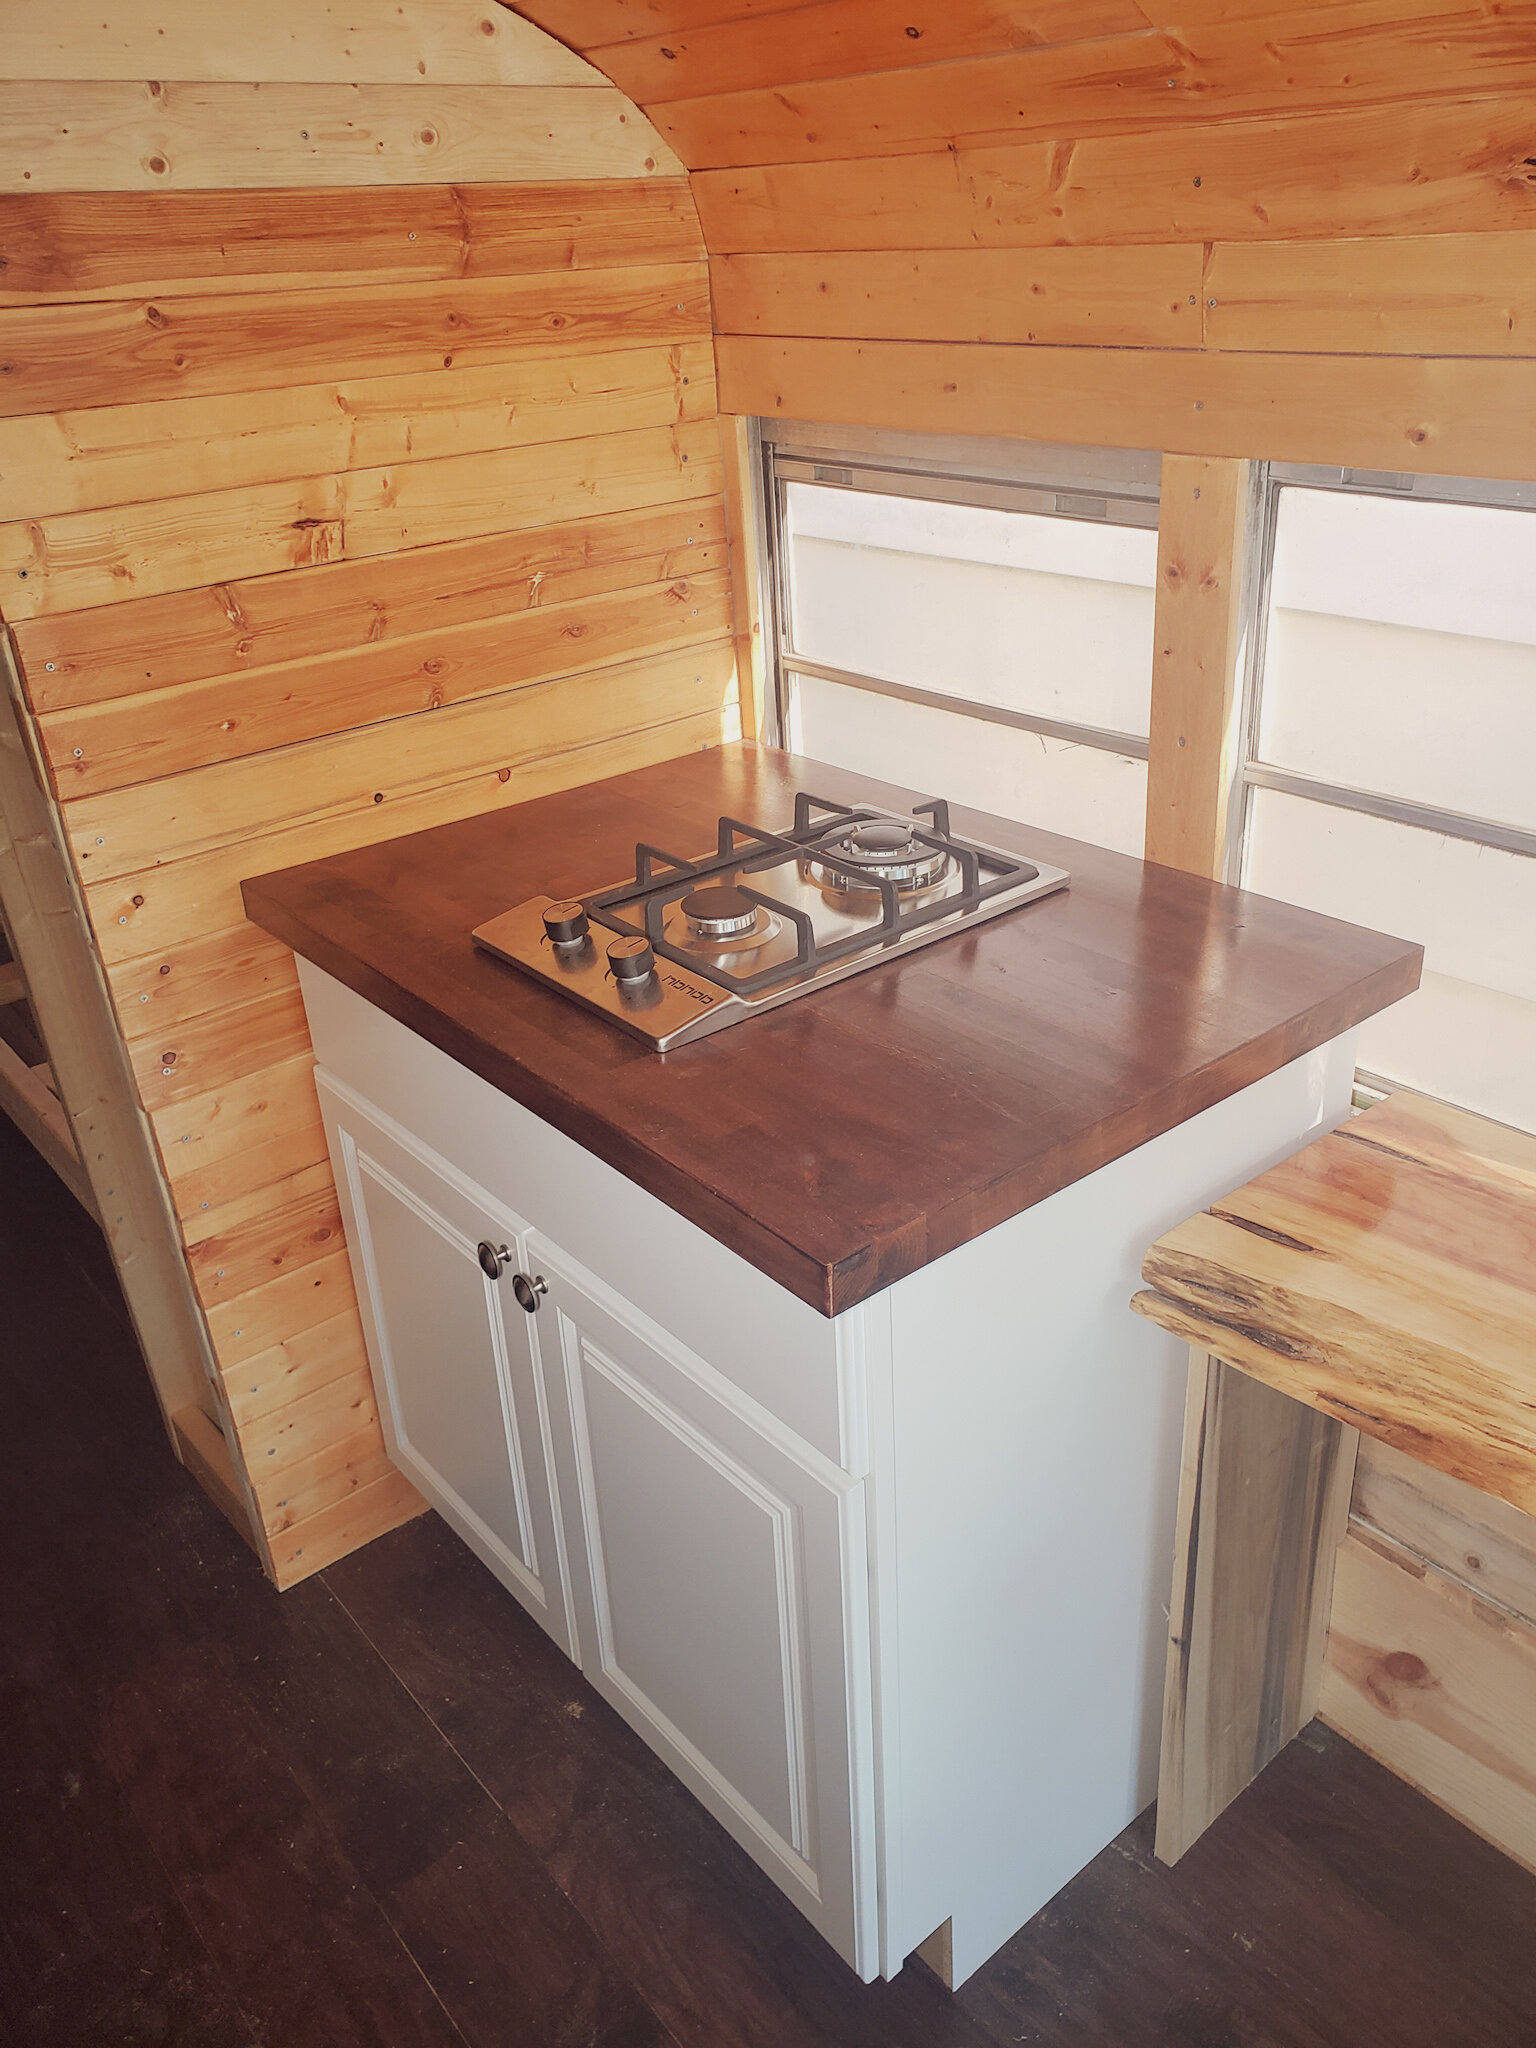
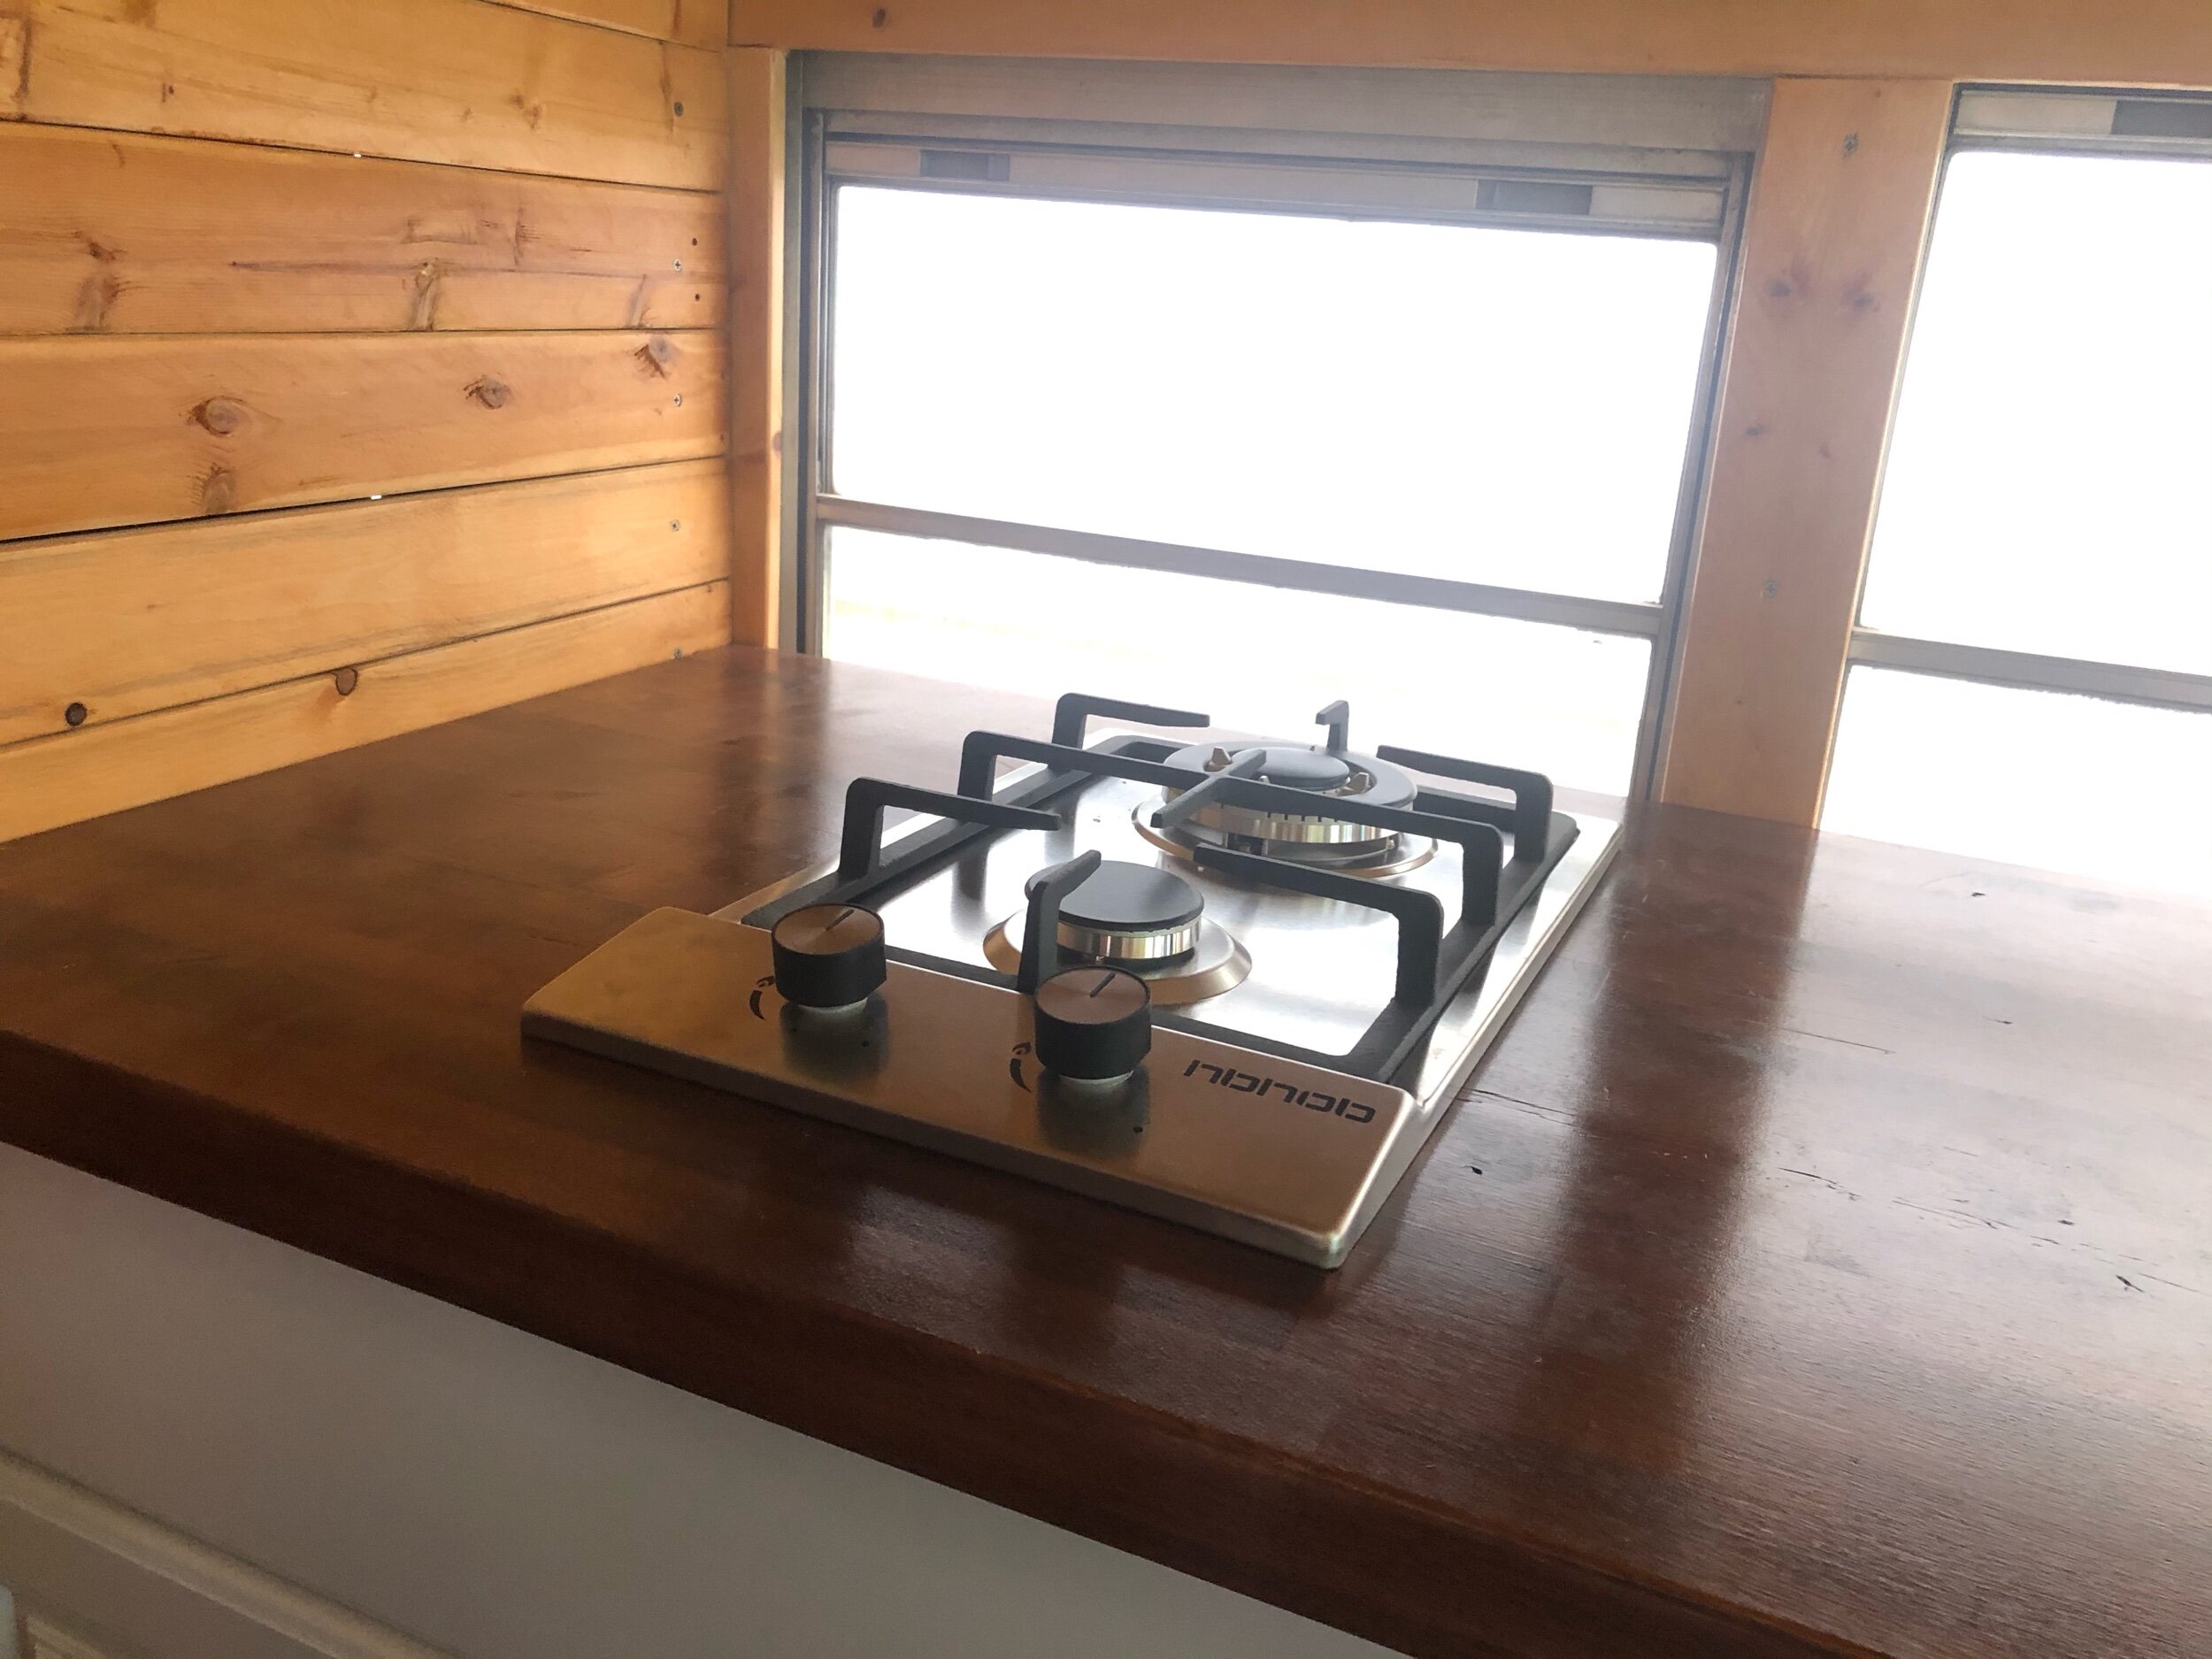
We waited a while to buy this because we were on the fence about installing a small wood burning stove or pellet stove here. After much consideration we ended up deciding that if it were cold enough to need a fireplace in the bus….we’d simply drive south! We repeated the process for a second countertop and ended up installing our propane fueled burners in it. The burners are really pretty nice. They plug into an AC circuit for starting but then run off either natural gas or propane. We plan on mounting our propane tank under the bus and routing the line right up under the cabinet the cooktop is on.
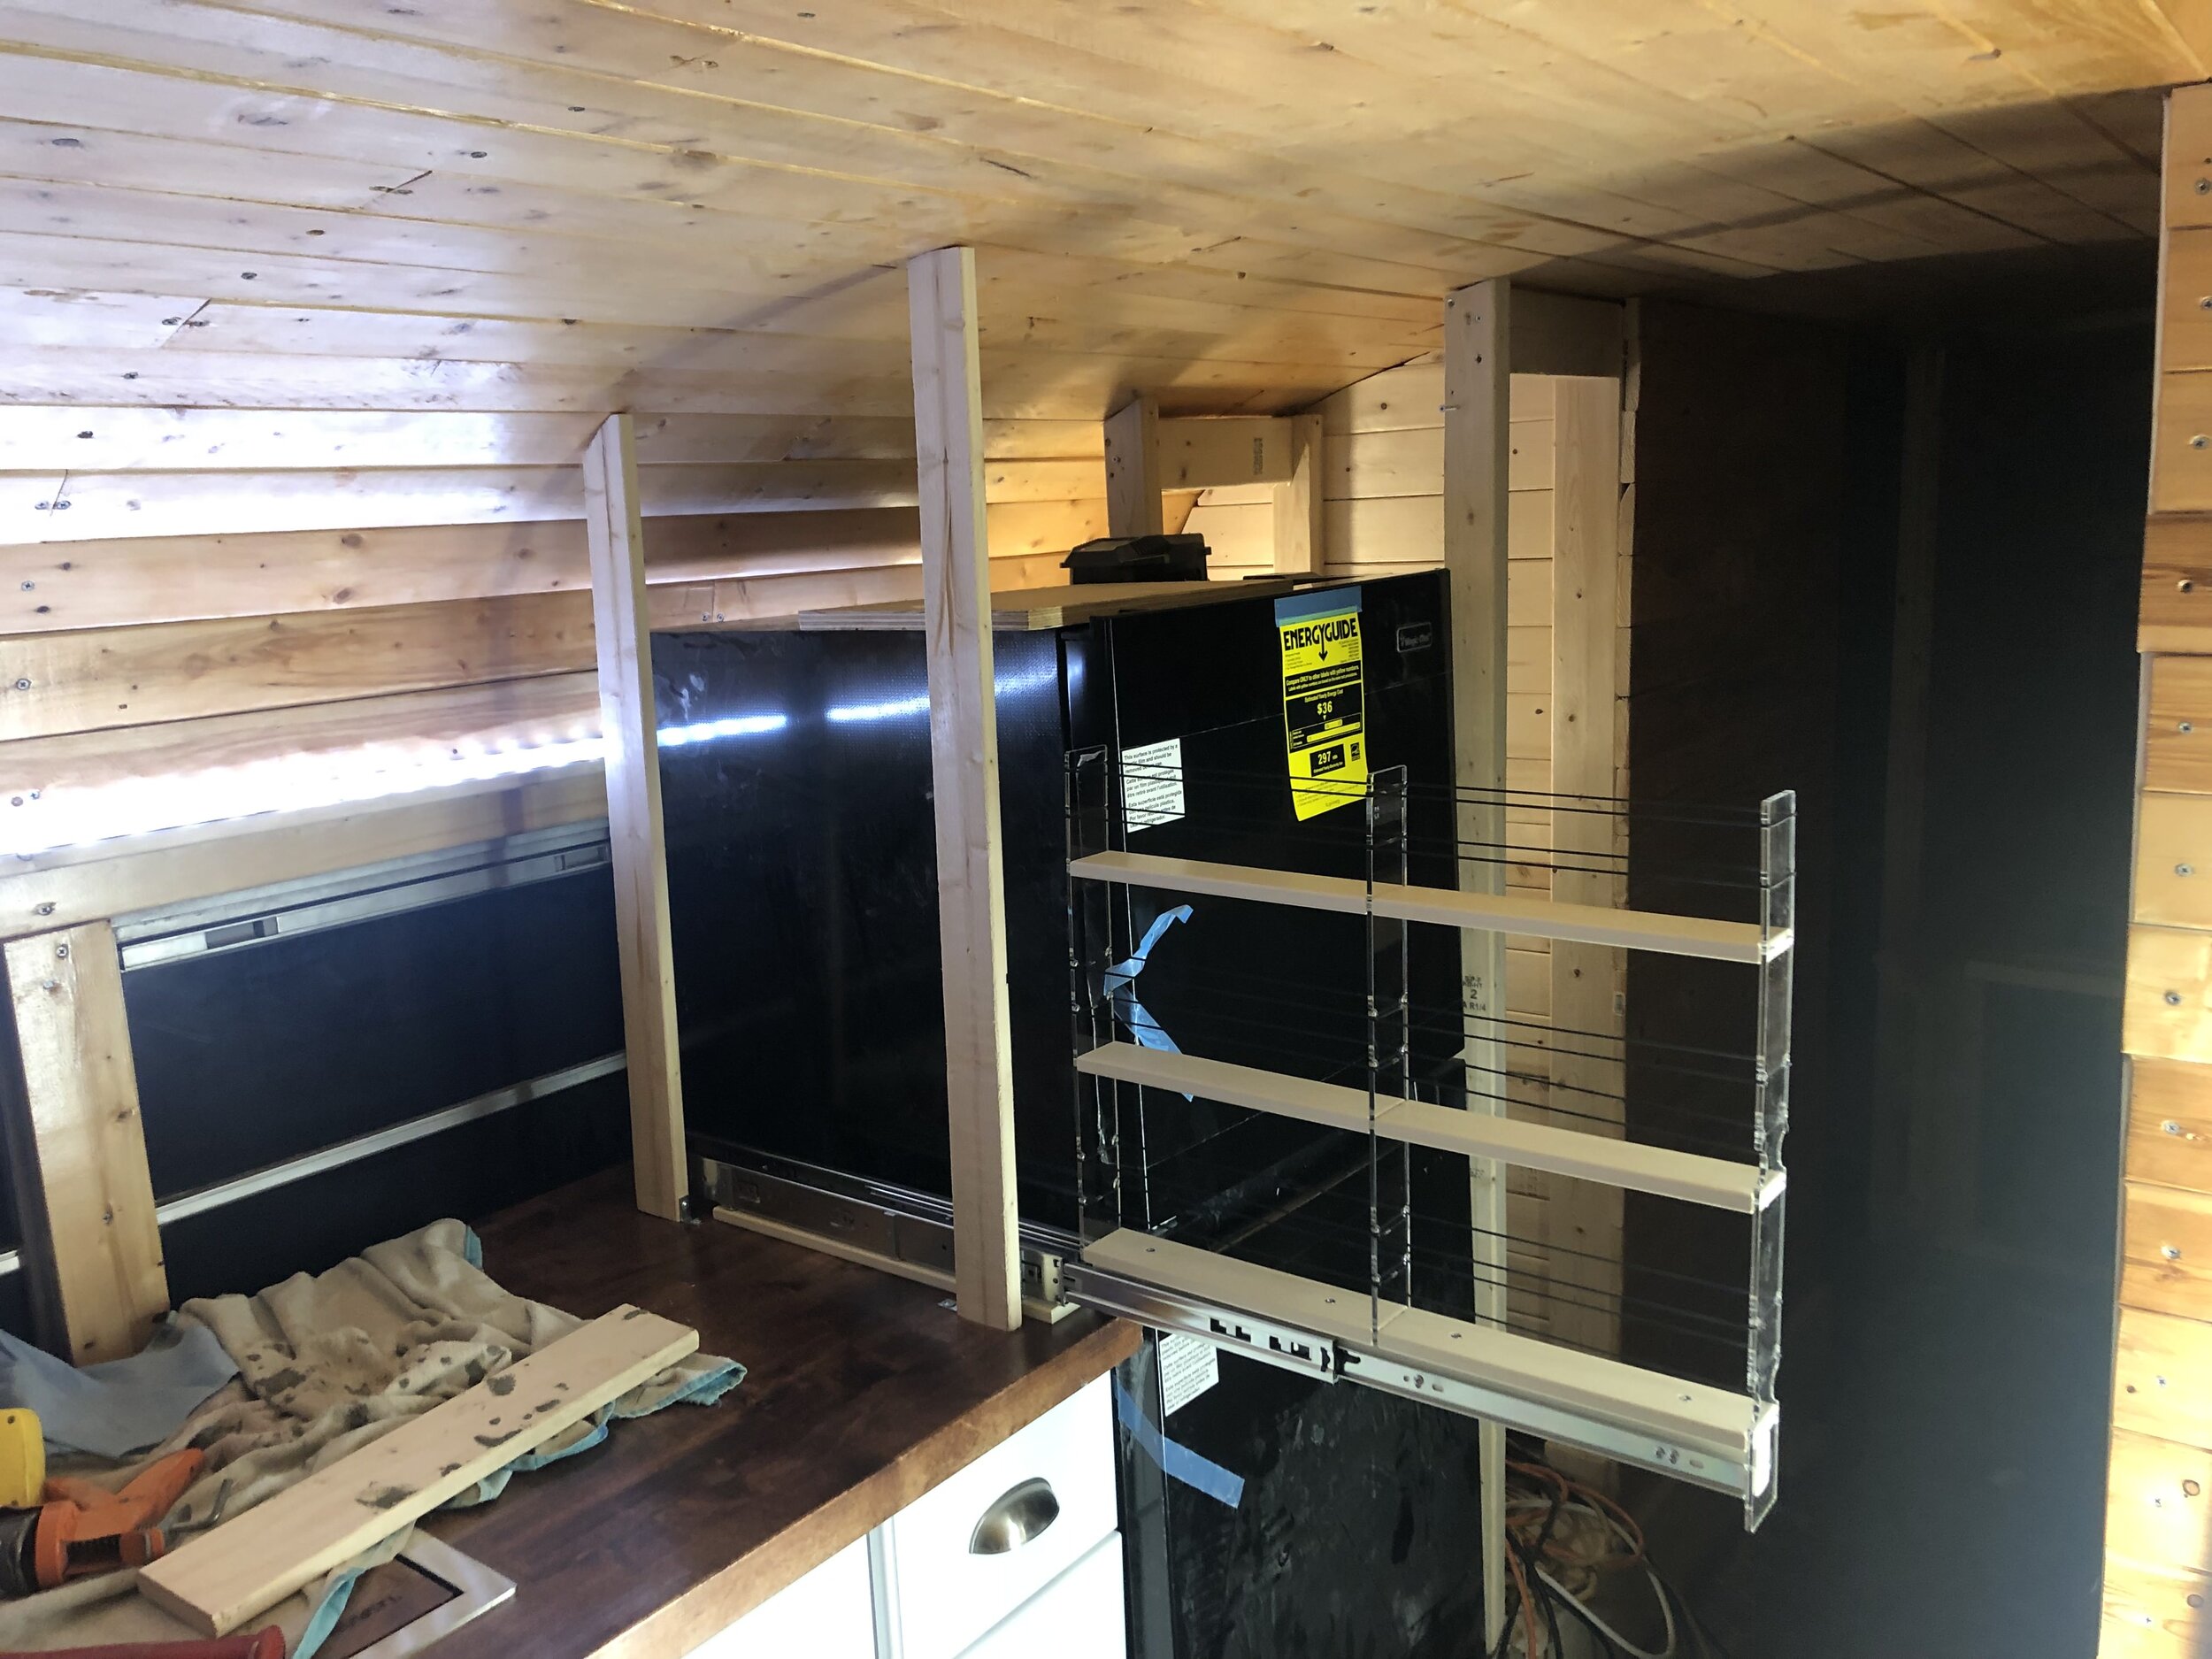
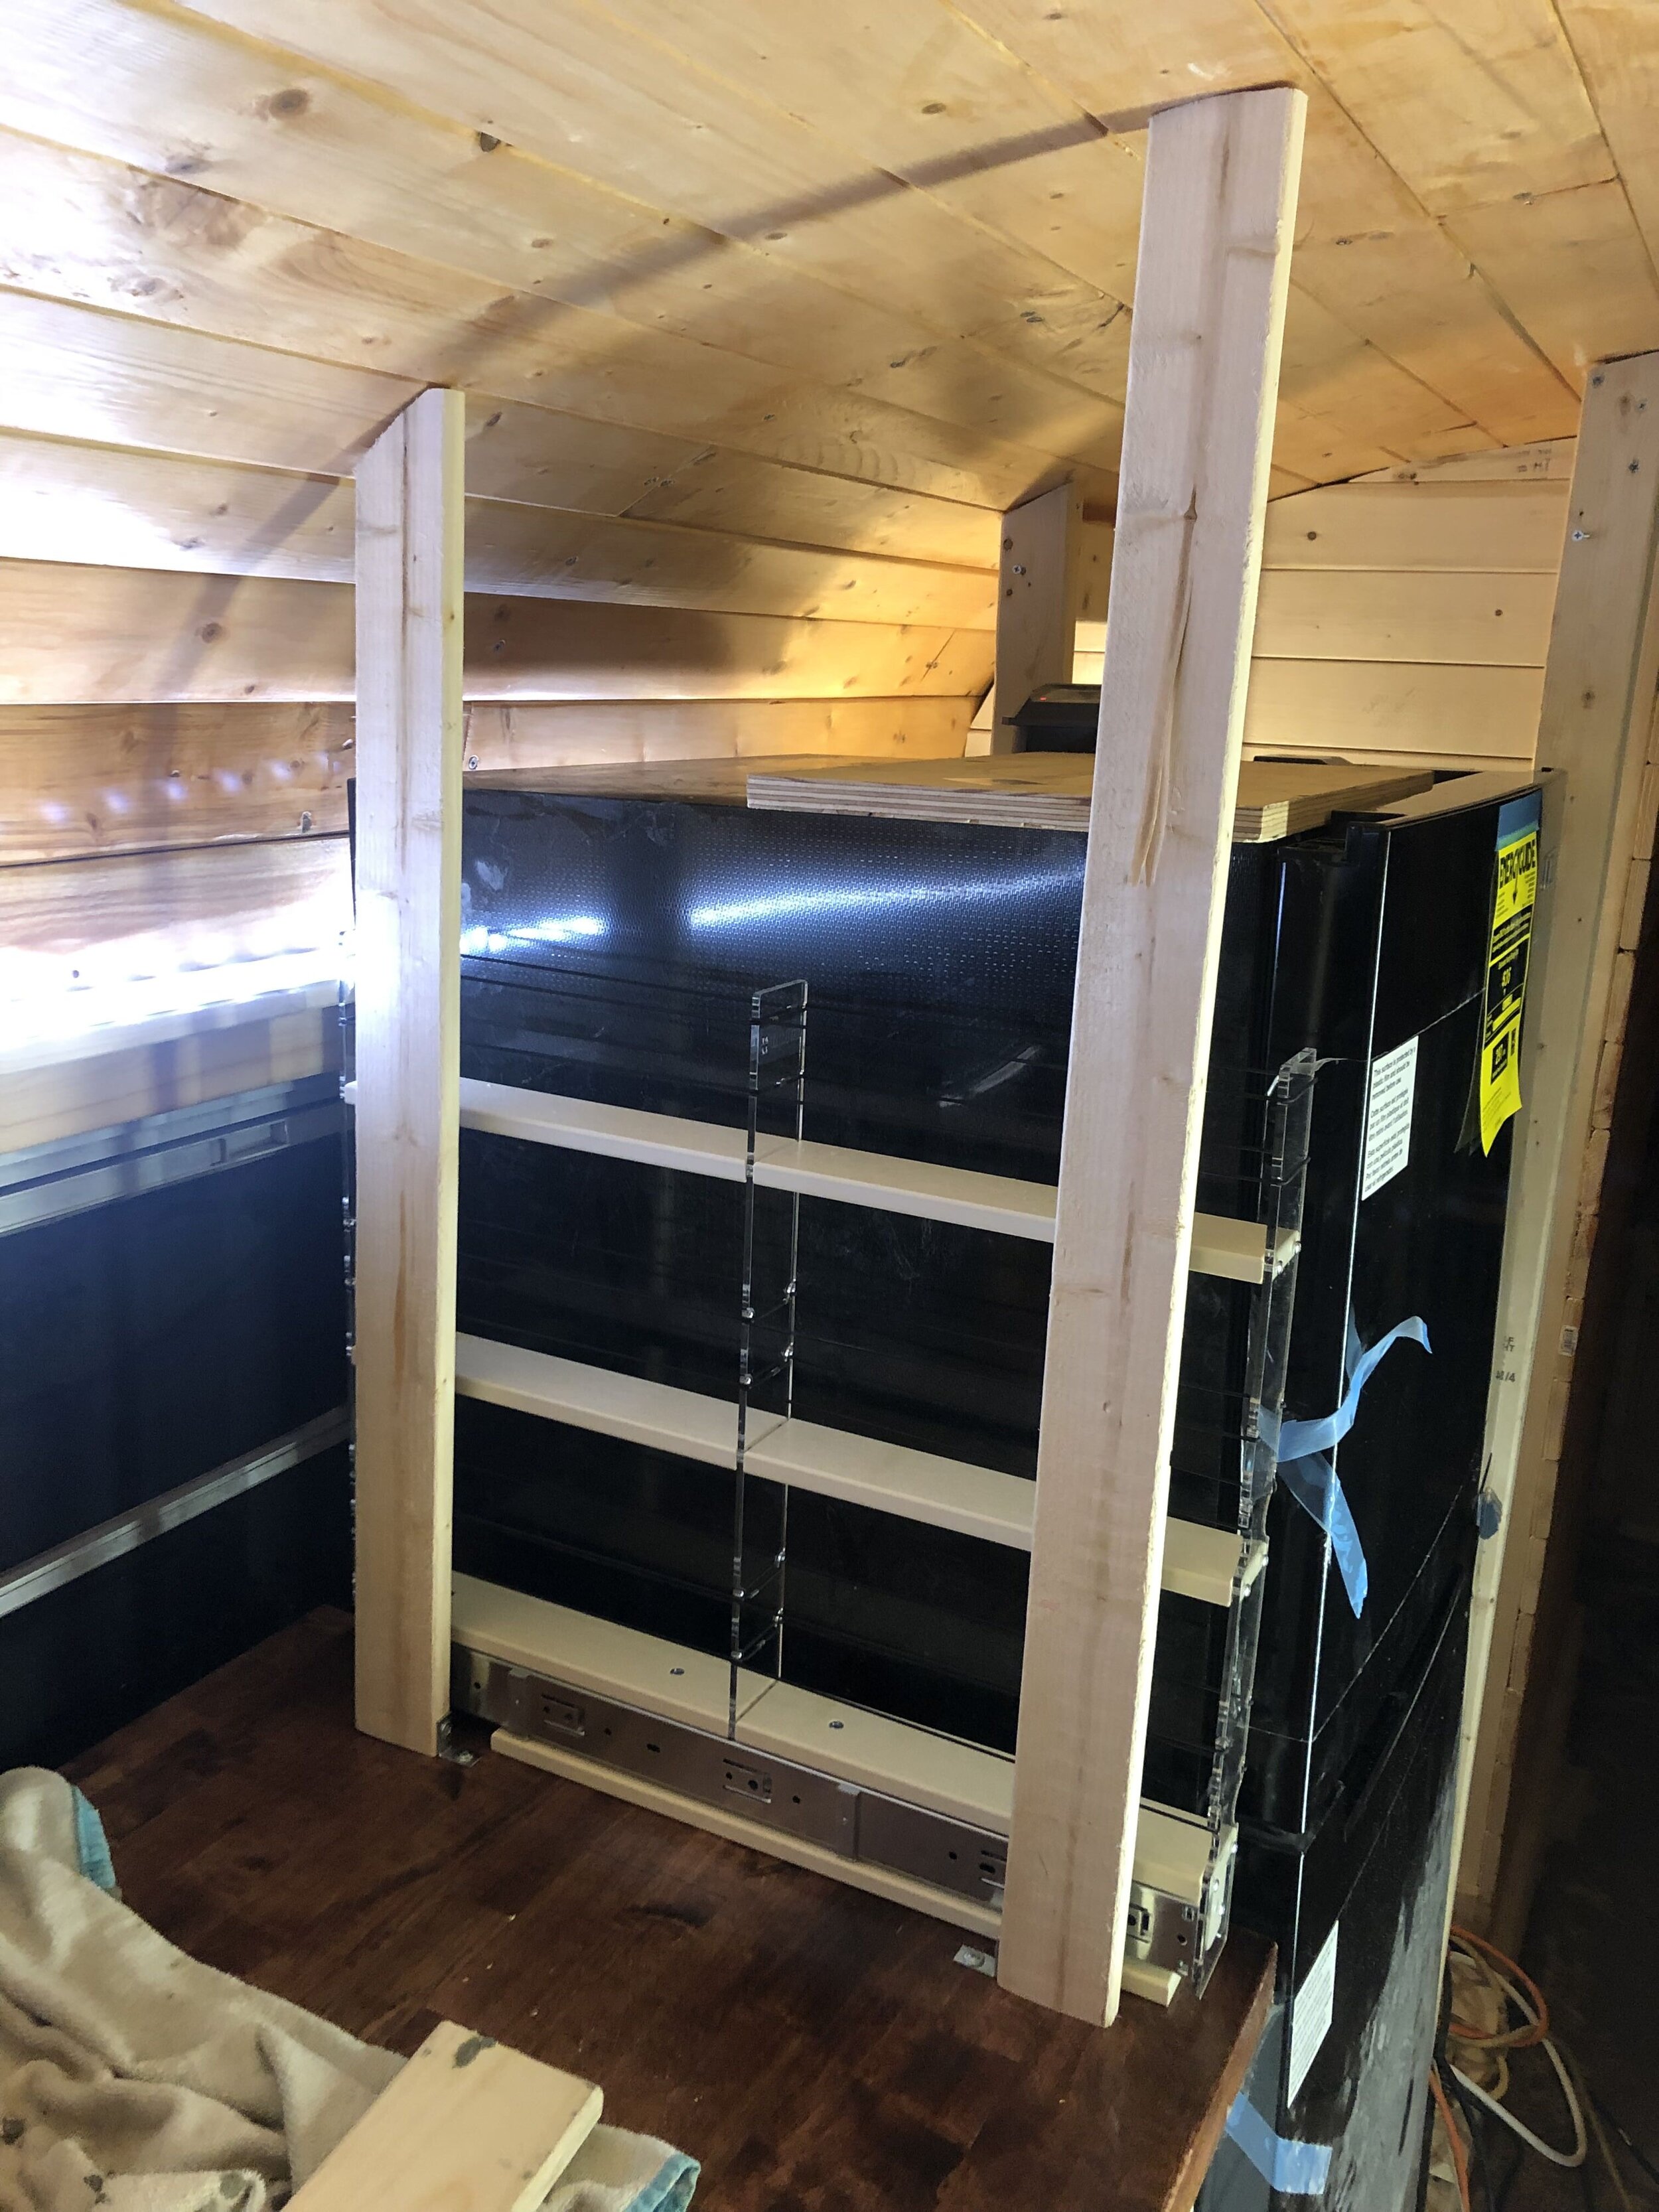
Chelsea picked out the hardware and installed it like a pro in maybe 30 minutes! Both countertops were affixed to the cabinets with a bead of liquid nails around the top of the cabinets. After the counters were in we were able to build the wall in front of the fridge….but first…Our sweet pull out spice rack!
We attached the spice rack to the counter with some provided screws and then built the frame of the wall out of you guessed it….more furring strips! The wall isn’t going to be “load bearing” so the thin frames would be fine for this. We also left a good size space above the fridge to use for storage.
Speaking of kitchen storage our pantry is going to be on the right side of the fridge. Its right over the wheel well but goes all the way to the roof. We figure its enough room to make 3-5 slide out drawers….and maybe a little hidden storage spot for some wine :)
Materials we used:
Ruvati Drop in Sink - Amazon
HBHOB Cooktop - Amazon
Magic Chef 10.1 cu ft Fridge - Home Depot
Hampton Bay Cabinets - Home Depot
Butcher Block Countertops - Lowes
Red Mahogany Stain - Amazon
Cabinet Hardware - Amazon
Tools we used:
Ryobi 18v power drill - Amazon
Dewalt Jigsaw - Amazon