Painting the Exterior
Painting a skoolie was honestly one of the things we didn’t want to tackle ourselves. A paint job on a vehicle regardless of its size can either look show room great or look like a a child with spray paint and too much sugar just went to town. Seeing as how we were hoping for the former we were considering having a body shop do the paint. However, not many body shops in our area can accommodate a 33’ school bus we were left but with two choices; leave it the school bus yellow (which we’re sure the neighbors loved) or paint it ourselves.
We had never painted a vehicle before so we had some research to do. What kind of paint should we use on an old school bus? Should you use primer on your skoolie? What the heck is does primer even do? Is a spray gun better than a roller for painting a vehicle? These were some of our questions that we need to answer prior to painting.
The steps we would need to complete:
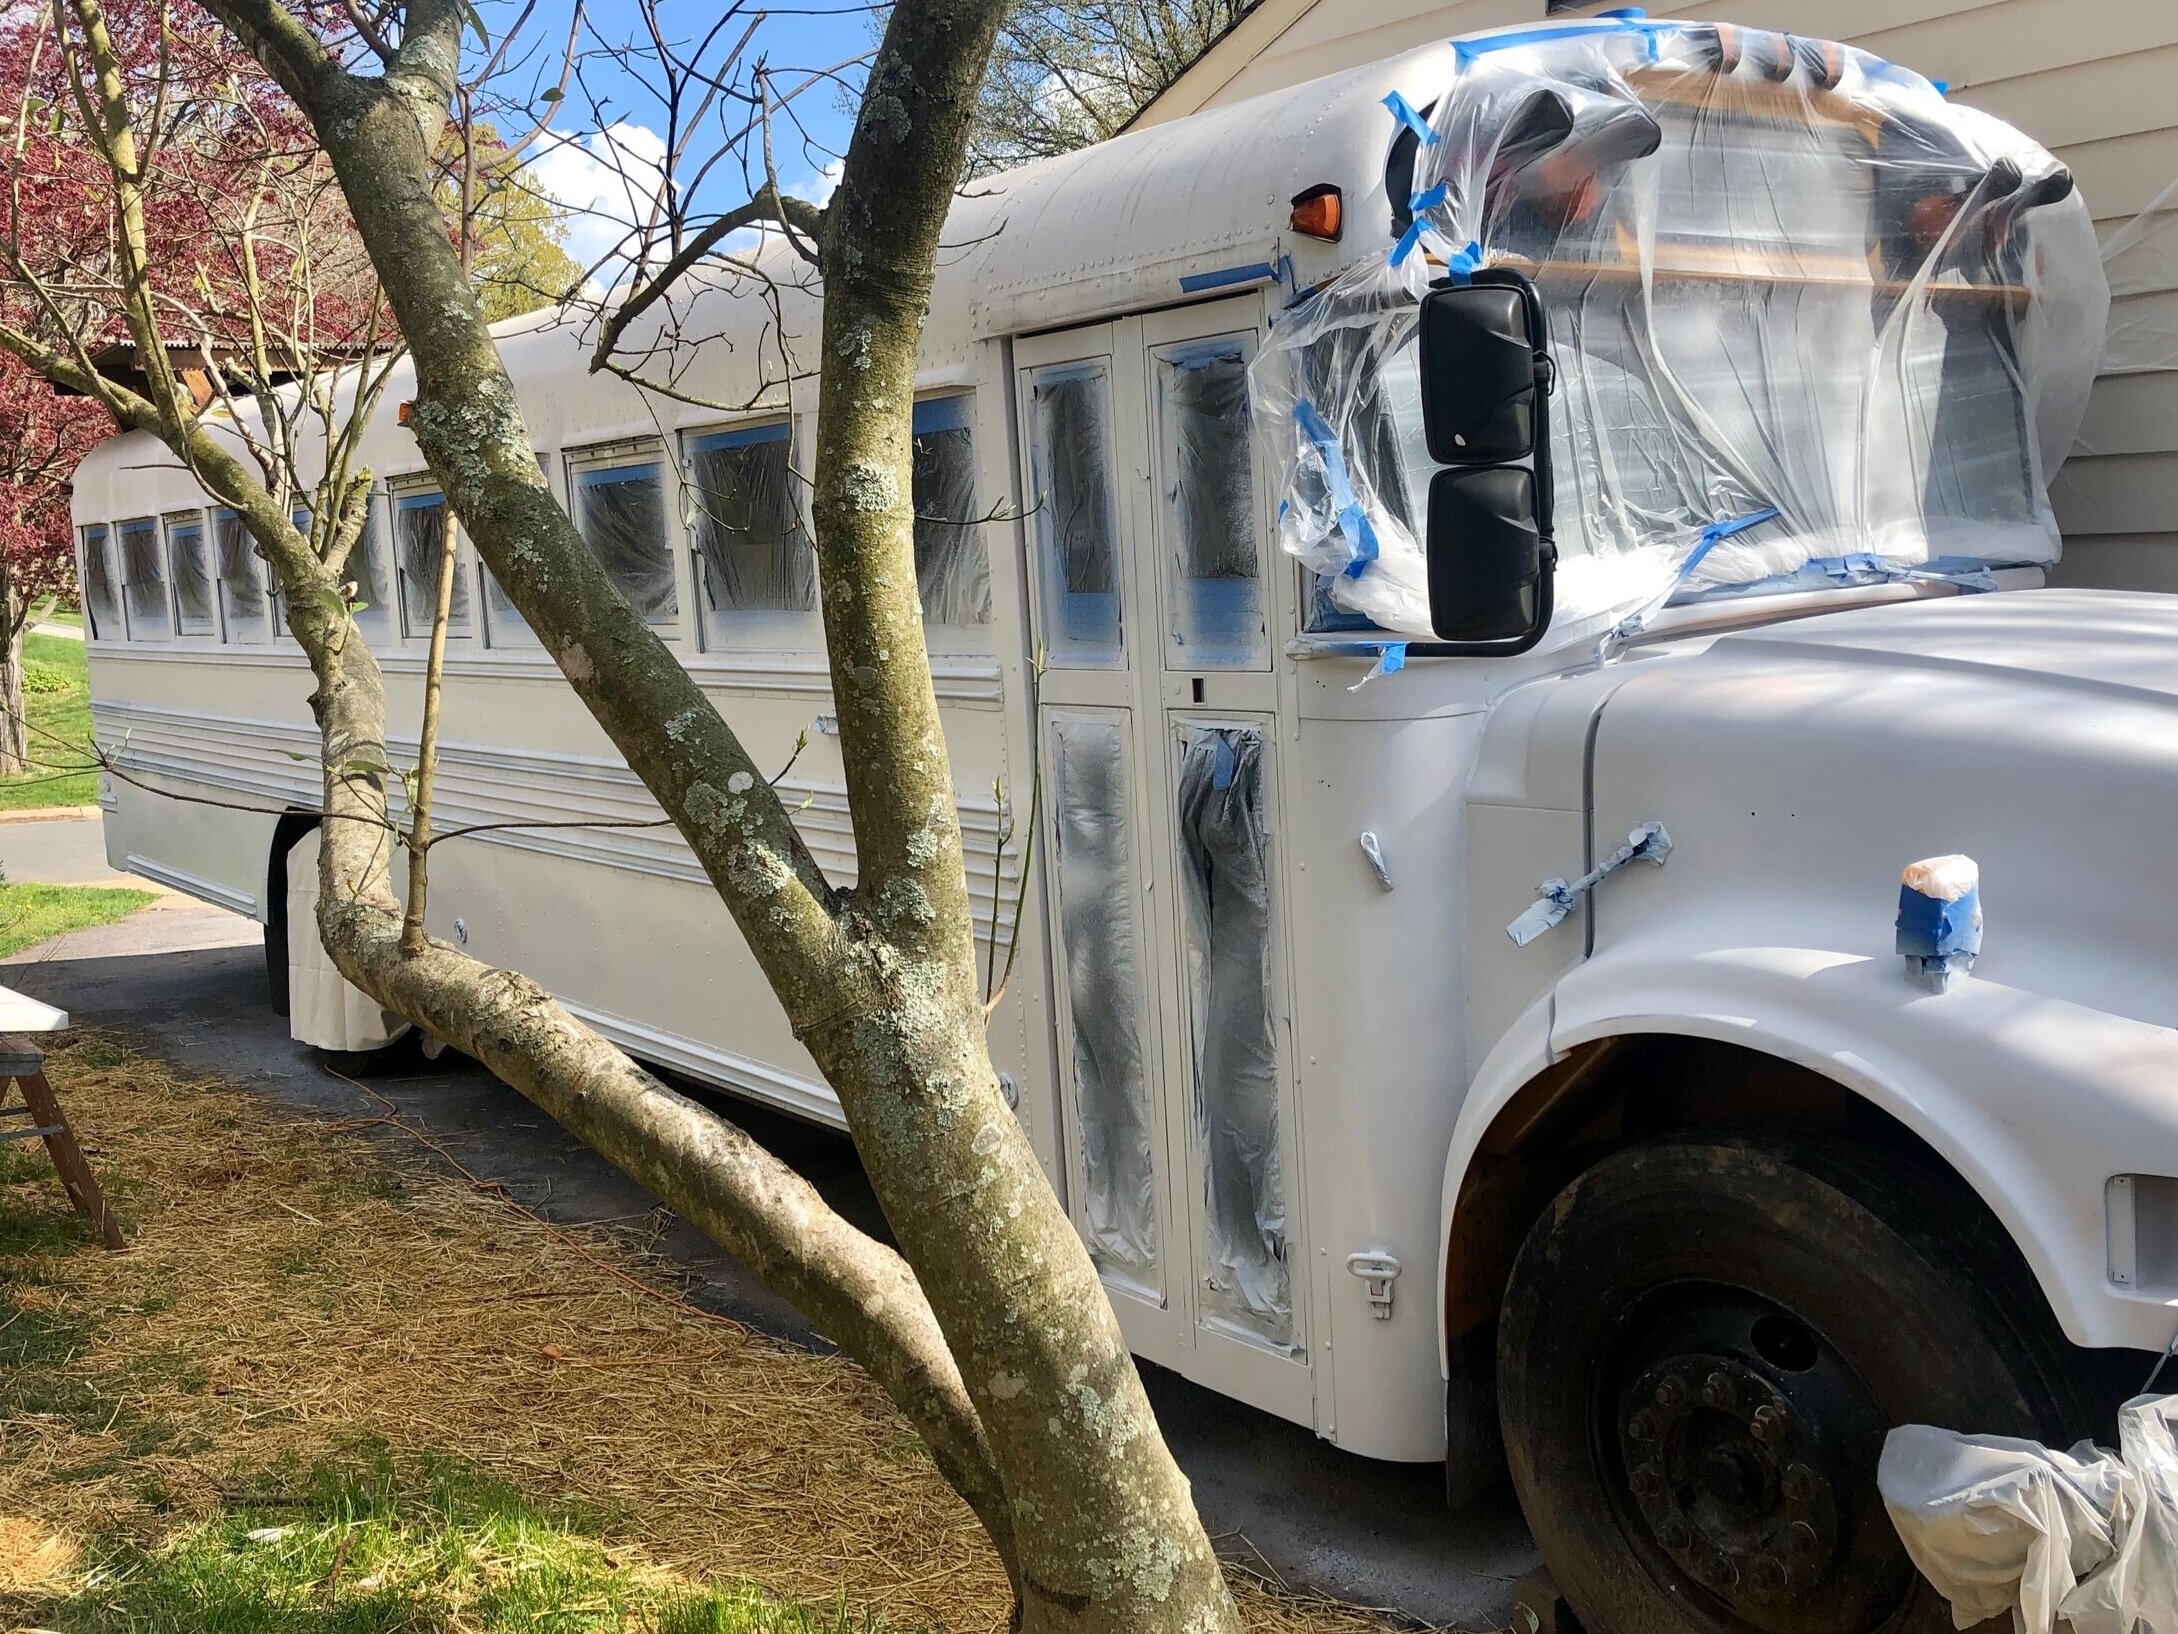
Prep: Tape off areas that we don’t want to paint, remove external handles, headlights, mirrors, etc.
Sand: Using an orbital sander and an angle grinder with a knotted wire cup brush, we scuffed up the body of the bus and removed any of the clear coat.
Thin primer: Our oil-based paint was quite thick and since we opted to use a spray gun we need to thin it prior to actually spraying.
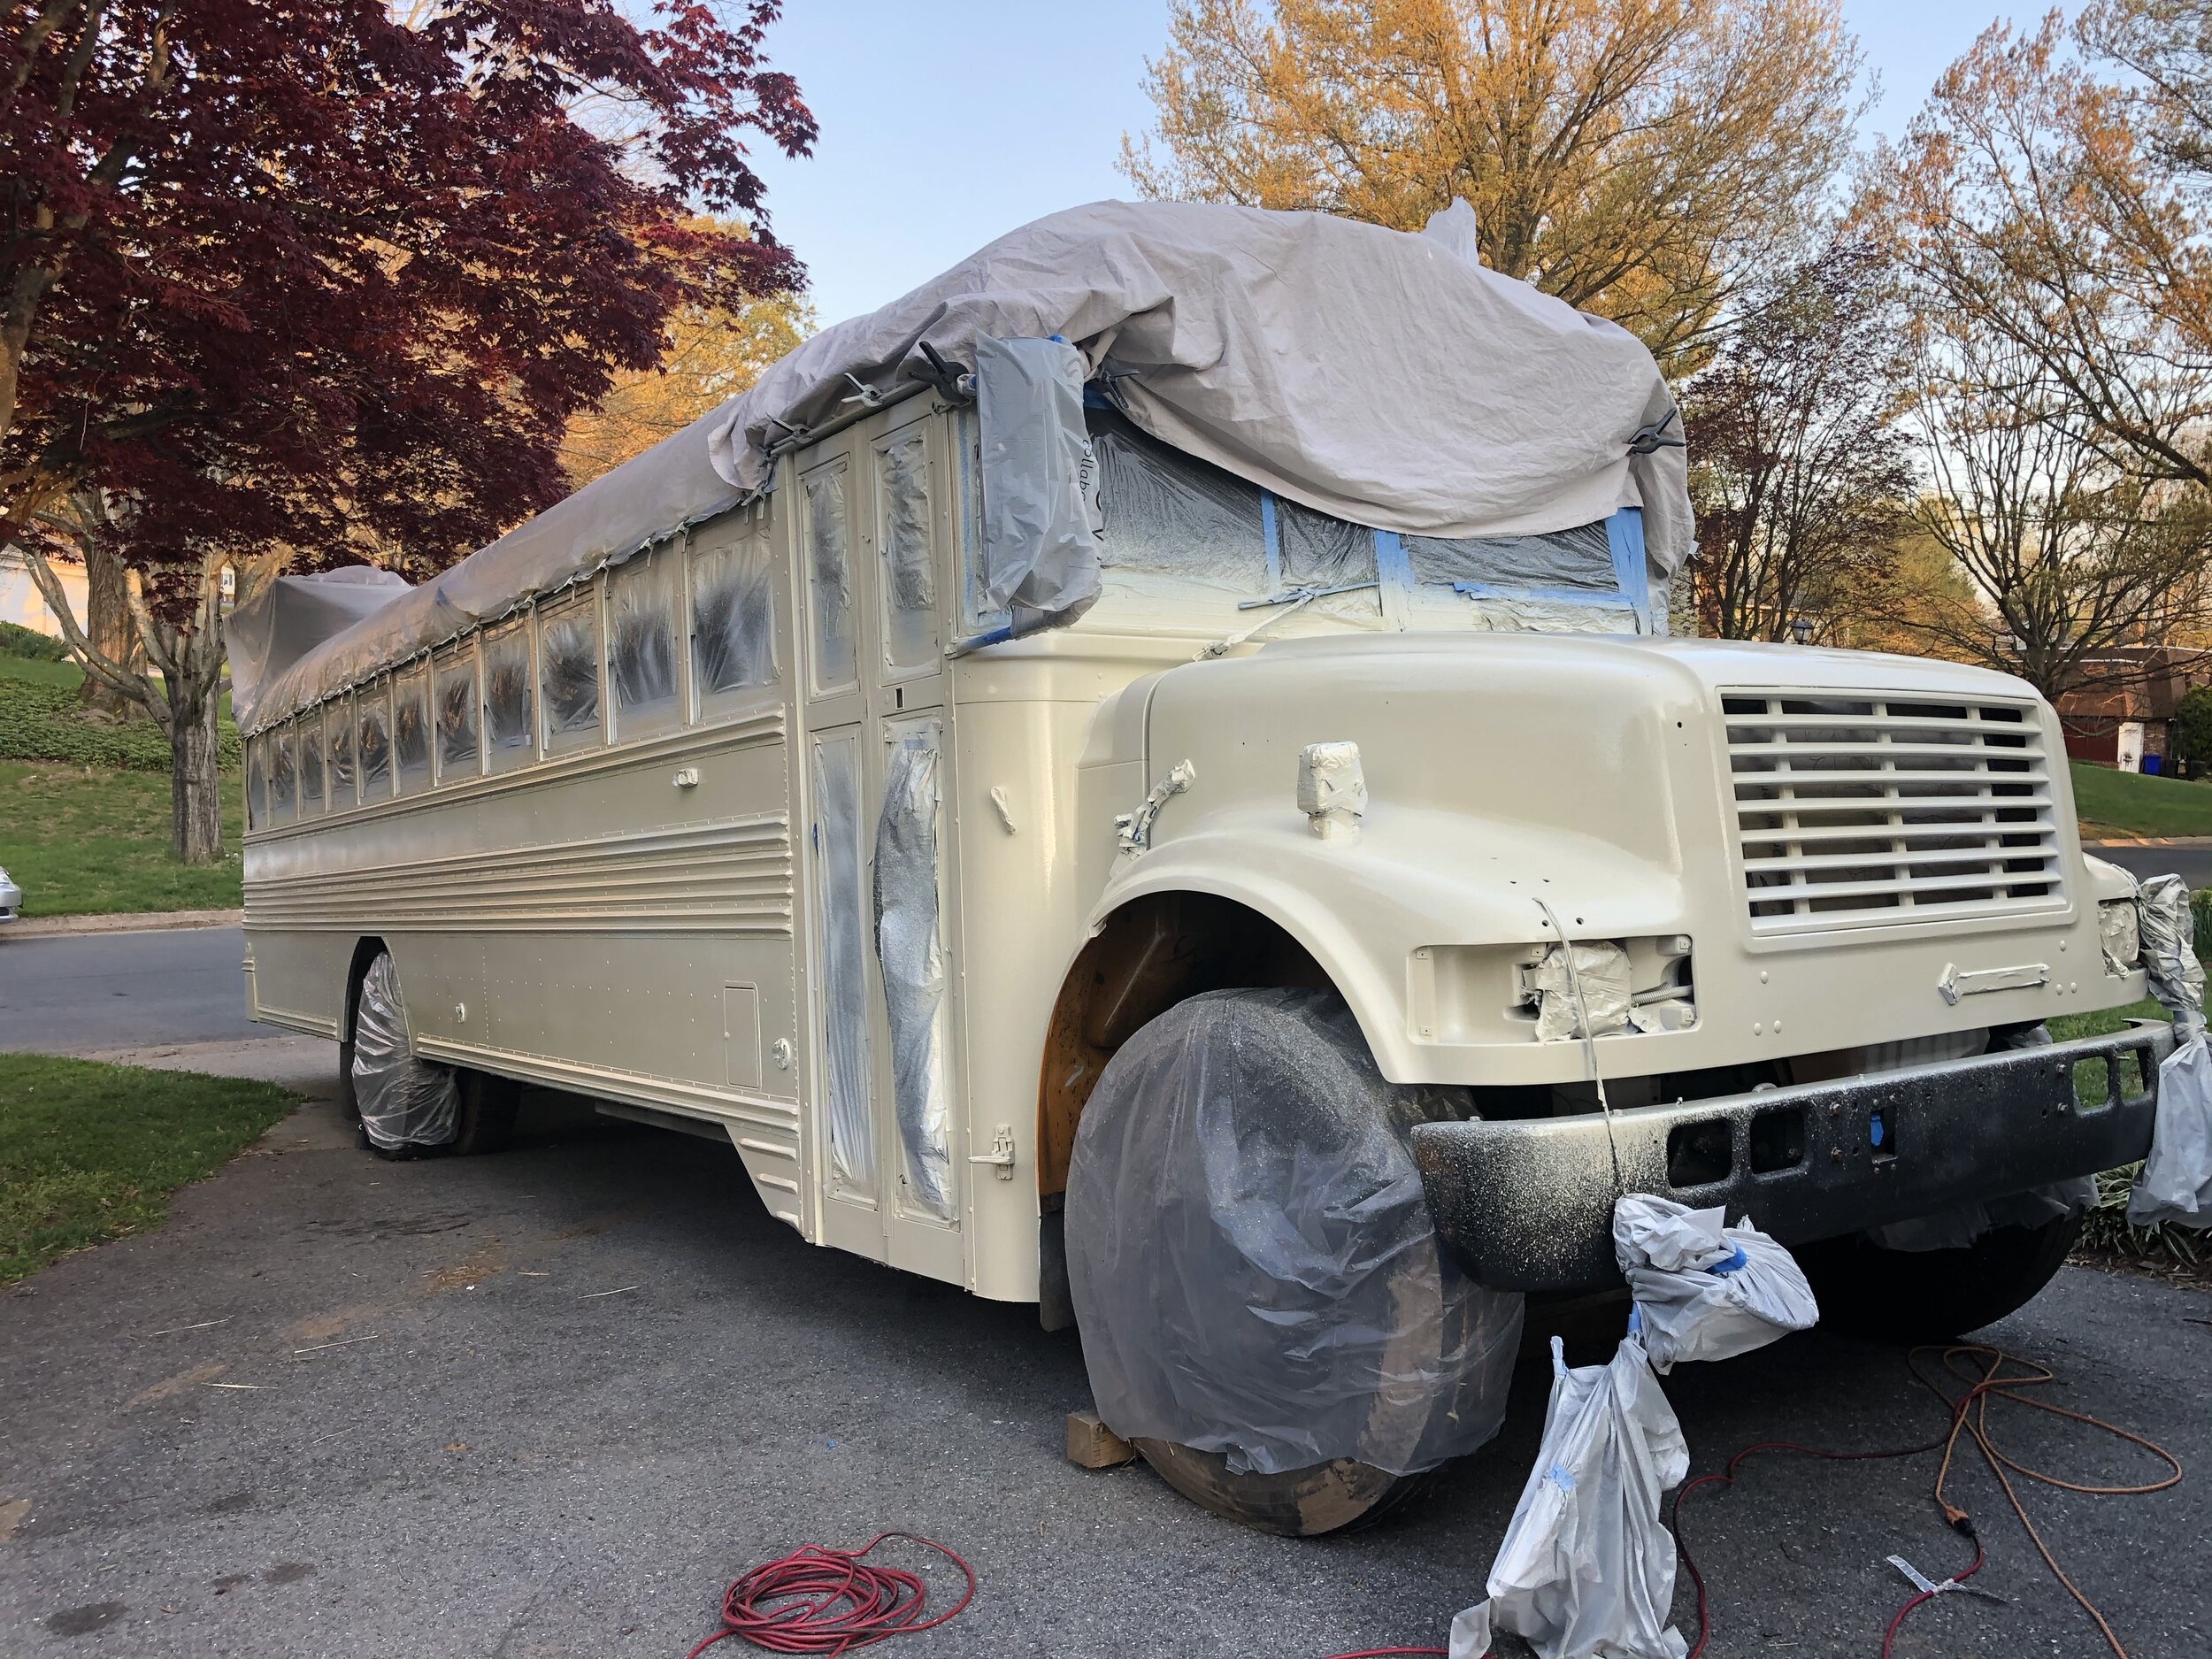
Prime the bus: Primer provides a smooth surface for the final paint layers and creates a uniform foundation so that final colors don’t vary in shade depending on what is beneath them.
Prime the paint: The paint we used was an oil-based enamel so it needed to be thinned as well.
Paint the bus!!! By now we had some practice with the paint gun so we just kept using light, even coats.
Clear coat the bus!! This will add a layer of protection to the mural as well as the almond color and help it last through our adventures!
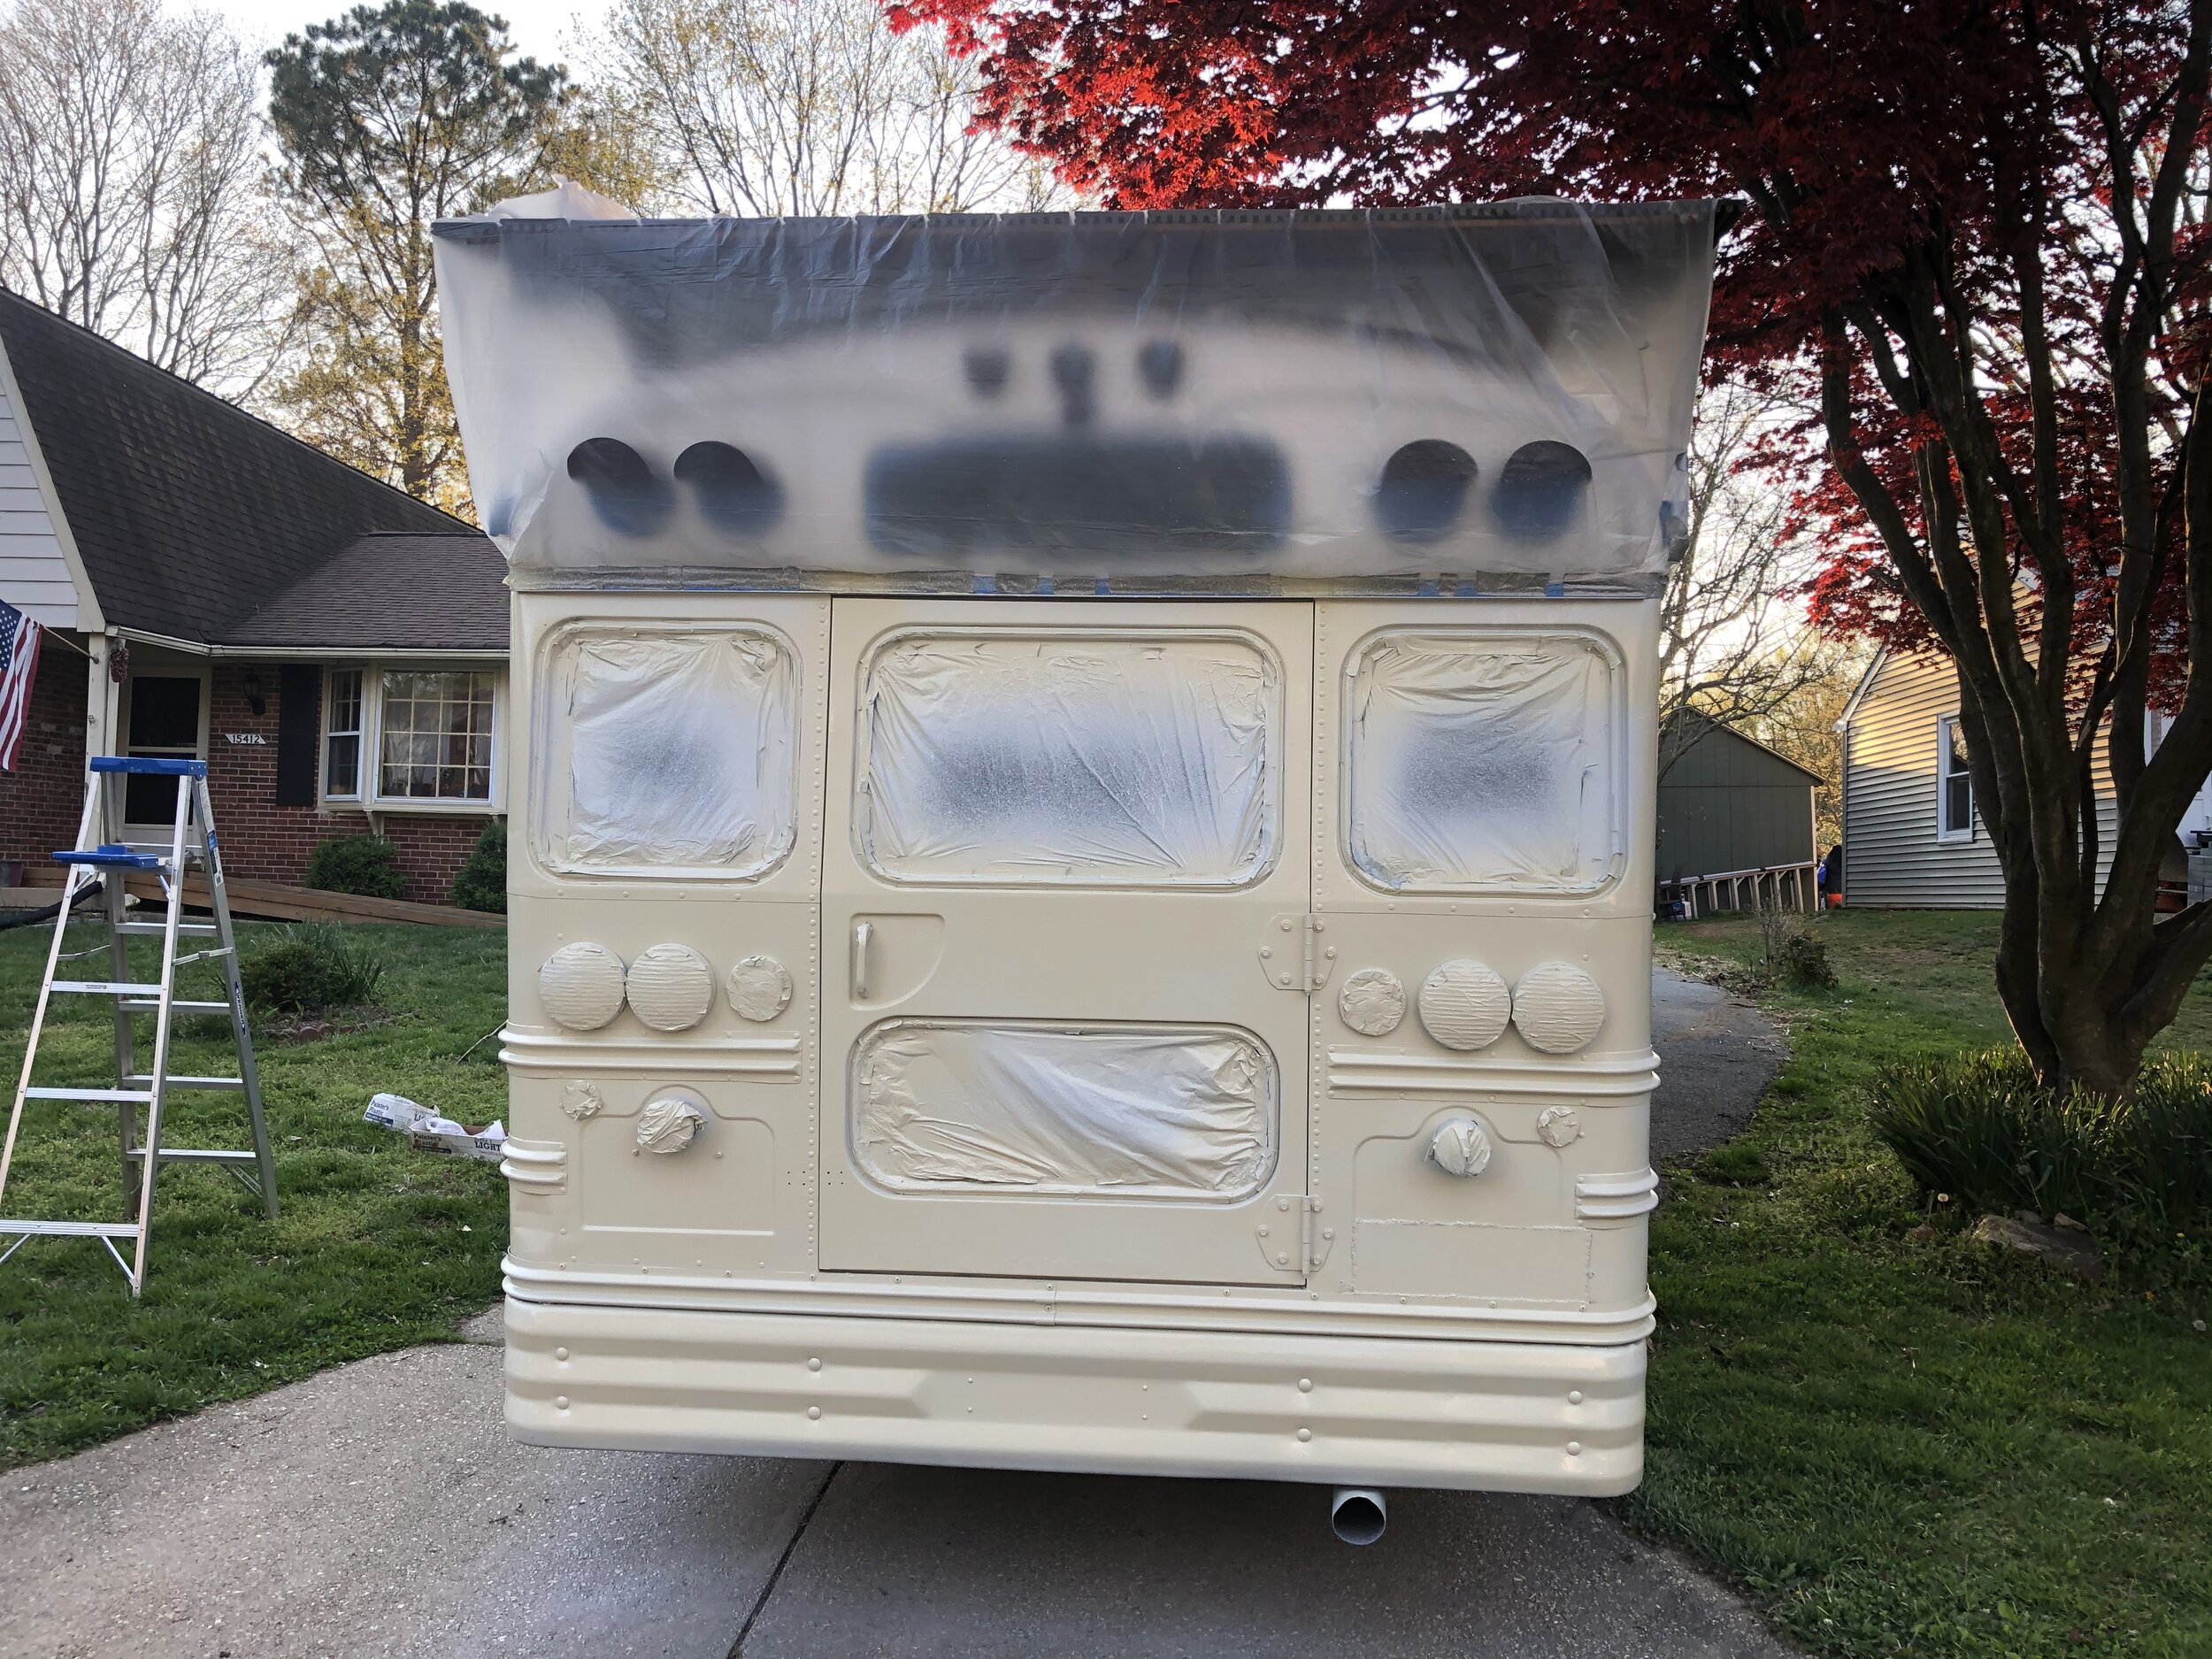
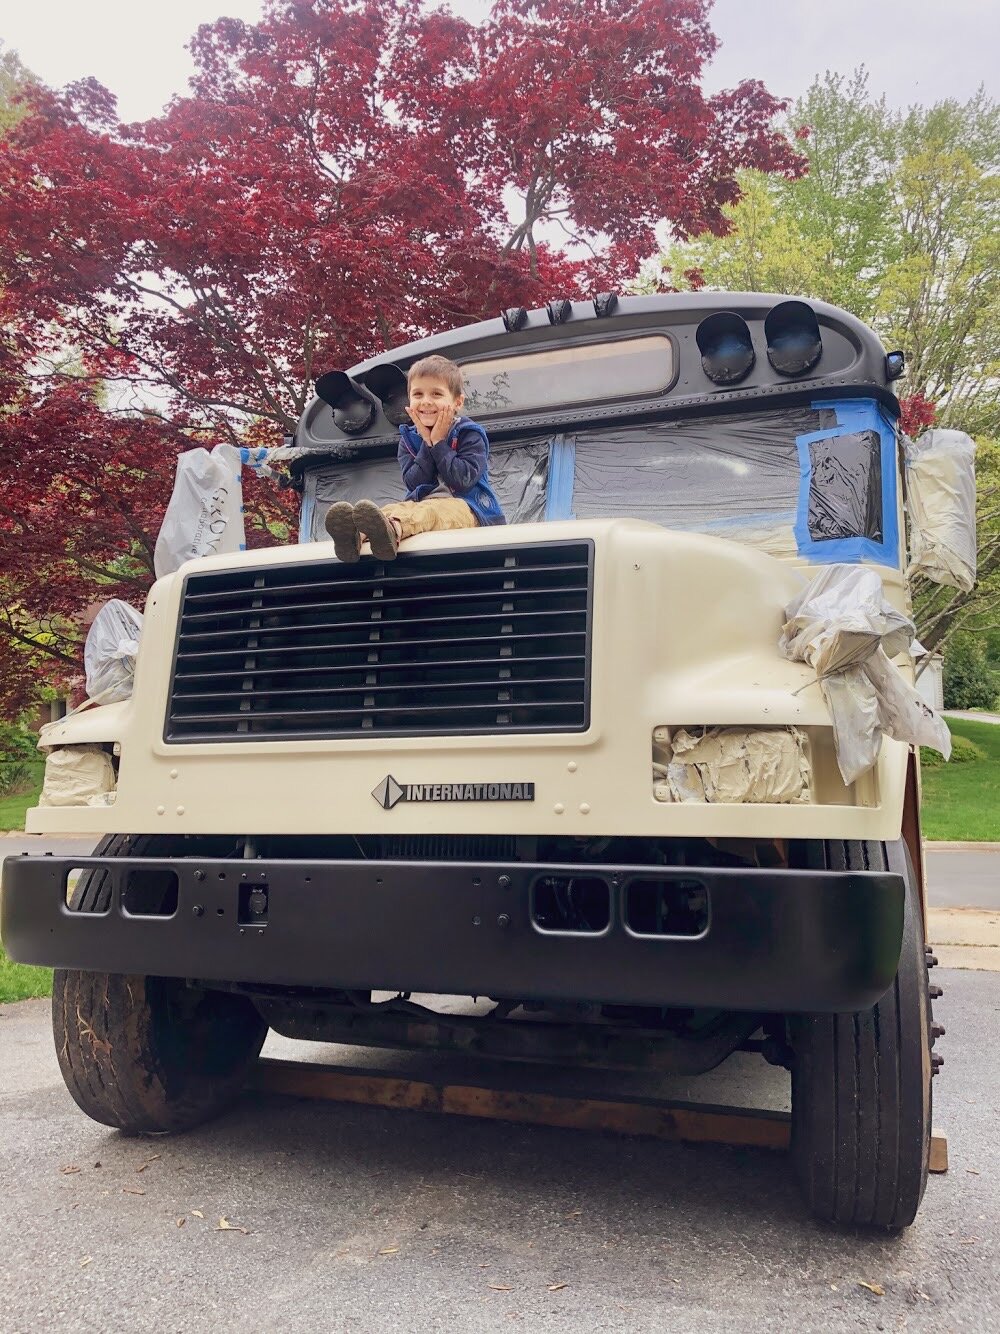
Turns out Rustoleum had everything we needed. They have a pretty forgiving primer (can be used on bare, painted, or lightly rusted surfaces), an oil based protective enamel paint (the almond), a satin black that will be used for trim and the front bumper, and even a clear coat for automotive uses. The types of paint used are important because the bus will be constantly exposed to the elements, so its imperative to use a suitable paint type for a vehicle! Our roof already had a thick coat of Henry’s Tropicool for added insulation and to seal up the seams on the roof so we had to tape off the roof along with the windows. Don’t forget to cover up the tires like we almost did!
Using orbital sanders and 220 grit sanding discs we scuffed the entire bus…which took quite a while. There was an old clear coat over the front of the bus that took a while to completely remove but it had to be done. Headlights, the large hood-mounted mirrors, and various trim pieces were removed for the upcoming paint. We also taped off all of the windows along the side with plastic.
Again, our paint was pretty thick so we used a paint thinner made for oil-based paint so the sprayer would be able to atomize it efficiently. Just follow the mixing ratios on the paint container if you need to do this!
We tried a cheap gravity fed spray gun from our local Napa store first. That lasted for about 10 minutes and a metal piece inside broke…So a trip to Home Depot later we had a Wagner Flexio 3000…sounds intimidating but is fairly simple to operate and works like a dream. It was more expensive but ultimately worth the extra cost…buy cheap…buy twice… With the Wagner Flexio paint gun no compressed air is needed just plug it in and go. The spray pattern and its “reach” took some time to learn and understand but by the time half of the bus had primer we had it down. Multiple light coats look much better than fewer thick coats as thick coats can drip and look splotchy.
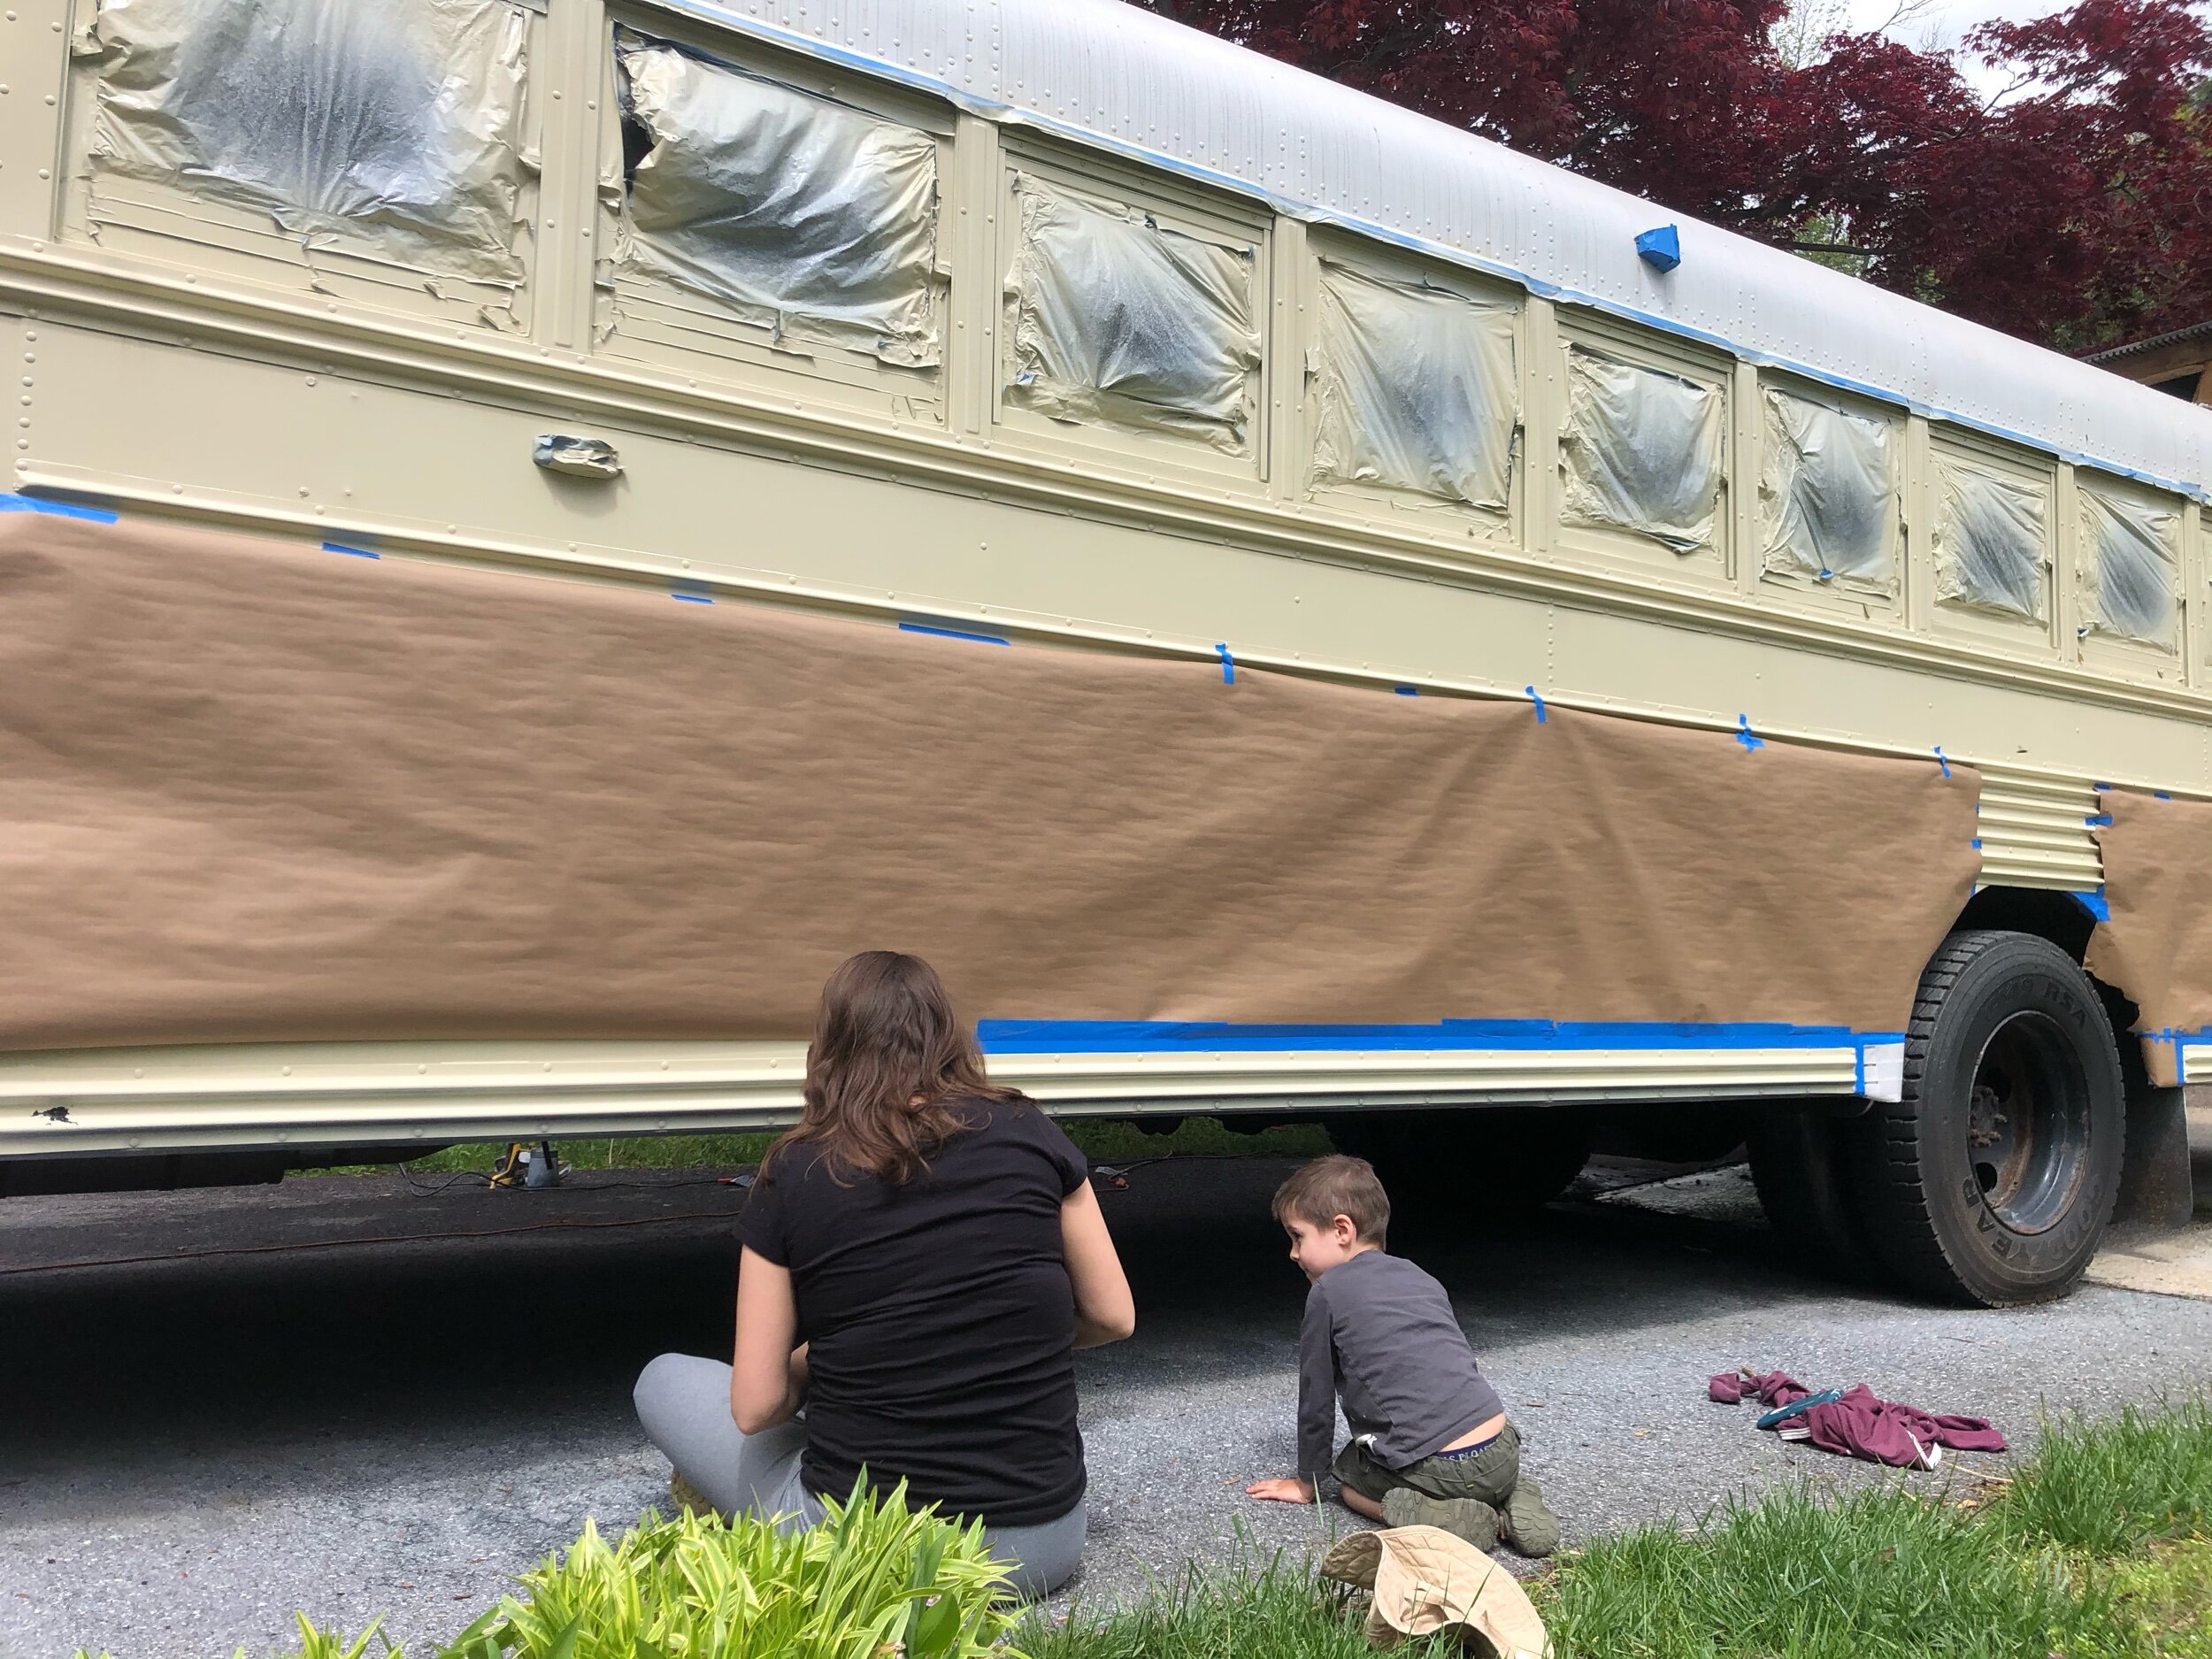
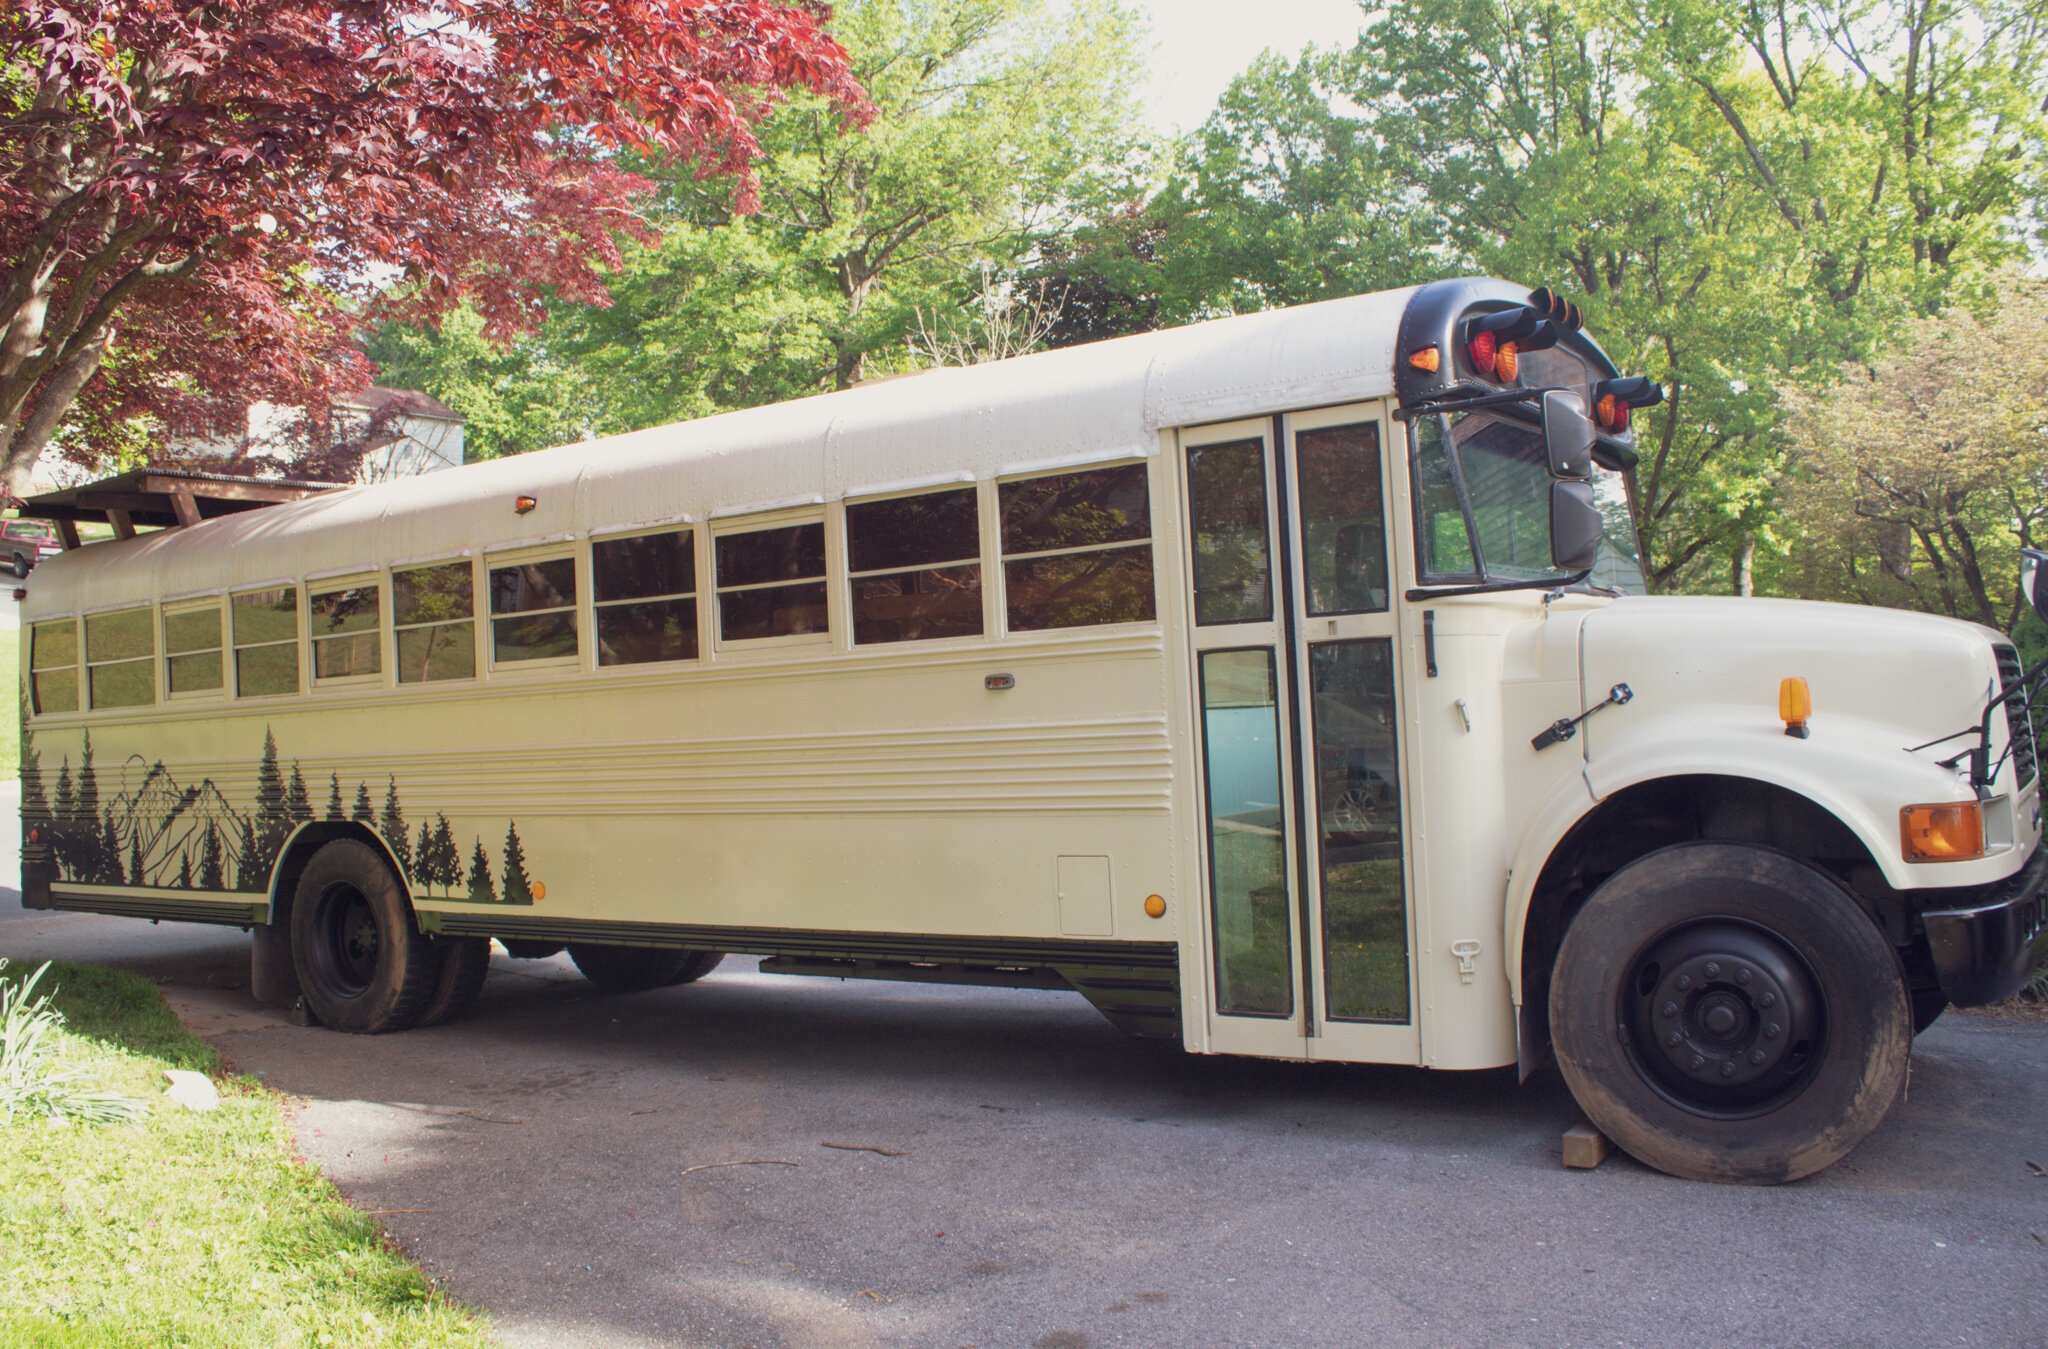
We sprayed 3 or 4 coats of the almond color before we were satisfied with it. It took about a week to accomplish this while we were working around the rain and our three year old. Once it was dry we took to taping off the trim areas to paint black. We had to be really cautious while we did this because the slightest breeze could blow black paint up onto the almond color and it would be extremely noticeable. Jet helped us tape painters paper along the side and we got the trim pieces done pretty quickly relative to the almond simply due to the small amount of trim that would be black.
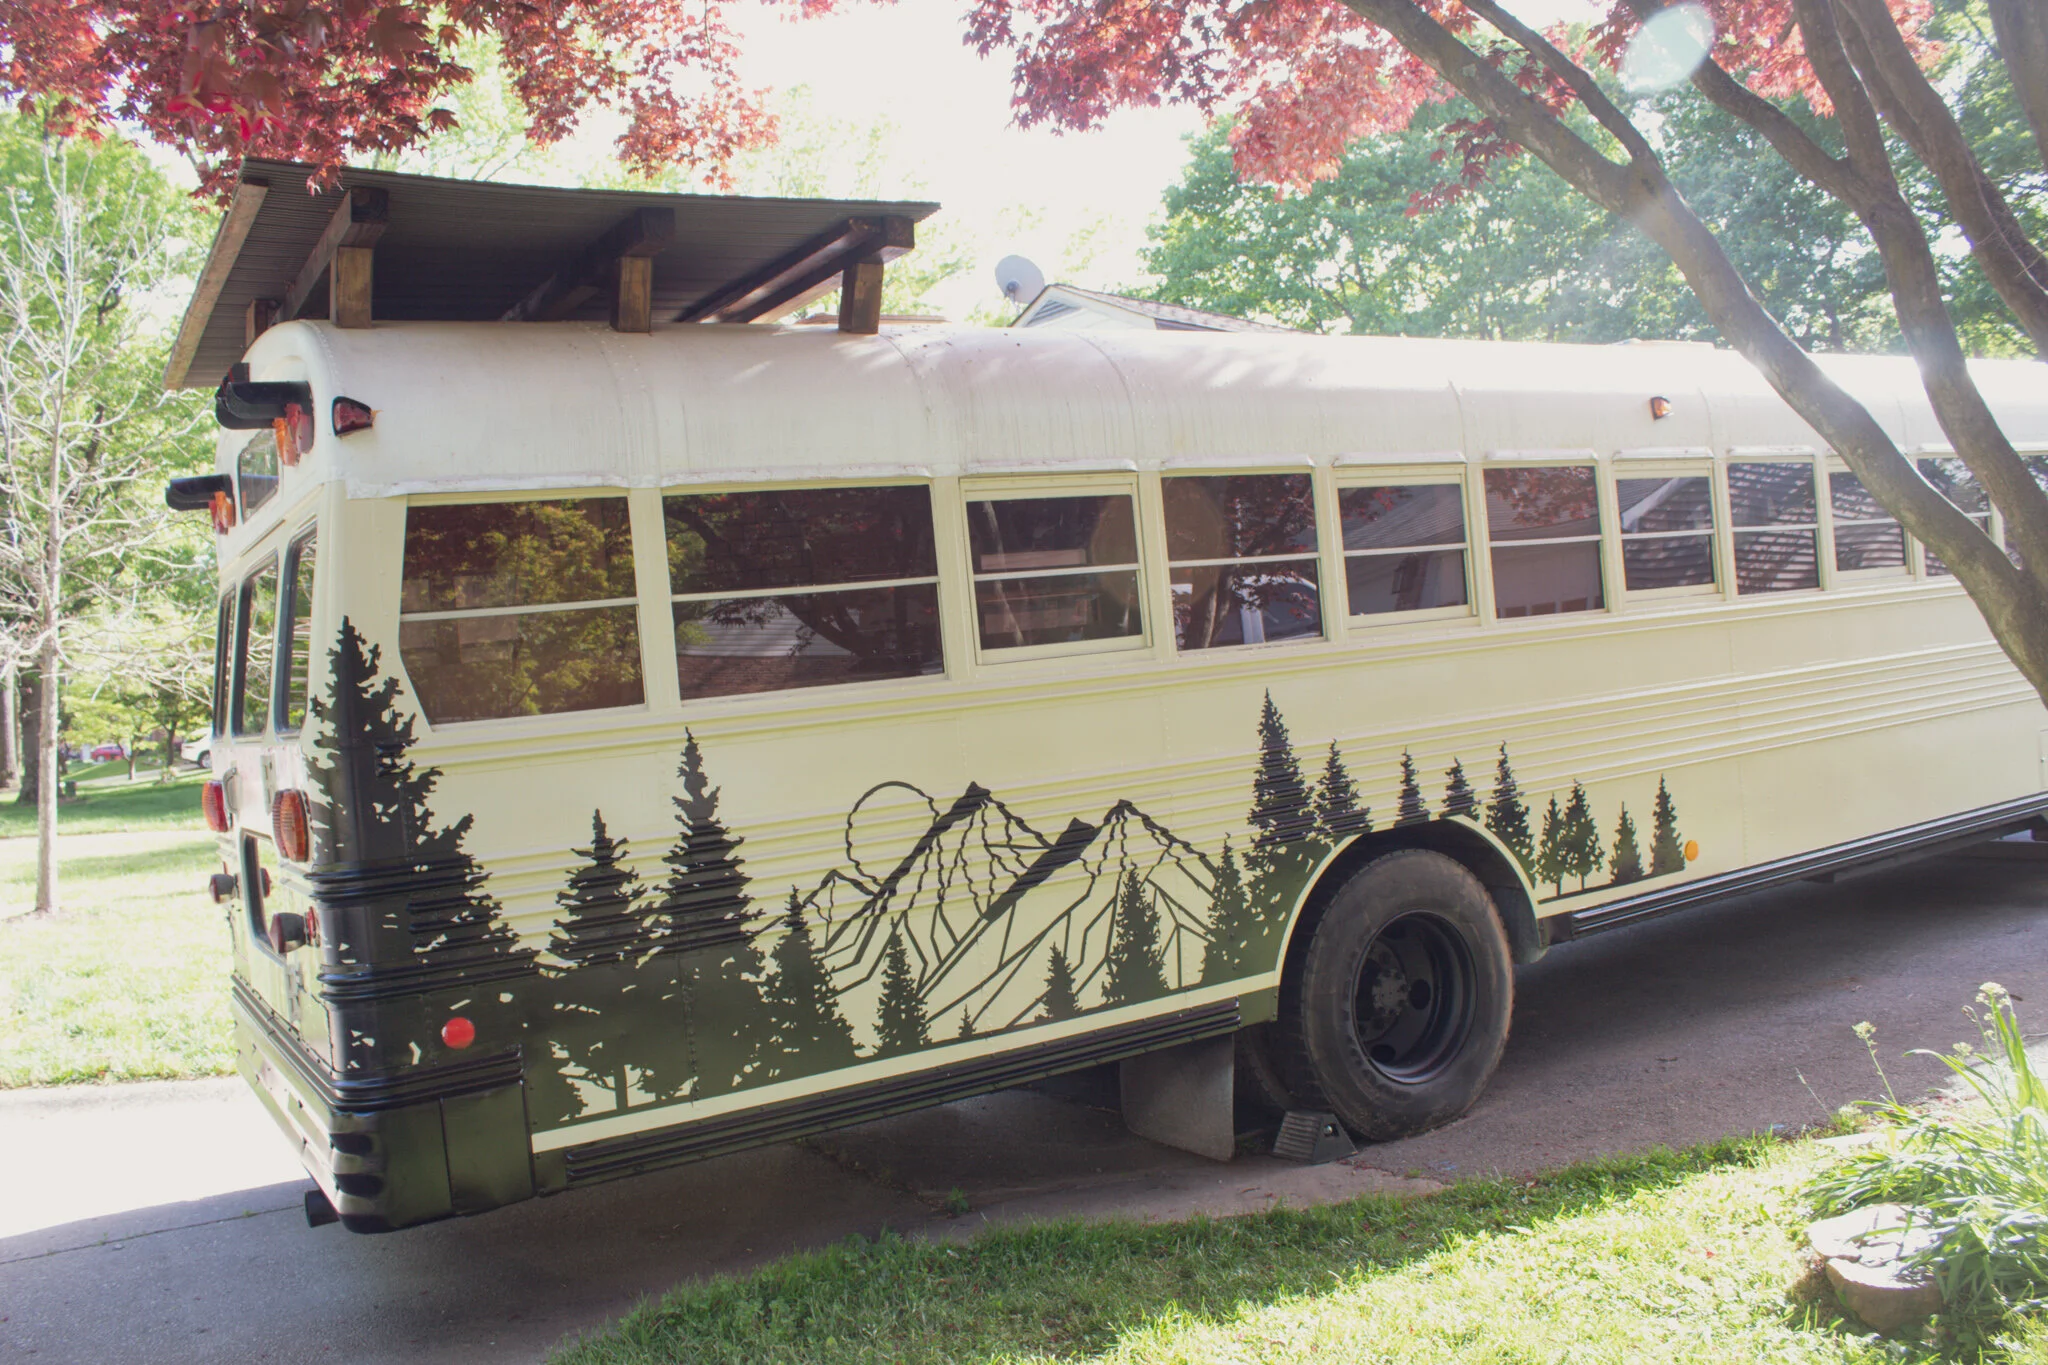
Now it was time to decide whether we wanted to buy and apply vinyl decals or have a local artist paint a mural. We were honestly going with decals until a friend mentioned her brother was a tattoo artist but also did murals. We got in touch with him and it turns out he owns his own tattoo shop in Damascus Md. Aside from doing AMAZING tattoos these guys were able to take our thoughts from a quick phone conversation and put it into a feasible piece of art. We really loved what they did for us and could not be happier!
After the mural was on and completely dried it was time to apply the final step…the clear coat! We were so worried about this phase because if this got screwed up it’d be hard to fix it without getting into the primer or almond layers. Turns out we were worried for nothing though, it was just like applying the other coats, load up the gun, make sure the wind isn’t too crazy and spray light, even coats. The best advice we can give with applying the clear coat is to use the sun to your advantage and look for the “wet spots” of recently applied coats. The clear coat we used had no re-coat time so coats could be applied rather quickly but if you’re using light, even coats, it dries quickly anyways.
Finally it was time to remove all of the tape and plastic that was covering the windows, windshield, and auxiliary lights. This was the moment we had done so much work to get to! Once all the windows were visible again it really looked amazing! We were so hesitant to tackle painting the bus ourselves but it was honestly so worth it! If we can do it anybody can!
Materials we used:
About 10 rolls of various width blue painters tape - Home Depot
Variety pack of sanding discs - Amazon
Roughly 100’ of painters plastic sheeting - Our awesome neighbor, Doug!
6 x quarts of Rustoleum Metal Primer - Ace Hardware/Home Depot
4.5 x quarts of Rustoleum oil-based protective enamel paint- Almond Gloss - Home Depot/Amazon
2 or 3 quarts of Rustoleum oil-based protective enamel paint- Black Satin - Amazon
3 or 4 quarts of Rustoleum auto body clear coat - Home Depot
Wagner FlexiO 3000 paint sprayer - Home Depot